I recently “ran out” of my blog hosting services from when I switched over to WordPress (from my old Blogger blog). Meaning I paid a big fee to have it converted over which included a year or so of hosting. I am now paying monthly, and I HAVE GOT to start posting more to justify that money. With that being said, I vow to do better! School starts in a couple of weeks and this year I will have 4 mornings free (a few hours each morning) with the 5th morning having only 1 child at home, so I *think* I will have more free time (ha ha we know how that goes).
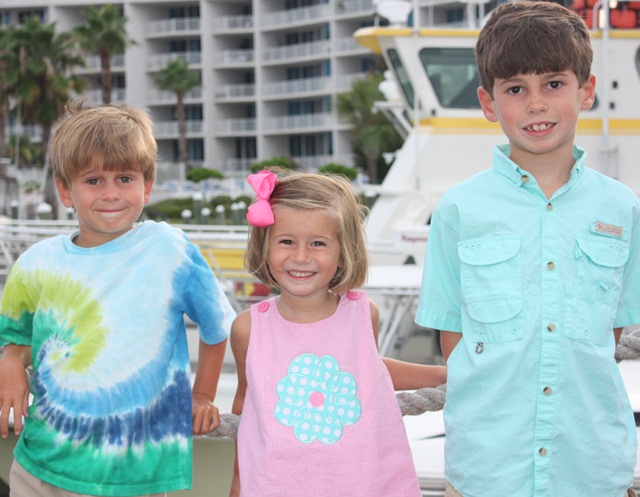
Last week was our last family vacation of the summer. We spent the week in Perdido, FL and for the most part spent some fun time with the whole Gulledge family (Jeff’s parents, sister and bro and their spouses and the kids’ cousins). It was so much fun! When I say “for the most part” I mean that we got a couple of days w/ Jeff’s bro and his new wife and several days with Jeff’s parents. We stayed the whole week. Here’s a pic of the kids on our last night. Mallory has on one of my favorite Applique Cafe designs ~ Loopy Flower. Garrison is about to start Kindergarten while Mallory will do Pre-K 4 and Browder is going in to 3rd grade (sob sob where did my babies go?)
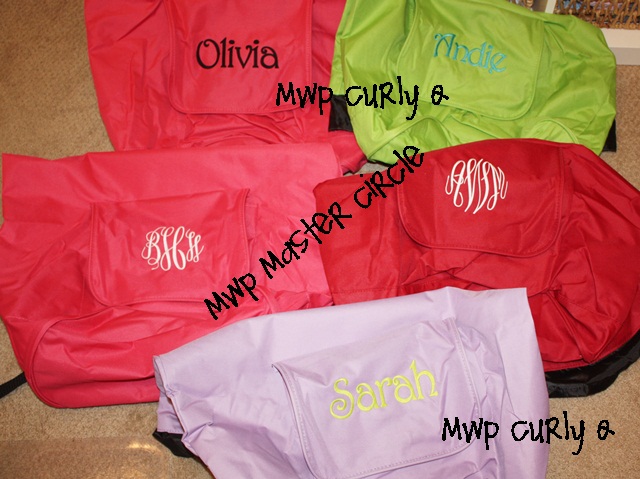
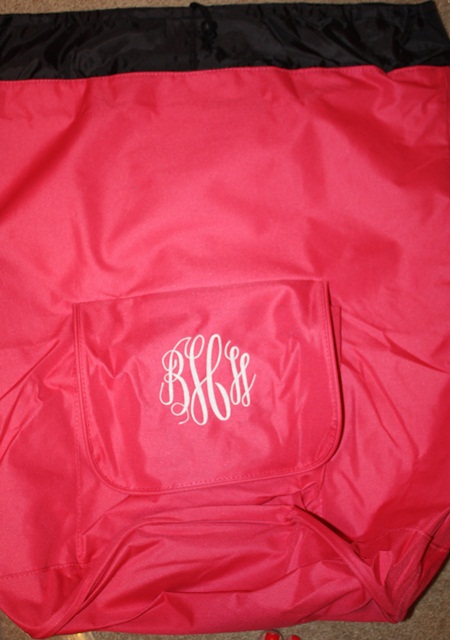
Here is what I have been doing the past couple of days. Wednesday afternoon I met my mom half way and she took all 3 kids for a few days so that Jeff & I could have a “break” (which translates to me monogramming for 2 days). Yesterday I was super lonely. Today Jeff & I met for lunch and then I ran several much-needed errands, which was nice to be able to do ALONE! Not to mention I treated myself to my last pedi of the summer. Anyway, these are super duper cute backpack laundry bags brought to me (graduation gifts) to monogram. My customer found these at Marshalls (try TJ Maxx?) and I think they were like $8.99/each. I know Bed Bath and Beyond sells them too but maybe only in black?
Drawstring at the top. I took these photos quickly before she came to pick them up yesterday so sorry they aren’t great.
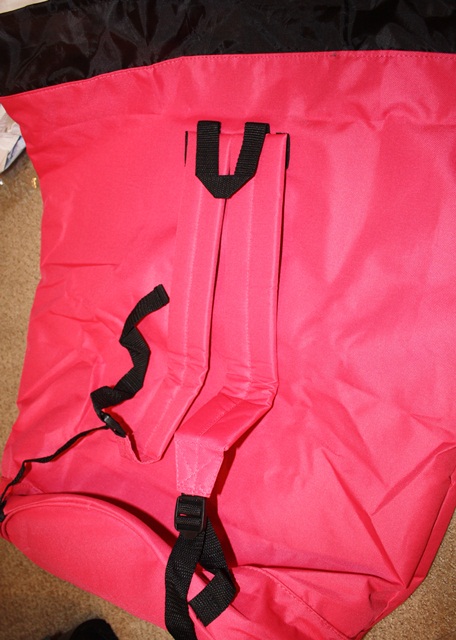
Backpack ~ great for toting to the car to head home from college to wash all those clothes. I didn’t measure these but they were nice and big!
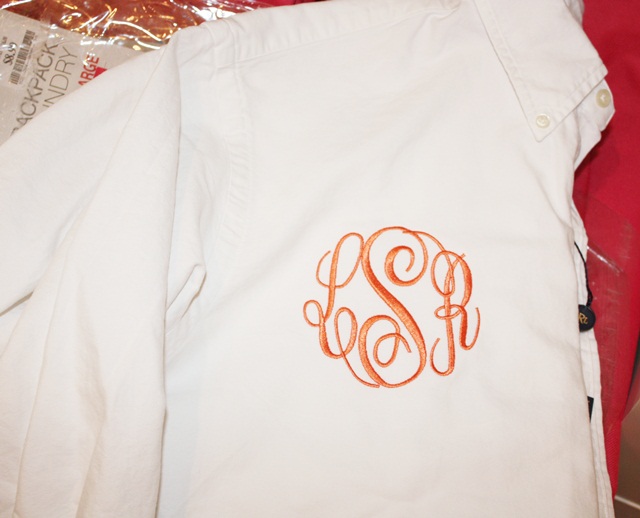
I also monogrammed this long sleeve polo for my customer’s daughter. I have seen these a lot as bridesmaids gifts ~ the girls wear them on the day of the wedding (button down shirt is usually a plus). I have done several of these for the same customer for her daughters and I think they are cute! On a couple of them I monogrammed a very small block straight-across monogram on the top of the pocket (like a man would wear), but on this one she wanted the full circle swirly monogram (I used Monogram Wizard Plus “Master Circle” which is my favorite monogram font). Just an idea!
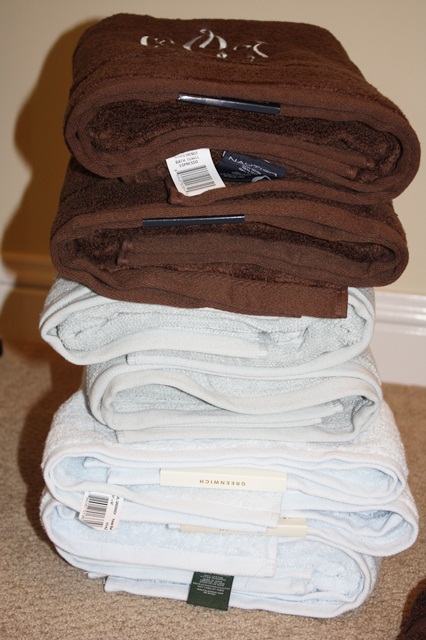
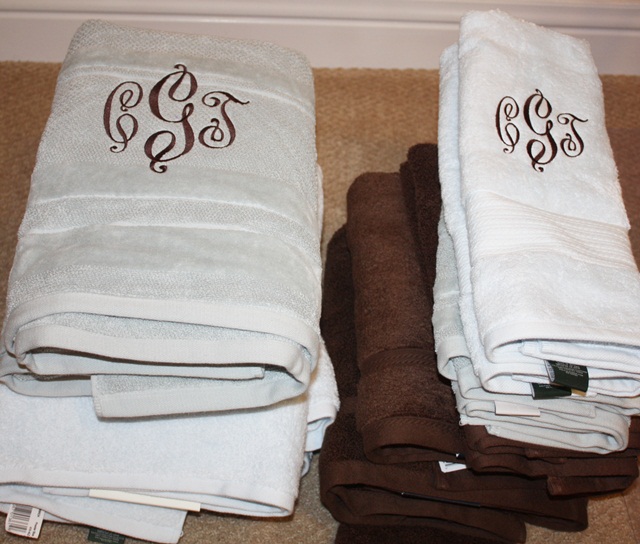
Last night and today I have been monogramming 14 towels for my new sister in law. All the same font and 2 different colors so pretty easy, but time consuming! Luckily these are “set it and forget it” type items so I was able to multitask while they sewed.
This is Monogram Wizard Plus “Victor” font.
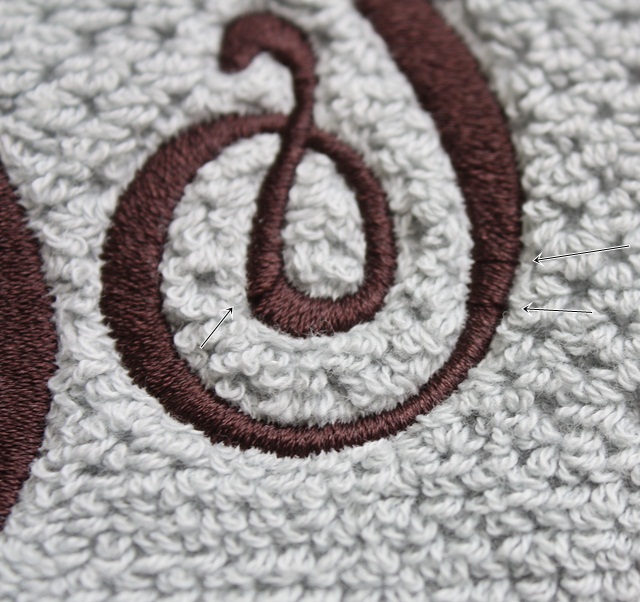
I did have some trouble and I was so anxious to share this because I’ve seen this complaint a lot on one of the Facebook groups. You may have had this happen before? I did “FILL STITCH” on the towels and had trouble with some looping. After changing needles (literally replacing the needle), switching the thread to a different needle (on my 6 needle), cleaning my bobbin case AFTER changing my bobbin out and then doing a different color towel using different thread and having NO looping, I determined it was the spool of thread! I did a tension test and everything while trying to determine my problem.
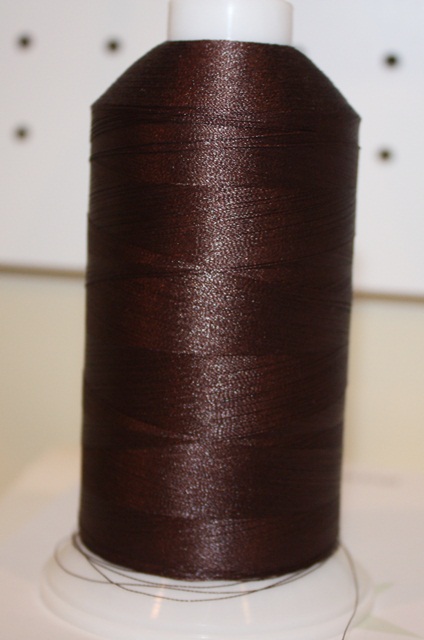
This is a 5000M spool of thread (a brand I use ALL THE TIME). I noticed that as it was coming off the spool it was twisting some, so I honestly think it was the thread. Today I went to a local quilt store and found an Isacord 1000M spool in the same color and finished the towels without a single loop. So….. if you have problems with looping, it MAY be your tension or any of the other issues I ruled out, OR, it may be the thread. Maybe it wasn’t wound on the spool correctly? I don’t know, but I’m going to try it again with regular appliques or satin stitch and see if it just doesn’t like fill stitch monograms.
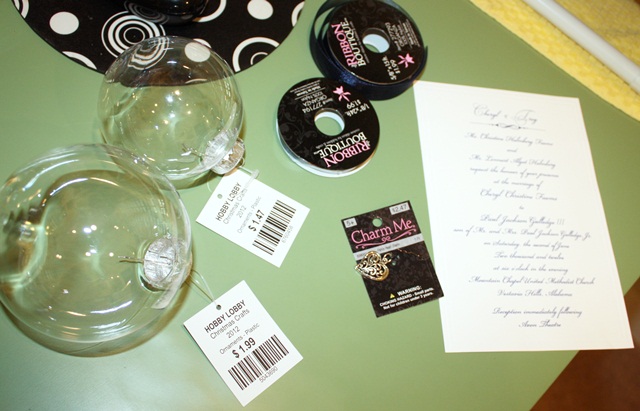
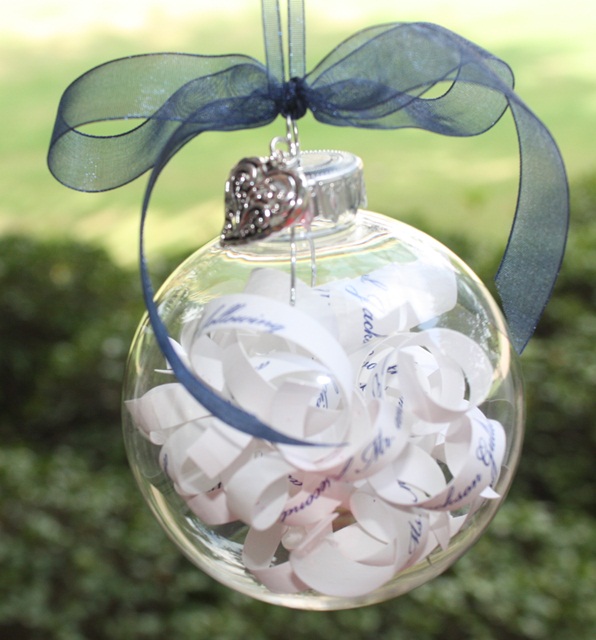
Now on to my crafty segment! I have been on Pinterest forever. I’ve tried a few recipes and spend hours upon hours each week just checking who’s pinned what without every DOING anything. We are going to Birmingham tomorrow (Jeff & I) to shop a little and have lunch with Jeff’s bro and his new bride (whom I monogrammed all the towels for). Several months ago I pinned a Christmas ornament made with a wedding invitation. SO… I stuck their wedding invite in my drawer and finally today made the trip to Hobby Lobby to get my supplies. I got 2 different size ornaments because I wasn’t sure which size I needed. After trying the bigger one, I went with the smaller one and everything fit great! I’ll keep the bigger one for some other project. With sale prices and coupons I spent less than $7. These look glass but feel more like acrylic. Also, I bought them individually but they did sell them by the box as well and also in a few different shapes (great for vinyl).
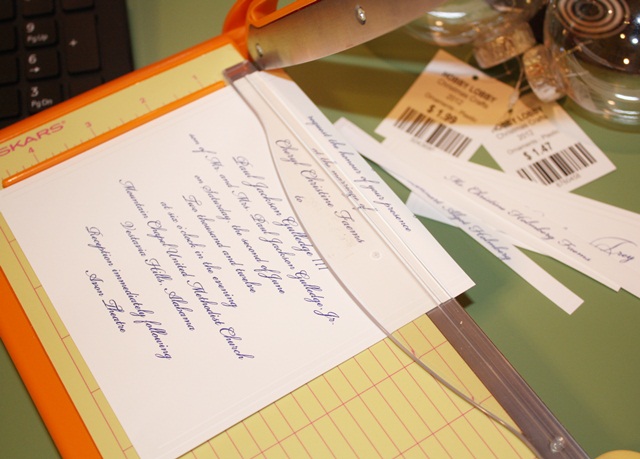
First I used my el cheapo Fiskars paper cutter I got from Walmart and cut the invitation in to strips as best I could, trying not to cut off any of the lettering.
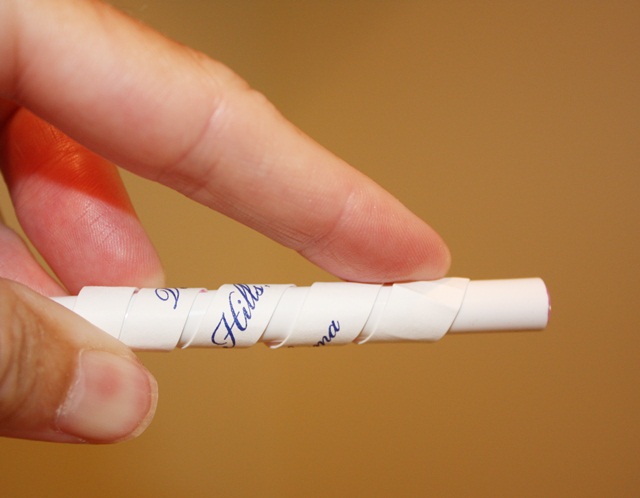
I then wrapped each strip around my (Applique Cafe) pen, making it curl.
I then just put each curled strip in to the ornament (the top pops off). I tried to place the strips with their name, etc where they would show. I put the top back on, attached the heart charm (the Pinterest photo used a sea shell) and then tied my ribbon on. I used 1/8″ navy organza ribbon for the hanger and 5/8″ navy organza ribbon for the bow. Their wedding color was navy, hence the navy ribbon. In the Pinterest photo she used white and cream ribbon. I honestly couldn’t remember while at Hobby Lobby whether the invitation was more white or cream, and then remembered NAVY was their color so I went with navy! Anyway, I thought this was a cute little personal gift and I hope they like it! Finally, all those hours on Pinterest paid off!
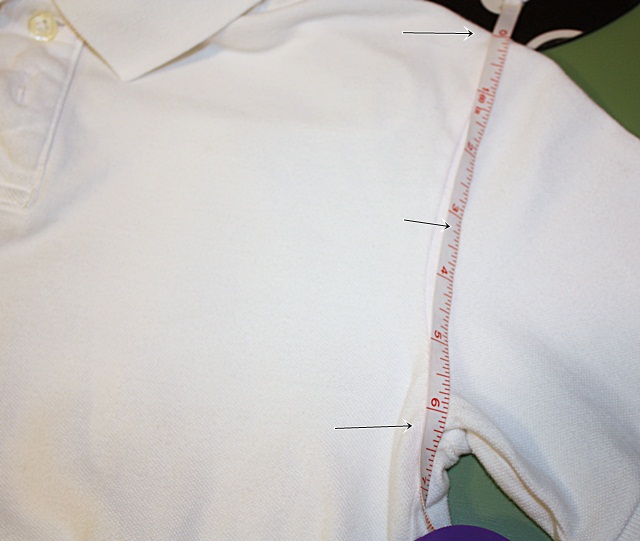
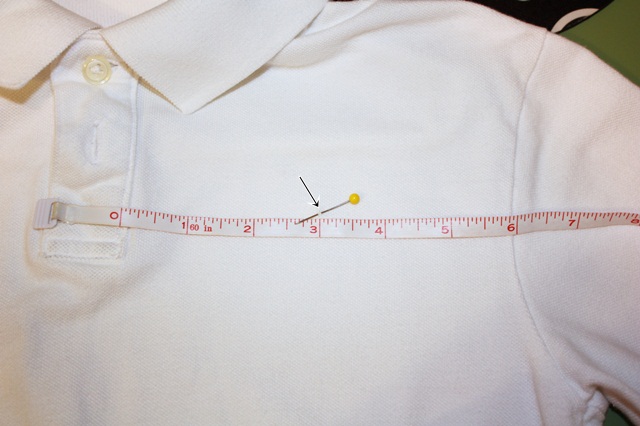
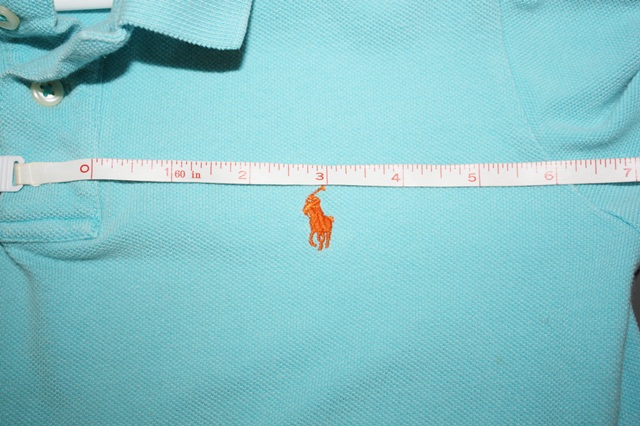
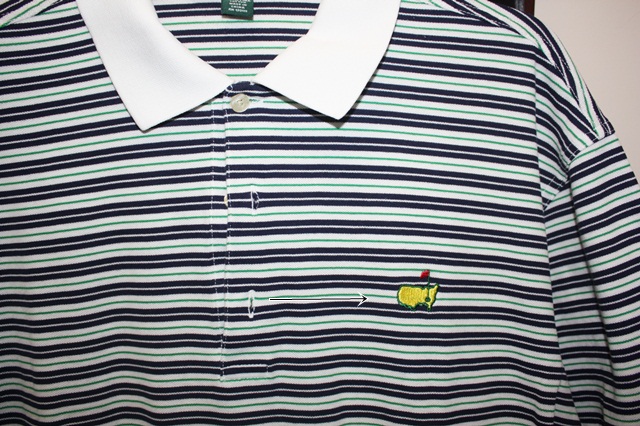
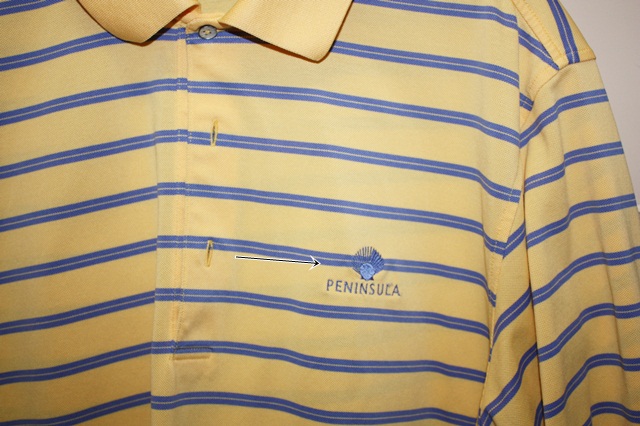
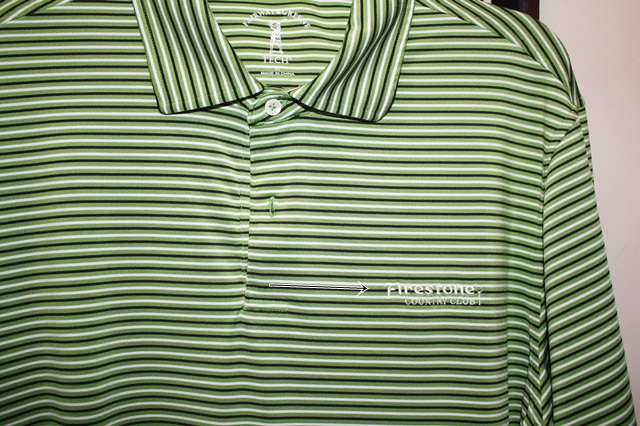
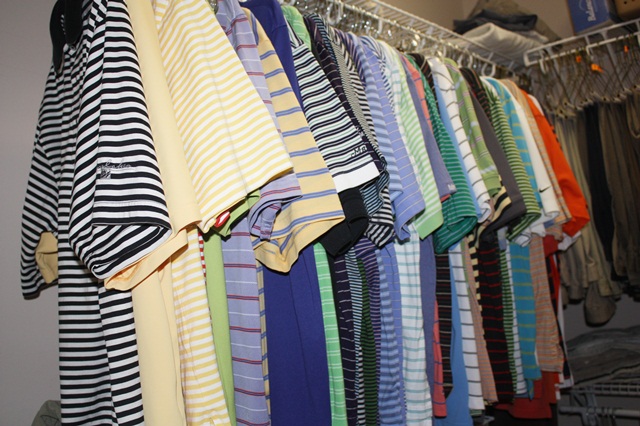
As a follow up to my Mini Embroidery Design post, I have another technique to measuring your polo type shirts for mini or other designs. A blog reader emailed me her trick ~ she said she measures from the top seam of the arm down to the armpit seam. On my shirt it was a little over 6″. I then stuck a pin where the middle was and then measured from the button placket to there.
A pretty even 6″ so my initials or mini design would go where my pin is! This is a great “rule of thumb” for measuring and much more scientific than my post! Thanks for the tip!
I apologize for this post being all over the place! I guess a random post is better than no post! Have a great weekend!

Recent Comments