Love of Learning

Happy Thursday! I saw the below *BATHROOM* monogram guide floating around Facebook this week so I thought I would share! I know when I do towels, it’s usually a guessing game as to how big to make the monogram. I usually try to fill up my 5×7 hoop when doing a regular towel monogram, but this is way more helpful! monogram guide

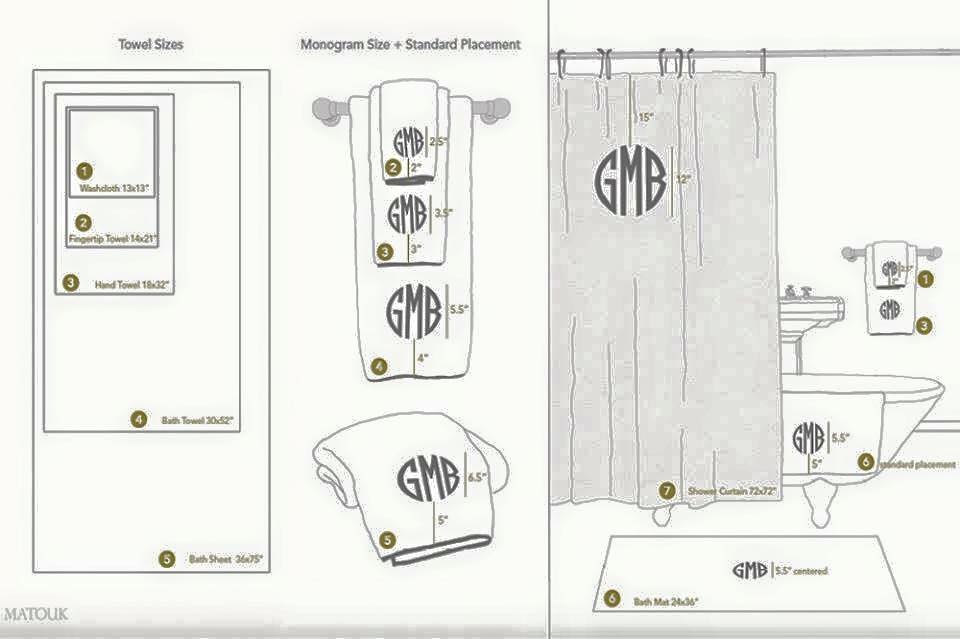
In case you didn’t know, I’m a big fan of Craftsy video classes! They are having a “Love of Learning” sale now through 9/27 on over 550 classes, and many are embroidery related. Most are under $20! You can watch at your own pace, watch over and over again, take notes, ask questions, etc. You can click on the photo link below to go to Craftsy and then click on the Embroidery link to see what all they have related to embroidery and applique. I noticed a few that I was interested in and haven’t seen yet – there are a couple on hooping! There’s also a cute one on In the Hoop gifts! I haven’t really delved in to ITH projects but they are all so cute! There’s also a great Product Photography video class I posted this summer which was super helpful!

Social Embroidery

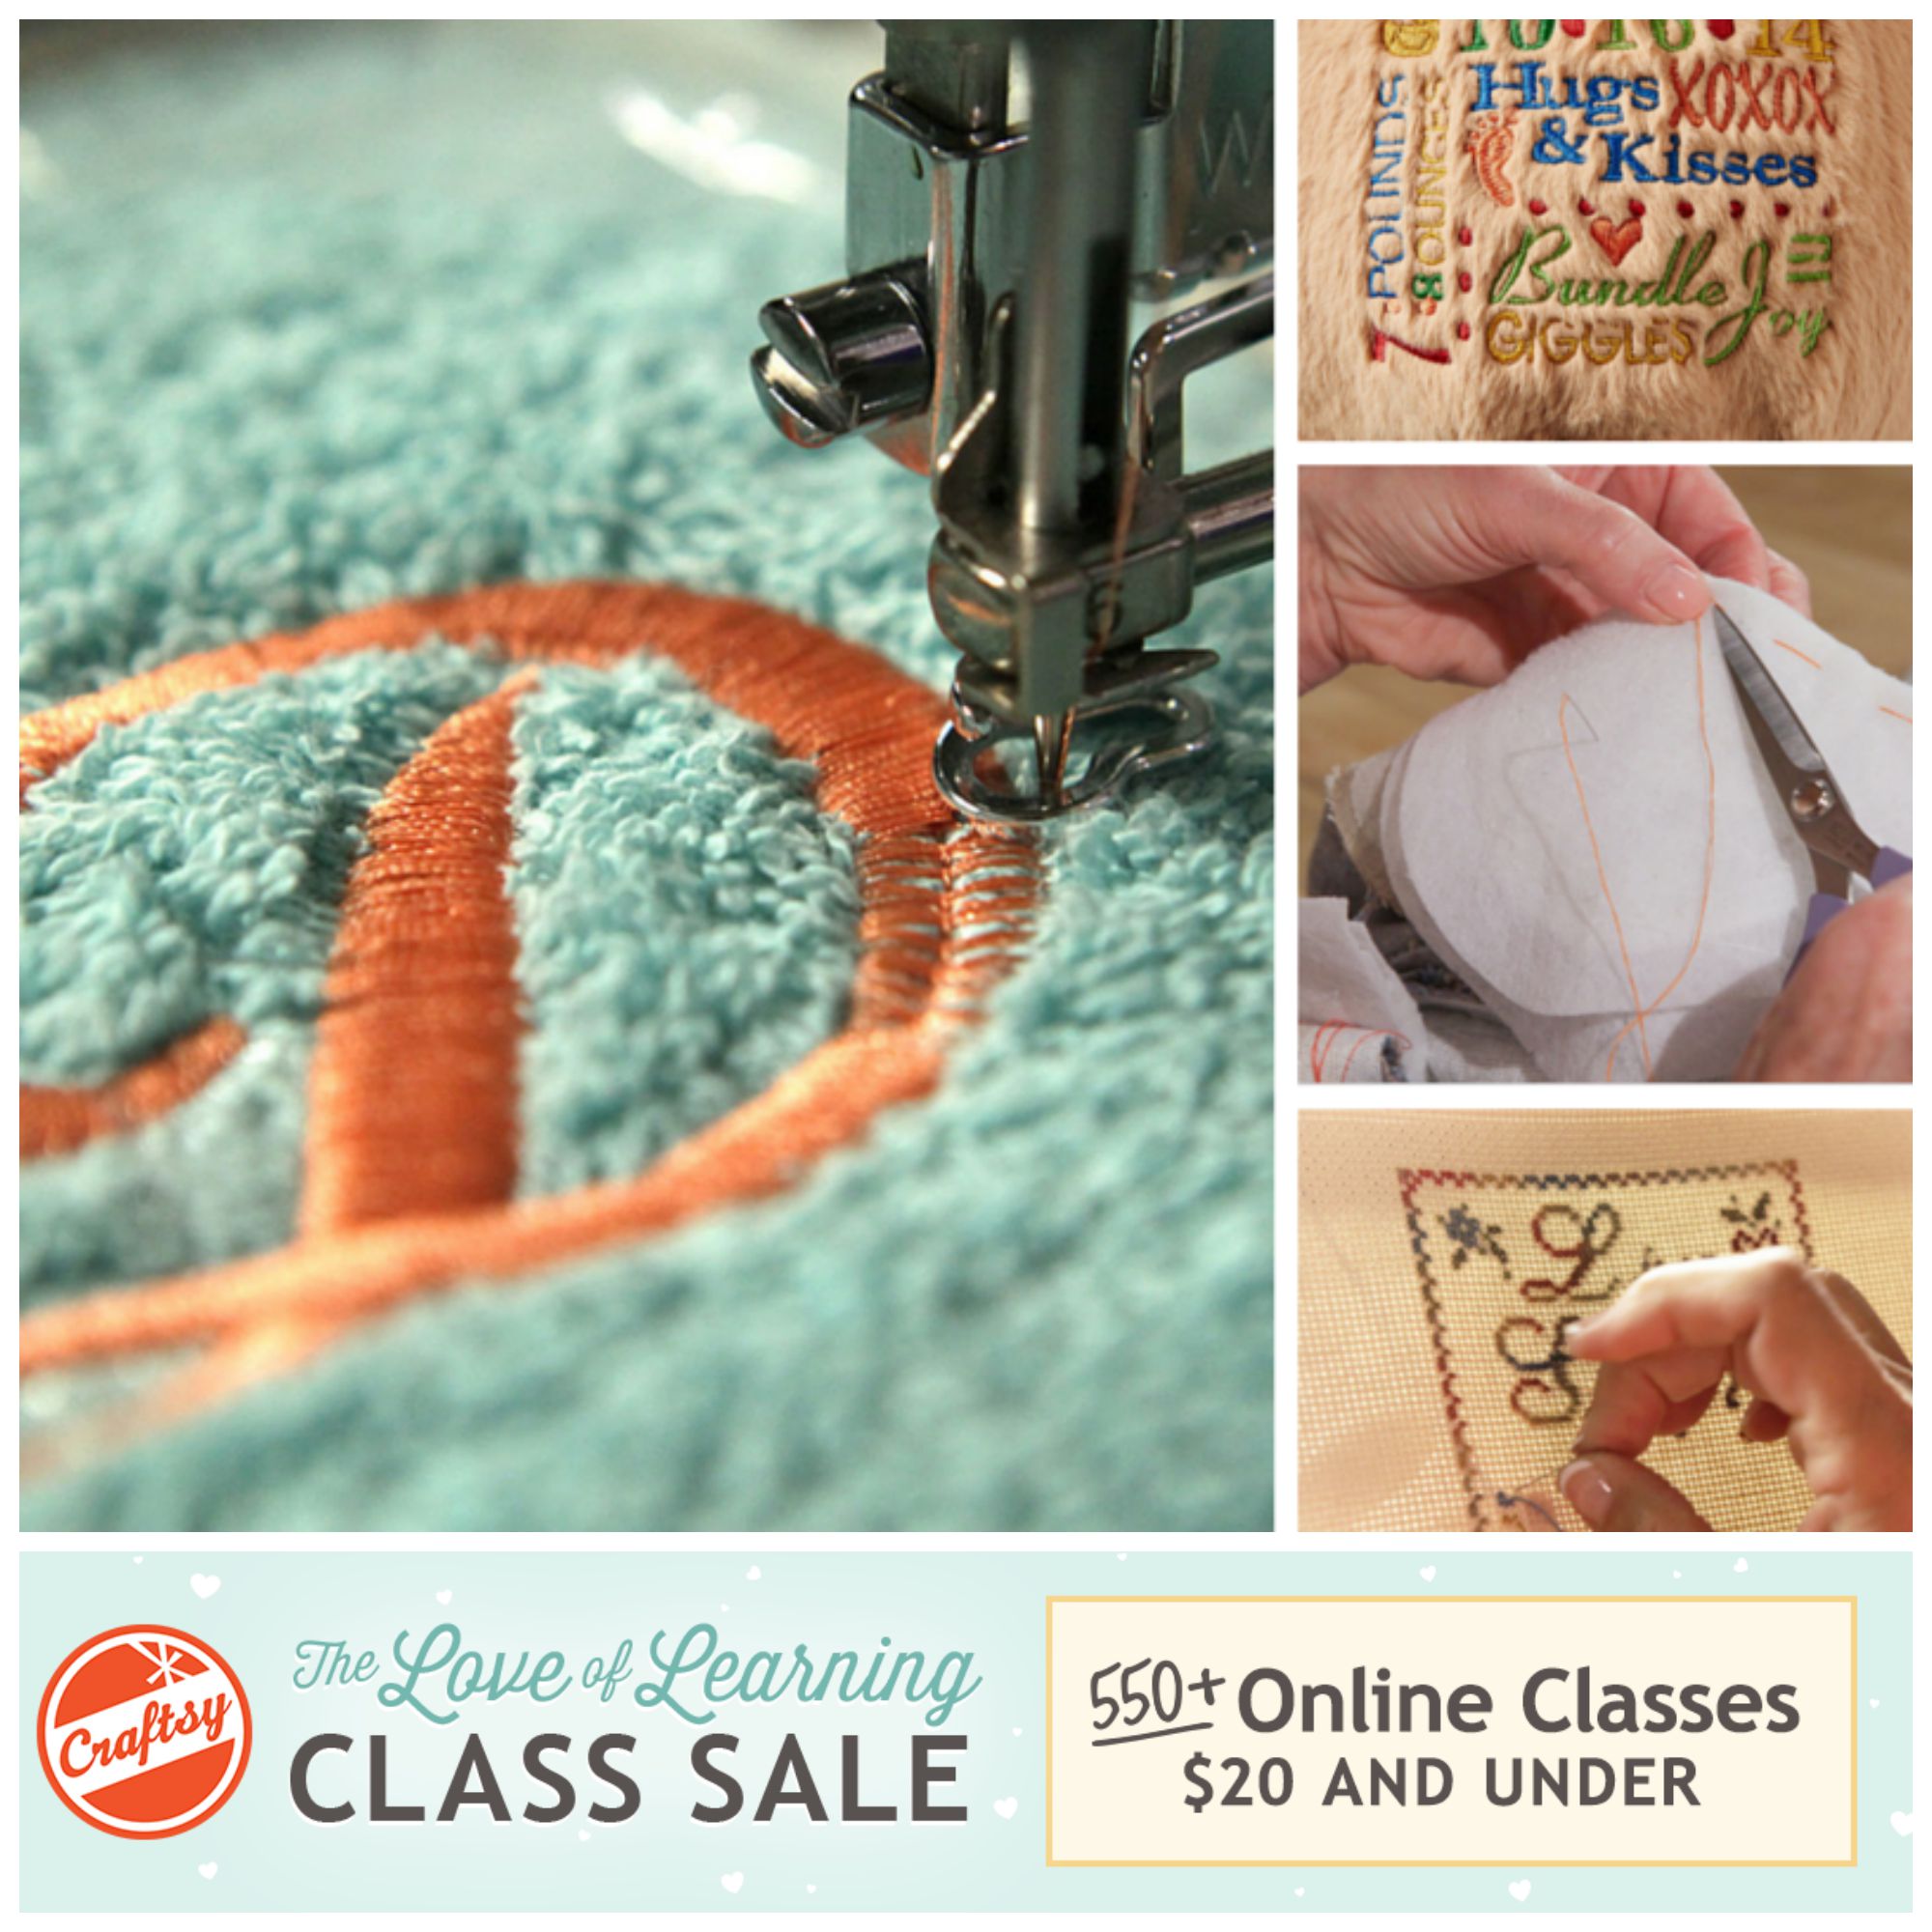
Applique Cafe is a proud Affiliate of Craftsy!

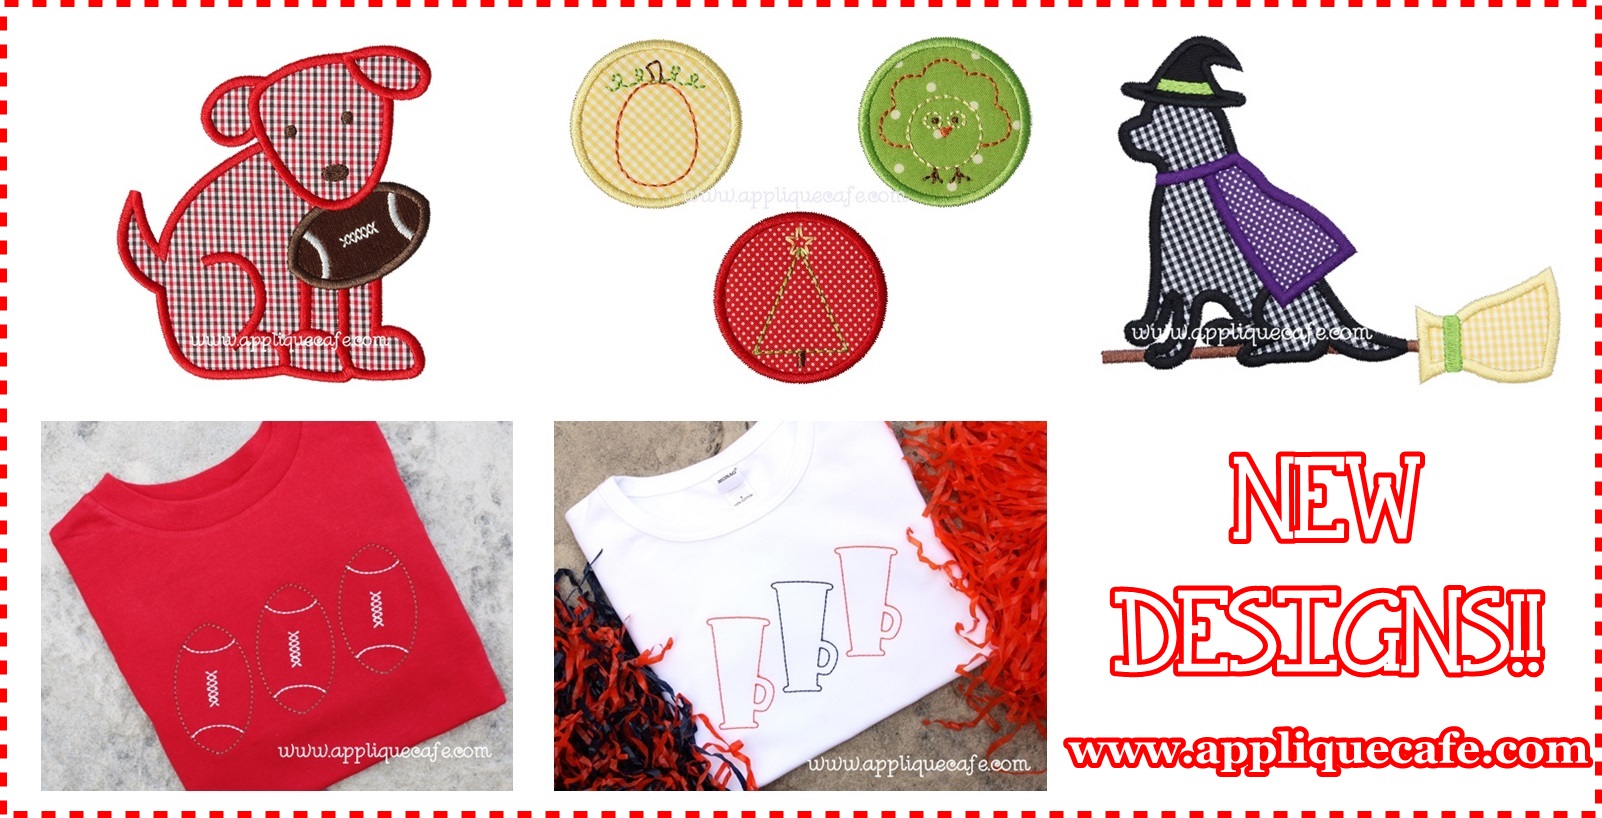
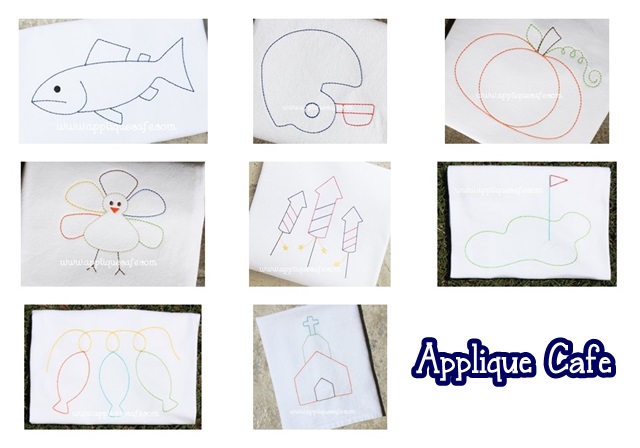
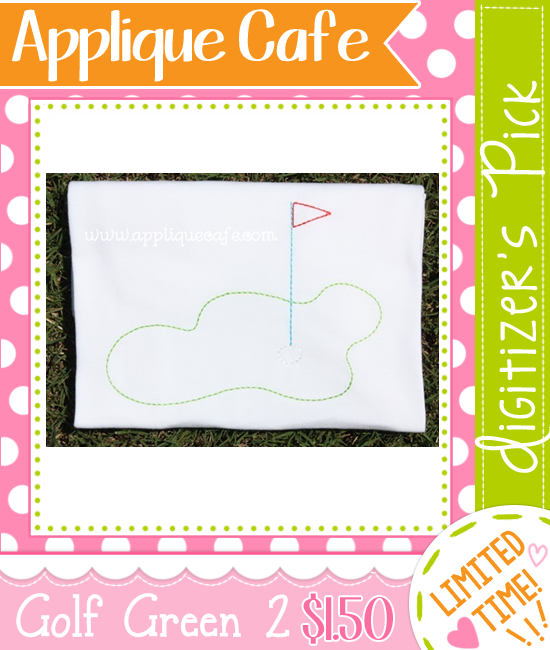
Check out our double Digitizer’s Pick ~ Gingerbread Girl and Gingerbread Man 2! You can find both of these and our other new designs at Applique Cafe.  I have 3 more new ones to list in the morning. These are cute, they match and are only $1.50/each!

adigitizerspick 500

Have a great weekend!

Shower Curtaingate 2015

Happy Friday Y’all! It’s been a wacky however-many-weeks since school started. I think I said in my Back to School Post …and I quote….  “Now I hope to have more time again to work, blog, get organized, monogram stuff, clean out closets and all that other stuff we put on our to-do list for when the kiddies go back to school!” Blah blah blah yeah that was a joke. Me thinking I would have more time sounded like a good idea! I forgot allllll about laundry, bible study, library duty, recess duty, morning runs to Target, 12:30 carpool, 3:20 carpool, 5:30 soccer, 7:00 soccer, 4:00 soccer, 5:15 soccer, etc. I haven’t really had time to organize or clean out anything. But, I have had time for Shower Curtaingate 2015, which consumed a week or two of my embroidery life.

I have a sweet customer that I’ve been doing monogramming for for YEARS. She dropped off this cute Pottery Barn Kids shower curtain for me to monogram, and since I’ve done a shower curtain or two in my career, I had little no worries. I formatted the humongous “B” in my Monogram Wizard Plus software (Library font) and made it as big as I could get it to fit my 11.8″ x 7.9″ hoop. I *carefully* hooped the shower curtain and put it on my machine to stitch. I even took a picture and put it on Instagram! The first attempt was 84 minutes and 42,852 stitches. About 10,000 stitches in, I realized that part of the shower curtain was being SEWN in to the B on my machine from underneath!!!!!!!!!!!!!!!!!!!!!! I was SO CAREFUL in making sure the machine would not sew the shower curtain, and yet it did!!!!

Below is a photo AFTER I had to cut the shower curtain loose from my hoop. Even Jeff tried to “cut out” the monogram from the back/bobbin side, but people, you can’t merely cut out 10,000 FILL stitches. I gave it a day, and then scrounged up a 10% off coupon from PBK and ordered a replacement. I won’t tell you how much that set me back. I almost drove to Birmingham to buy another one, but it’s a new shower curtain and they didn’t have them in stores. So I ordered. Then I waited.

IMG_6228

So friends, about a week later, I got the replacement shower curtain in the mail and attempted to monogram it AGAIN….. This time I made SURE the shower curtain was all free from the sewing arm underneath. It wasn’t until I was about 50,000 stitches in that I realized that for some reason, the weight of the shower curtain was causing the edge of my hoop to ever-so-slightly bump the arm of the machine where the bobbin stays. Therefore and henceforth, my B got *off* on the right side, left about 1/2″ gap in the middle and I finally just stopped the machine {and cried a little}. 2 Pottery Barn Kids shower curtains. 2.

IMG_6229

Here’s a closeup of my wonky B. There was no salvaging this B. However, the shower curtain itself was still in tact (no hole cut in it) so I came up with a plan!

IMG_6224

I decided to create a patch using the white canvas material from the 1st shower curtain (with the hole in it). I cut out a huge square of it and proceeded to stitch a new B in it with a frame around it (outline stitch only). This time I used the MWP Pharmacy B which is not as thick, and I had Jeff digitize a custom sized Frame Patch 2. Again, I only stitched the outline stitch of the frame plus the fill stitch B. I would use this “patch” and applique it in to the 2nd shower curtain. Hang with me! I know this is hard to follow….

IMG_6226

Once it was done, I removed the stabilizer (solvy on top) and trimmed closely AROUND the frame outline stitch. The outline stitch would be use as my placement guide on the 2nd shower curtain.

IMG_6227

Sorry this photo is fuzzy, but I hooped the 2nd shower curtain with the messed up B on it, with the messed up B centered in the hoop as closely as I could get it. I then stitched another outline stitch of my frame patch, and then REMOVED the fabric and messed up B inside. I trimmed inside that outline stitch and closely. After I cut it out, what was left was medium cutaway stabilizer inside the frame patch outline which was also hooped with the shower curtain (stabilizer, that is).

IMG_6230

Next… I placed my outlined *new* B “patch” that I stitched alone and lined up the outline stitches of the frame. I used some temporary spray adhesive to stick the patch down and made sure the outline stitches of the frame patch lined up with one another. I then stitched a tackdown stitch, which tacked the patch in place.

IMG_6232

Lastly, I stitched the satin stitch around the frame patch, which created an applique patch of the new B! Did I lose you?

IMG_6233

Here is the finished product! I think it turned out great and saved me from buying ANOTHER shower curtain! So 2 shower curtains and $$.$$ later, I think I have decided that I am retiring from the shower curtain monogramming business. UNLESS… it’s something like a 3 letter monogram or something not quite as huge as this B. In hindsight, I should have sewn an applique “B” using red fabric, instead of an 80,000+ stitch count fill stitch letter. Live and learn.

IMG_6236

Thank you to all of my Instagram followers who liked, commented, prayed and cried with me over this saga of an embroidery job. By the way, I let my customer know what was going on all along the way. She was super sweet and felt super sorry for me. I honestly like how the {B inside the frame} turned out better than just a plain B!

In other news, here are several new designs I listed a couple of days ago! We haven’t done a “Stitch” the dog design in a long time, so I was excited about the Halloween Stitch! I also adore this Puppy and love the fast and easy “vintage” redwork stitch designs (Footballs & Megaphones)! You can see all of these at Applique Cafe!

football dog 3 500-tile

What’s your “Shower Curtaingate” story? We all have at least 1!!

Vintage or Simple Stitch Designs

First of all, I seem to have this thing with taking photos of stuff tilted to the right!? I guess straight on can be boring sometimes. Second of all, the new Friends of Applique Cafe Facebook Group is going great! We are up to about 775 members, and I can tell already that creating a group was the right move! Someone commented on my last post that FB PAGES are more for ME to post what’s going on, but other than that, there is not much interaction if no one likes or comments. Basically, you see what I post IF it shows up in your news feed. You rarely actually visit someone’s Facebook page unless you are looking for something. On the other hand, with a group, it’s more like a community. The people in the group are seeing what you post and are actually *liking*, commenting, etc. Very refreshing!!

So… these “vintage” simple stitch (aka redwork) designs are pretty popular right now. I though I would share what stabilizers I use for these, since the first one I did didn’t turn out perfectly. Below are several that we have listed at Applique Cafe, and they can all be found under the Zig Zag | Vintage | Raggy category. I also just sampled a new one which is Stitch the Dog. We haven’t done anything with Stitch in a WHILE. It’ll be listed in the next day or two! vintage

I have found {by trial and error} that Solvy (water soluble) stabilizer should be used on top with these designs. You can’t really see it in the below picture, but I hooped medium cutaway stabilizer underneath the shirt and solvy on top. I am a hooper btw… This is an old Monag shirt someone gave me to sample on and their shirts are pretty thick, so I went with medium cutaway. On a thinner shirt, you might use a thinner cutaway such as polymesh or no show mesh cutaway that won’t show through.  IMG_9505

The stitch time on our new Stitch the Dog is 2 MINUTES. These designs are super fast! IMG_9506

The solvy on top helps prevent the stitches from a) sinking and b) puckering the shirt. IMG_9507

This is the back of the design and you can see the big piece of medium cutaway. I trim around the design when I’m done, getting close to the stitching. For this shirt I also trimmed in between the front and back legs, as well as around the tail. IMG_9508

I had someone ask how you remove the solvy without pulling the stitches. I haven’t really noticed a problem, but for this post I did wet a couple of Q-tips and went over the stitching/outline of the design on the solvy. Since it’s water soluble, the wet Q-tip helps loosen up the solvy so it’s a little easier to pull away.

IMG_9510

There were a few stray pieces of the solvy sort of underneath some of the stitching. You can either pull it off, or squirt some water on it from your iron and it should dissolve. IMG_9511

Here is the finished product! Again, this is a thick cotton shirt so you can’t see the medium cutaway stabilizer through the shirt at all. The red gingham ruffle shorts are from EllieO. These vintage/simple stitch designs are great with simple gingham bottoms! IMG_9512

So here is the first designs I did of this type and I DID NOT use solvy on top. It’s sort of hard to see in the pictures, but there was some definite puckering. I added solvy on the next one and it stitched MUCH better! No puckering and the design and shirt lays flat. The arrows point to the pucker/wrinkles.IMG_9513

You can see the little dimples in the loops. USE SOLVY! IMG_9514

As you can see on the Stitch shirt, the design lays flat with no puckering! IMG_9516 IMG_9517

Here are several of our other designs in this style. The Turkey was done on a Monag shirt as well, so thick cotton and I used medium cutaway and solvy on top. It lays flat perfectly!IMG_9521

The church… I did this one on a flour sack dish towel, which is rather thin. Since it’s a towel, I didn’t want cutaway stabilizer left on the back of the towel, so I used waffle weave tearaway with solvy on top for this one, then removed ALL of the stabilizer. IMG_9522

I did our Pumpkin on another thick cotton Just Blanks shirt I had laying around. I used medium cutaway again as well as solvy. IMG_9523

For thinner cotton shirts, you might try polymesh or no show mesh cutaway such as below. Some people use this type all the time with all shirts. I got mine from Sewingmachine.com and it’s on a big roll. The medium cutaway I use is Sulky Cutaway Plus, or the commercial cutaway from Sewingmachine.com. I recommend 2.2 oz or no more than 2.5 oz for the commercial. More than that is pretty thick. IMG_9525

I also love the waffle weave tearaway that I used on the flour sack towel! IMG_9526

I hope this helps! I think the quality of your shirt also plays a part. The String of Fish design I did above was on a much thinner shirt, but I think the solvy on top would have added a little extra support for the stitches!

Try our Golf Green 2 {vintage/simple stitch} design now for $1.50 ~ our new Digitizer’s Pick!

adigitizerspick 500