Applique Cafe on YouTube!

Good afternoon! I’m sampling new designs today {which you can always catch on Instagram} and finally getting around to a blog post from September 2013! Jeff & I have some friends who have been telling us for years that we need to do more with video, so one sunny day back in September, I decided to do just that. I had a new design to sample and on a whim, I videoed it with my Iphone. For the record, I hate my voice on video just as we all do. Also, I am an A-M-A-T-E-U-R videographer person-with-a-phone. Lastly, I have yet to master splicing 6 videos together, so there are 6 videos in this segment to watch. Lastly again, I was taking the video solo, so that’s why I had to stop and start so many times so I could actually sew the design. My phone doesn’t seem to have a “pause” button. Lighting is so-so and there is a part where I’m talking over my machine and you can’t hear me. Overlook all that and MAYBE you will learn something?

This series of videos might be helpful if A) you have a multi needle machine and aren’t quite sure how to use it or B) you are new to applique and want to understand how it works. I supplemented the video with a few photos too so I will try to explain the process and get you through this post!

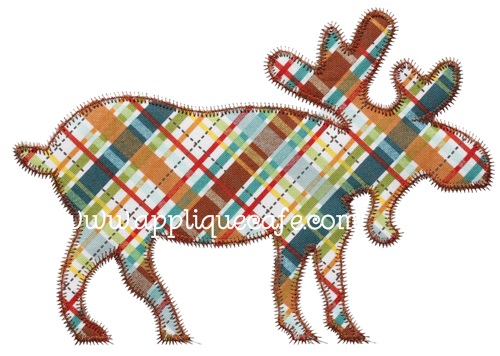
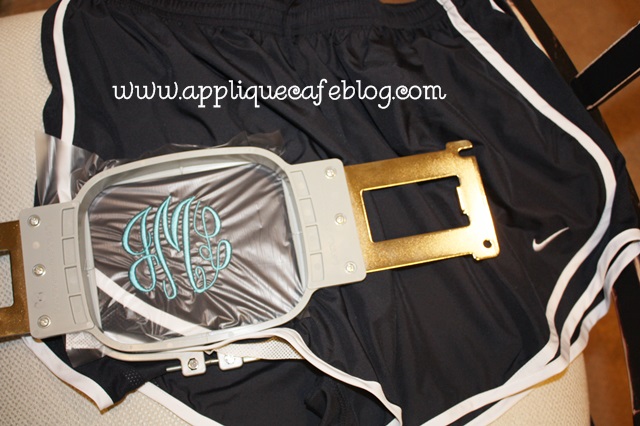
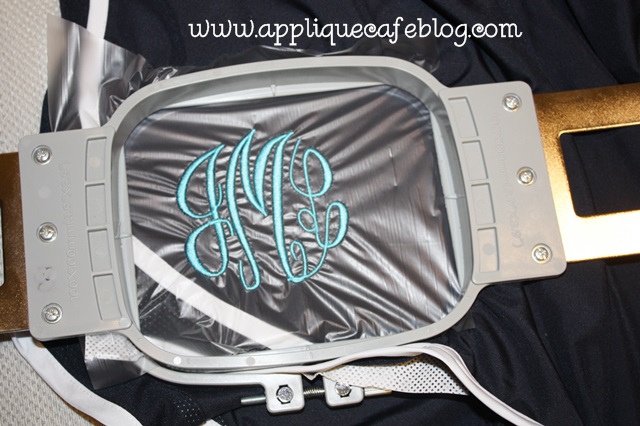
Background: I am sewing a simple 1 fabric zig zag design (Zig Zag Moose) on my Brother PR650 6 needle machine. I like to assign thread colors to my machine and here I explain how and why I do that. This is a sample for Applique Cafe, so I sewed it on 2 layers of medium cutaway stabilizer in my 5×7 hoop (PES format).

zig zag moose 500

Here is video 1!

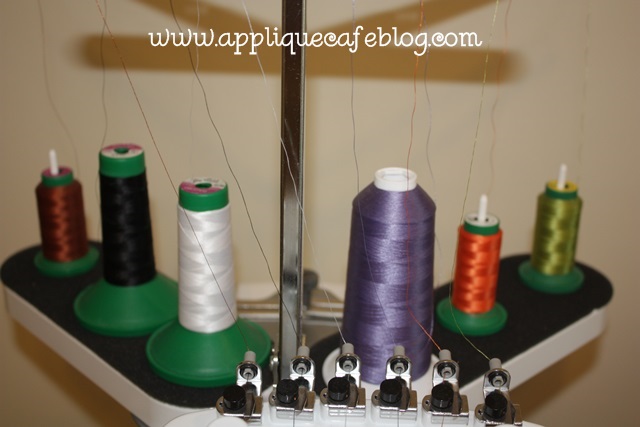
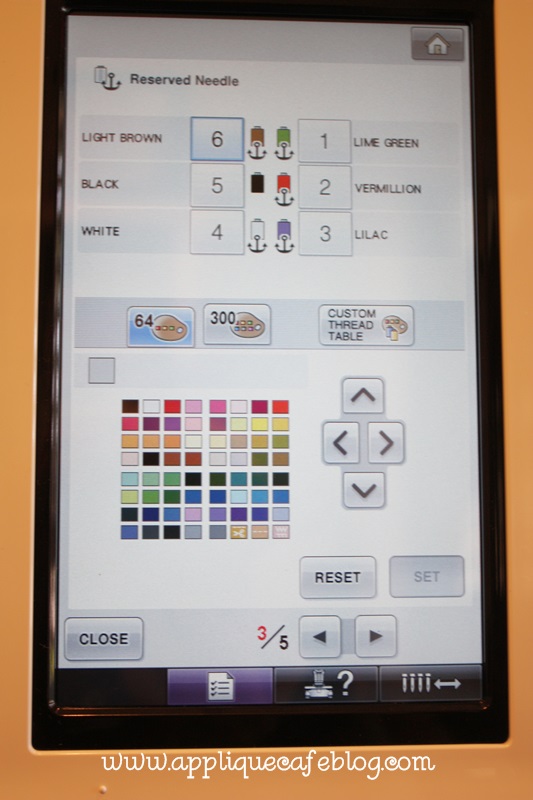
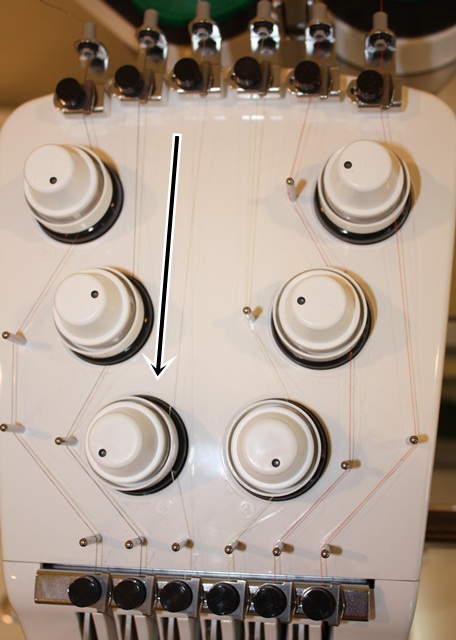
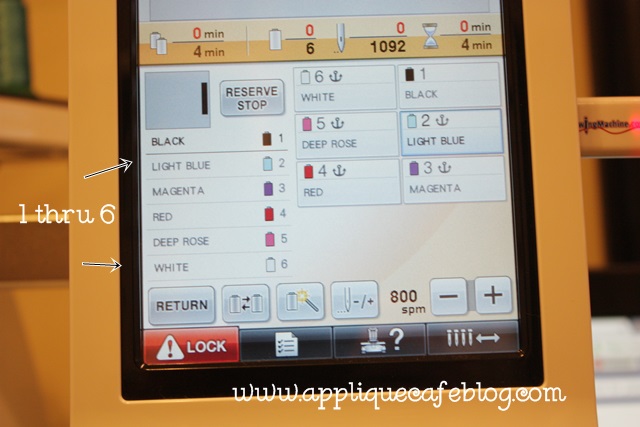
Just a closeup of the colors of thread on my machine, which I “assign” to each needle so my machine knows what colors it has to work with. I mention in the video that 1 needle out of my 6 is always free and you can’t “lock in” that color. It can be any needle, and I usually allow my free needle to be white or black. So if black is on needle 1, then that’s my free needle and there is no anchor by it on the screen.

IMG_8336

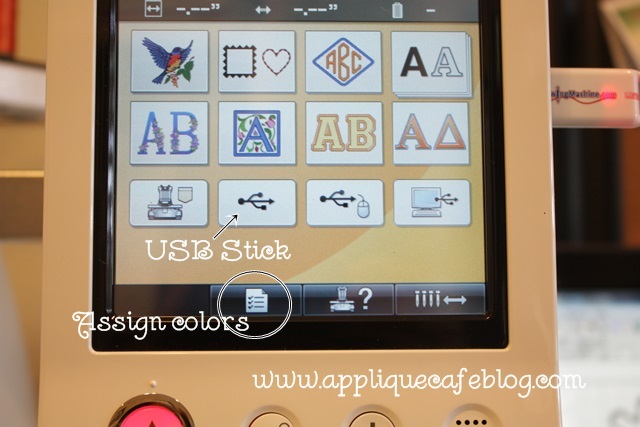
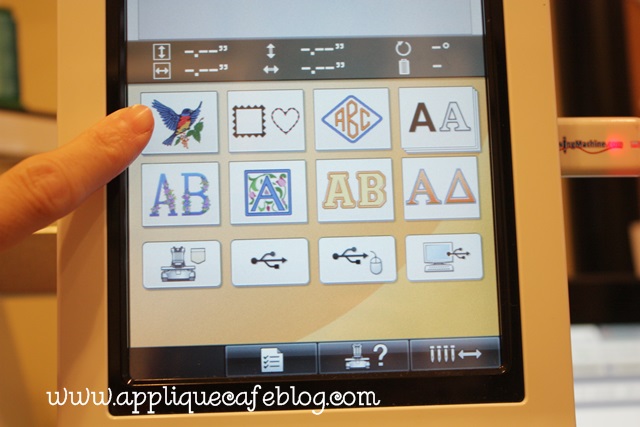
Closeup of my HOME screen. The top 2 rows are built in designs and fonts. I use a USB stick which is the button I pointed to. Side note: I have a USB cord that connects from my computer to my machine, but for some reason it takes forever to send something to my machine, so I just use the thumb drive (see Sewingmachine.com stick). I think there is something wrong with that USB port on my machine, but I have not wanted to part with my machine long enough to get it checked out! The checklist looking button is where you go to assign colors.

IMG_8337

IMG_8338

IMG_8339

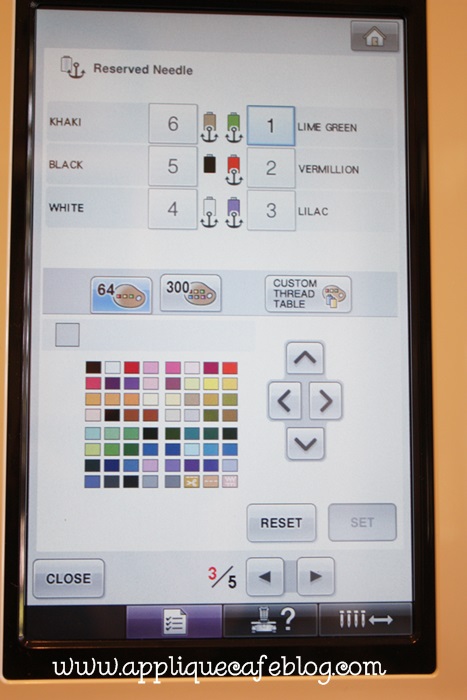
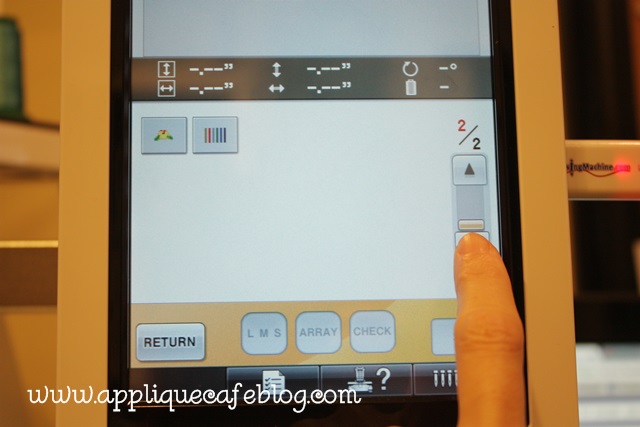
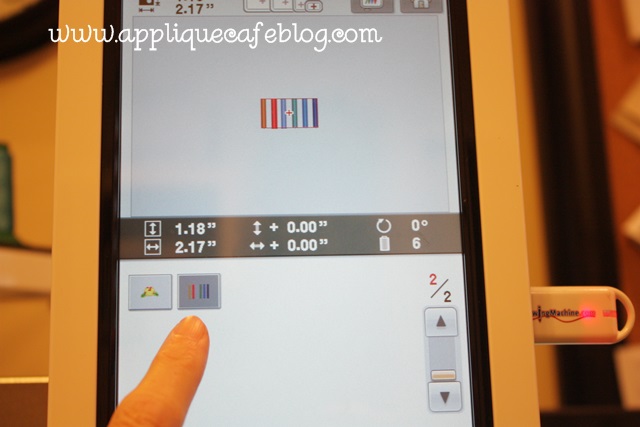
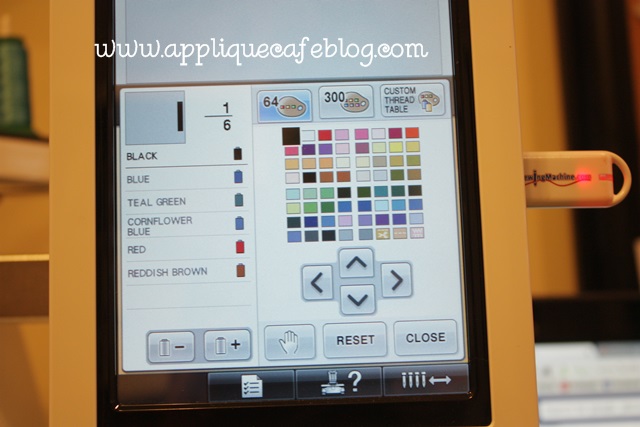
I changed needle 6 from Khaki to Light Brown using Reset and Set buttons! “Set” assigns light brown to needle 6.

IMG_8342

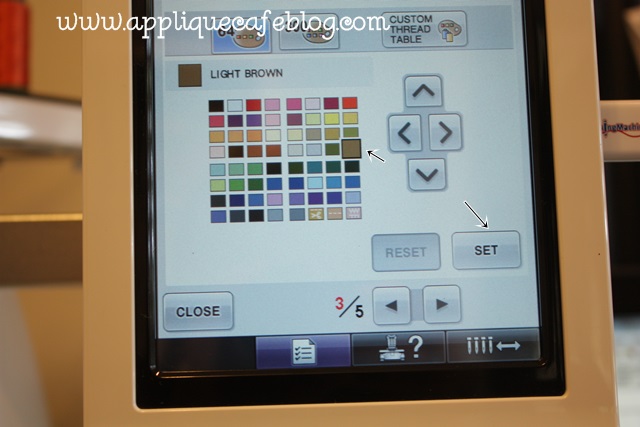
These are the colors of thread currently on my machine.

IMG_8343

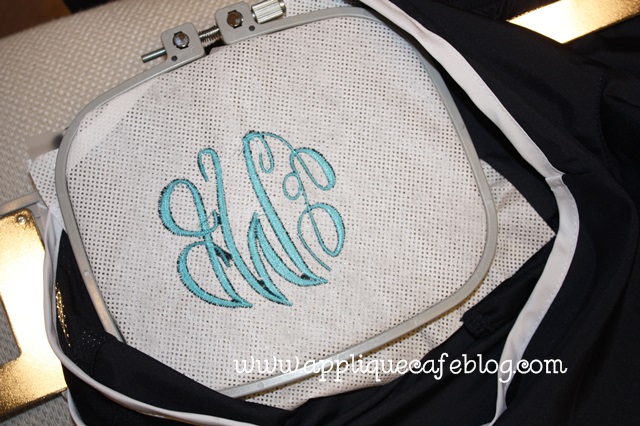
Here is video 2 and video 3.

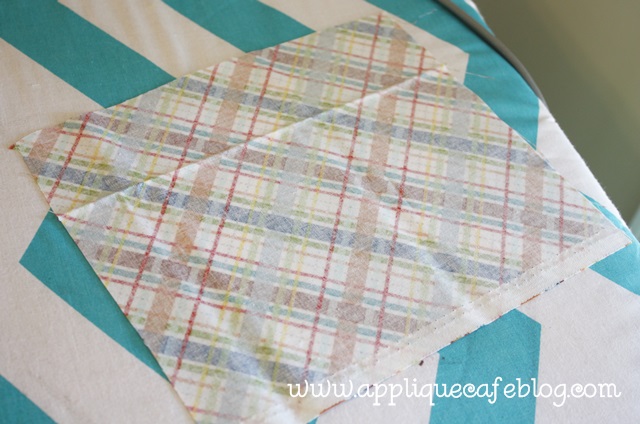
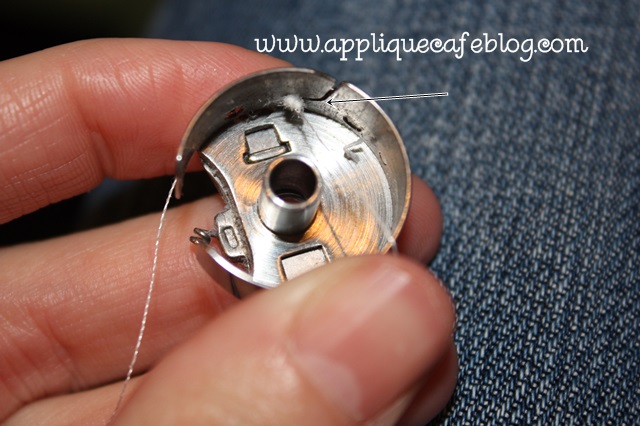
There is a pause between them because my thread broke! I left off after video 3 with fabric prep, which is below. I cut my piece of plaid fabric for my Moose.

IMG_8344

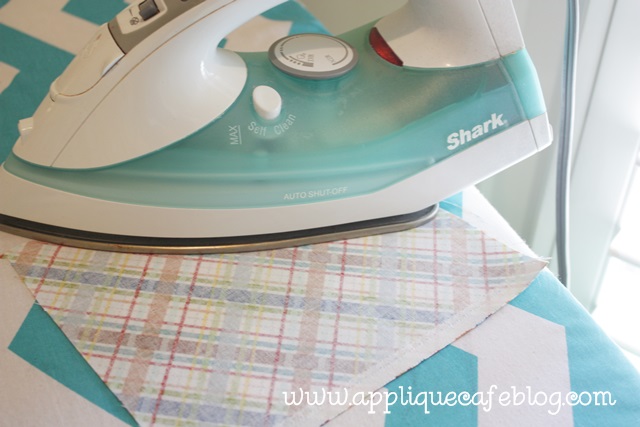
I iron my fabric to get any wrinkles out. Generic Target Shark iron and I keep it on mediumish (not high) with NO STEAM.

IMG_8345

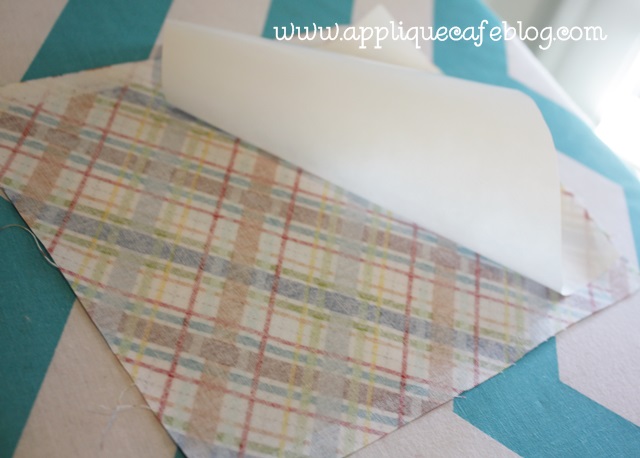
I’ve cut a piece of Heat N Bond Lite and I’ve ironed it on the back side of my fabric. If you don’t know what HNBL is, check out this post. It’s a fusible product which will fuse the applique fabric (the plaid) to my garment. Or in this case, my stabilizer!

IMG_8346

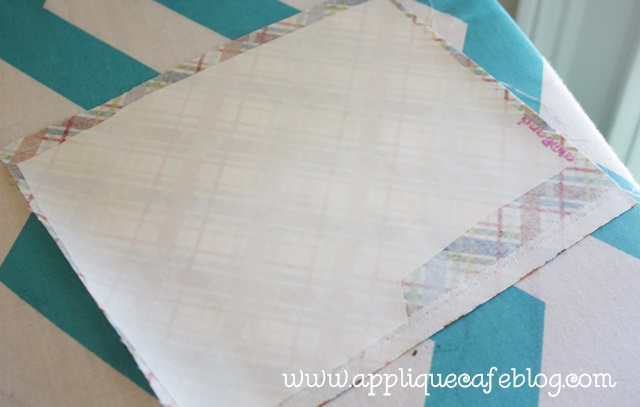
Don’t forget to peel away the paper! It will leave a shiny layer on the back side of your fabric.

IMG_8347

I’ve placed my HNBL-ed fabric down after the marking stitch, so now it’s time for the tackdown stitch and

video 4.

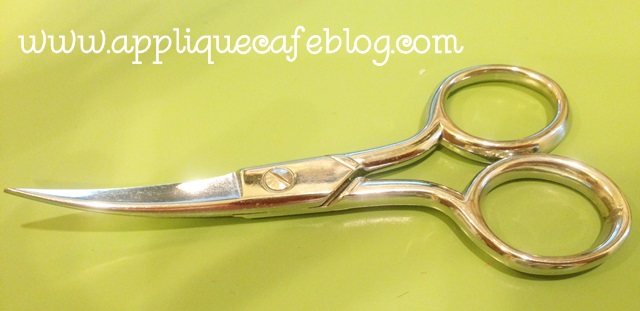
After video 4 I trimmed around my design (around the tackdown stitch) using my Gingher 4″ curved scissors. These are great for trimming and makes it easy to get up close to the tackdown stitch. Havels has a tiny curved scissor as well.

photo

Here is video 5

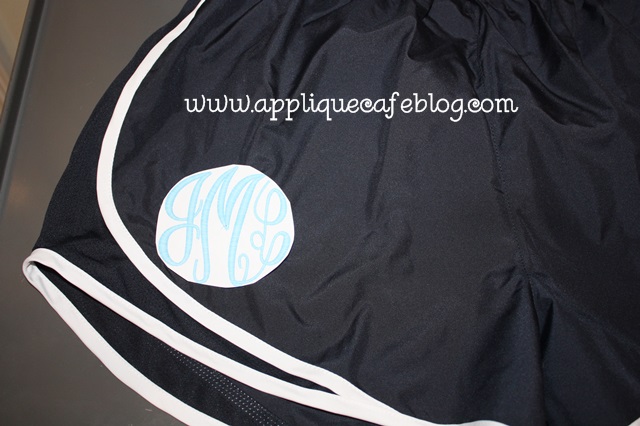
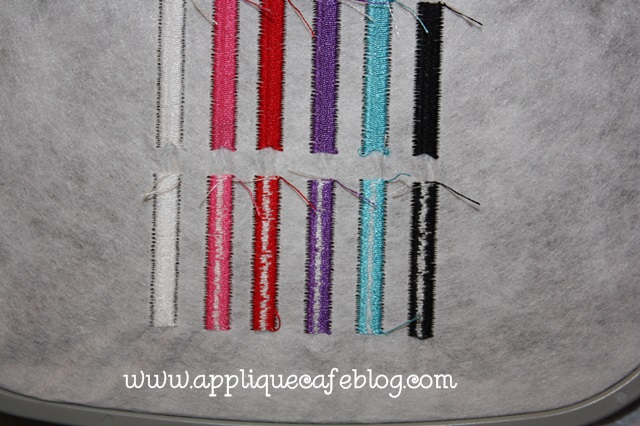
…after I’ve trimmed my fabric and I’m ready for the zig zag FINAL stitch. I tried to say something at the end of the video but you can’t hear me over the buzz of the machine. Sorry ’bout that!! Sew sew sew and lastly there’s

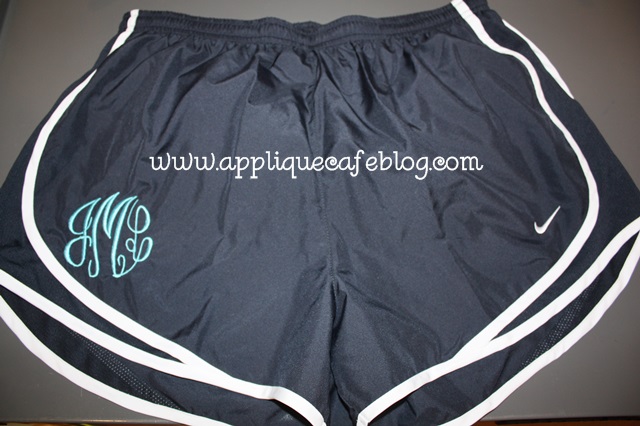
video 6 which wraps up this design!

I hope this is helpful! If you have any questions, feel free to comment! I hope to do some more videos in the future, and you can find them on my YouTube channel!  New designs coming soon to Applique Cafe!

Monogramming Nike Shorts

So…. it has been raining here for 2 solid days. All of the snow and ice is north of us, so all we have had is rain and cold and cold and rain all.day.long. yesterday and today. I’m over it and ready for SPRING! and Nike shorts! I had a customer bring me some Nike shorts to monogram this week, and after asking around to see if anyone had done them before, I “figured out” which stabilizer to use. After I was done, I realized it might be handy information for those of you out there who haven’t done any yet.

I used water soluble “solvy” on top. Yes, it’s water soluble, but I just pick and pull it off when I’m done.

IMG_8781 IMG_8782

I used Waffle Tearaway on the bottom. As you can see, I hooped it all together and also used a little Sulky KK2000 spray adhesive to “stick” the tearaway to the underside of the shorts to keep it in place. This type of tearaway is a little thicker than the standard iron on tearaway, which is like paper, which I normally use on towels and bibs. Nike shorts are made of a thin polyester type material, and I wanted to avoid any puckering with the weight of a monogram. I considered using cutaway (medium) but went with the tearaway and it did fine.

Do you notice anything “off” on my monogram below? There is no bobbin thread showing, which means my tension is off. This doesn’t affect this particular monogram, but it might if you were working on another project. I will show you in a minute how to check your tension on a 6 needle machine.

IMG_8783

Before I actually did the monogram, I wasn’t sure what size I should do. I looked around on Pinterest and saw a bunch of monogrammed Nike shorts in a variety of fonts and size monograms. I was between a 2.5″ and a 3″ monogram, so I printed both and cut the monogram out to see which size looked best, and also it helped with placement. I used Monogram Wizard Plus “Master Circle” as my font. MWP has a print option which comes in handy when you are deciding size and placement.

IMG_8784

I went with the 3″ monogram after consulting with my customer!

IMG_8785

Here’s the finished product! As I mentioned, if you search “monogrammed Nike shorts” on Pinterest, you will see all kinds of fonts and placement. I love the way these turned out! These are navy with a turquoise monogram. Hot pink would have been cute too!

IMG_8786

Now on to my tension issue. I have a Brother PR650 6 needle embroidery machine, which comes with a handy dandy tension test feature. On machines such as mine, your tension is controlled by knobs on top of the machine.

IMG_6970

Looking at your Home screen, select the button with the bird on it.

IMG_8788

It will pull up some embroidery designs built in to your machine. Go to page 2 and you will see the tension test.

IMG_8789

6 color bars or lines = 6 needles = 6 thread colors.

IMG_8790

I go in and program each step according to the colors of thread on my machine. Huh? I assign black for needle 1 because black thread is on my machine for needle 1. Etc…

IMG_8791

As you can see below, I’ve assigned my colors and it shows the 6 steps with needles sewing in order to test each needle, 1, 2, 3, 4, 5 & 6.

IMG_8792

Here are the results of my first tension test. Again, no bobbin thread showing. Since all 6 rows are lacking in bobbin thread, I have to assume there’s an issue with my bobbin! Had it been only 1 needle, then I could assume there was an issue with that 1 needle and the rest were fine with no bobbin issues.

IMG_8793

After taking my bobbin case out, I quickly found the culprit. It looks like the thread is caught and is balling up before it can come out of the bobbin case.

IMG_8794

Bingo! I removed the “knot”, re-threaded and put my bobbin case back in. I use Magna Glide Prewound L bobbins.

IMG_8795

Tension test #2 results are below, and you can see the bobbin thread. A good rule of thumb per Steve at Sewingmachine.com, is 1/3-1/3-1/3. 1/3 colored thread, 1/3 bobbin thread in the middle and 1/3 colored thread on the other side. Mine is not exactly 1/3 each but it looks much better and I can work on the tension up top!

IMG_8796

I hope that was helpful ~ both the stabilizer with the Nike shorts AND the tension test! You can find more helpful videos regarding 6 needle machines at Sewingmachine.com!

Before you go, check out Whimsical Fabric’s latest blog post! I had the pleasure of being their “Featured Customer” for February! Find out more about me and running my own business! WF has great fabric, shipping supplies and sewing patterns for those of you who sew. She also hosts a “Sew Along” each month so check out her blog to find out more. She’s also on Facebook and has a sew along Facebook group if you are interested in joining! Basically she picks a pattern to sew each month and blogs about each and every step. There are discussions on Facebook and lots of photos!

wf

Lastly, all of our designs are on sale through Tuesday, February 18th at Applique Cafe! Below are a few new ones listed last week.

feb sale

I’m off to snuggle with my Maggie. She is scheduled for surgery in the morning to be spayed!! She has already begun her first heat cycle (eeek!!), so the timing was perfect and we’re anxious to get through tomorrow. Have a great rest of the week! We are hoping for some sunshine tomorrow!

photo (58)

Brother PR650 Applique

Here is my followup post on APPLIQUE on the Brother PR650. This is a simple (new) Bunny Applique Cafe design I sampled this past week. I get asked a lot by newbies if I include instructions on my applique designs. The answer is THREAD CHART! We include a thread chart which includes an image of each step. I ignore the thread colors because I am going to pick out whatever thread colors I want to use based on the fabric I pick out. You would typically use the same color thread for marking, tackdown & satin, but in digitizing, these colors MUST be programmed (digitized) differently. This tells your machine to STOP!

You see below 1. Marking, 2. Tackdown, 3. Satin and 4. Inner stitching on the bunny (which could be left off). This 3+ step process applies to all applique designs ~ 3 steps per fabric (marking, tackdown and satin). Then factor in eyes, nose, inner stitching like this, etc. 

 Here I have saved my Bunny design on to my machine via the USB Cable connected to my computer (E:/ drive on my computer). As you can see, I use Sew What Pro on every single thing I sew! Even if I’m NOT editing or merging, I LIKE to see what I’m doing on my computer screen, so I always pull my designs up using SWP before I save to my machine. Note that the bunny is upright ~ later I will rotate it to the left so it will fit in my 5×7 hoop.

 I have chosen a green/white dot fabric for my bunny and I want to use a pink inner stitching on him, so I have put my colors on needle 1 (pink) and 2 (celery green). I have “told” my machine that I put pink and light green on it, as you can see I anchored these colors below on needles 1 and 2. This is how I was taught, so this is how I assign colors on my machine. Now my machine knows that light pink is on needle 1, lt green is on needle 2, red is on needle 3, etc. Needle 5 is black and is not anchored ~ the machine will only allow you to anchor 5 colors and the non-anchored needle is a free agent.

 Now we go through the steps to tell my machine which colors to use when sewing each step. Step 1, I assign the same light green color that I told my machine was on needle 2. Step 1 will be my marking stitch, which will be an outline of where my fabric should go (the shape of the bunny). I then press the “+” button to move on to step 2.

 Step 2 is tackdown and I want it the same light green as Step 1 and needle 2. Since I am laying fabric down before the tackdown stitch, I press the HAND, which tells my machine to STOP before step 2. This will give me time to lay down my fabric. I will then press the “+” again to move on to step 3.

 Step 3 is our satin stitch, which is the finishing stitch around the design. I want it the same light green and since I’ll need to TRIM my fabric before the satin stitch, I press the HAND again which will tell my machine to stop before Step 3. I press the “+” button again to move on to step 4 (our last step).

 Step 4 is the inner stitching on this design, and I chose light pink which I assigned to needle 1. Since there is no need to stop before this step, I do not press the hand, and my machine WILL NOT STOP after the satin stitch. It will change to needle 1 and stitch the pink inner stitching. *During this 4 step applique design, the machine will stop FIRST to let me place my fabric down and a SECOND TIME to let me trim my fabric.

As you can see, the bunny is still upright and it’s showing it will only fit in my biggest hoop. Now that I’m done assigning colors, I can rotate it to fit my 5×7 hoop.

Press CLOSE after assigning colors! PS. This machine has a touch screen, so you simply press each color with your fingertip to assign the colors. I had a PR600 that was NOT touch screen, so you had to arrow up and down, left and right to get to the chosen color.

Now I rotate the design 90 degrees to the left so it will fit in my 5×7 hoop. As you can see, the design is 4.88″ X 6.90″. Press CLOSE when you are done rotating.

 You are now ready to SEW, so press the SEWING button (not shown). It will pull up this SEWING SCREEN. As you can see, this design is 5,299 stitches and should take 10 minutes of sewing time (does not include preparing fabric or trimming). My machine is set to 900 SPM (stitches per minute). The max is 1000. You can also see which colors are assigned to my machine (right side) and each step and the needle my machine will use to sew it (the list on the left). If I have accidentally chosen the wrong shade of green or pink, there will be a line on that step telling me I’ve chosen a color that is not anchored on my machine. It will default to the free needle (black) which is not anchored if I don’t correct it. If I’m paying attention, I will go in and fix this and select the correct color! I think the machine also beeps and says something as a warning.

Step 1 – needle 2 (green), STOP Step 2 – needle 2 (green), STOP Step 3 – needle 2 (green), Step 4 – needle 1 (pink). It will STOP before step 2 and 3, giving me time to lay my fabric down and also trim before the satin stitch.

Time to SEW! To sew each step, you press the LOCK button to unlock the needles (safety feature) and the button below it (which is red in the above photo) will turn green. You press it to start your machine. In the photo above you can also see other buttons: needle -/+ is your back up, go forward feature if you ever need to back up. You can back up or skip ahead by complete steps or by stitches (1, 10, etc).

As you can see, there is an image of each step on the machine sewing panel.

After marking I’m ready for fabric, which has HEAT N BOND LITE on it.

 Peel the paper away (of course) and lay down your fabric. The machine has stopped because you told it to (the HAND) before step 2 (tackdown).


Ready for satin stitch (step 3) so time to TRIM. Your machine has stopped since you programmed the hand = stop before the satin stitch.


 Time for that inner stitching which I’m doing in PINK. My machine will not stop after the satin stitch since I did not program in the HAND/STOP, but will keep going with the pink inner stitching. ***This is a wonderful feature of any multi needle machine! When doing an applique, once all fabric is down, you can program your machine with the thread colors and it doesn’t have to STOP for you to change colors! If this bunny had eyes and a nose, it would keep on sewing, changing needles/colors automatically!


Here is the finished BUNNY!

 I hope this helps! It really is EASY and once you get the hang of it you can program all this in a matter of a few minutes. There are other features of the machine, but I don’t want to get too confusing. For example, if you are in the middle of the design and decide you want to use a different color, you can either 1. STOP the machine and change out the thread color on the needle you’ve programmed or 2. use the MAGIC WAND to change needles/colors. I’ll save that for another post!

This is a follow up to these posts: Brother PR650 and Brother PR650II. All of these posts can be found under HELPFUL POSTS on my blog tool bar.