Stabilizer Savvy

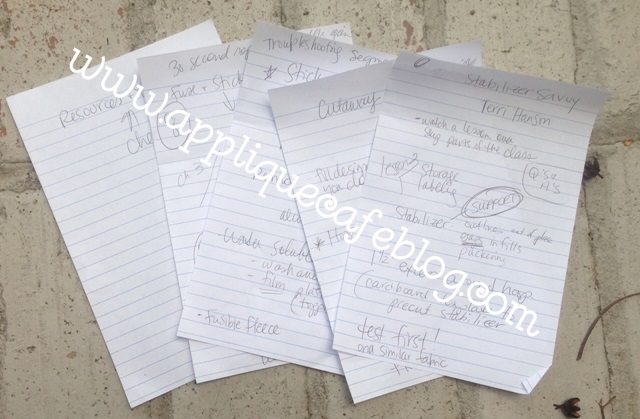
Happy Monday! I’m excited to share with you ANOTHER great video class on Craftsy that I just watched! This one is on STABILIZER and is perfect for beginners, but still great for the experienced embroiderer like me. I took 4+ pages of notes!

IMG_5566

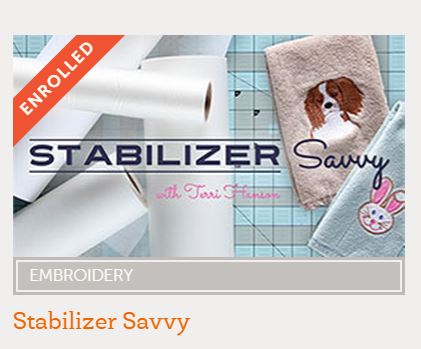
This one is called Stabilizer Savvy with Terri Hanson, and it’s 9 lessons and took me about an hour to watch. I skipped through a few parts and you can also go back and watch different lessons or skip around.

stabilizer savvy

Here are the lesson topics:

1) Intro

2) Storage, Labeling & Other Basics – this lesson gave a couple of cool ideas for storing your stabilizer and labeling it to know what is what! She also went over hooping and basics of stabilizer (stabilizer = SUPPORT for your garment or item).

3) Cut-Away Stabilizer – medium weight vs. mesh which doesn’t show through as much

4) Tear-Away Stabilizer – great for more stable fabrics like denim, towels, canvas, etc., she also goes over “floating” tearaway stabilizer underneath

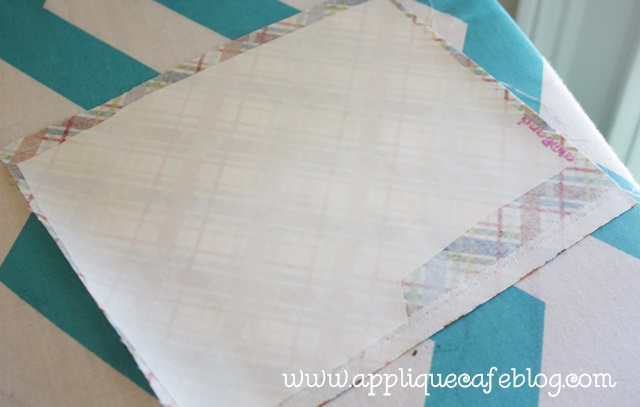
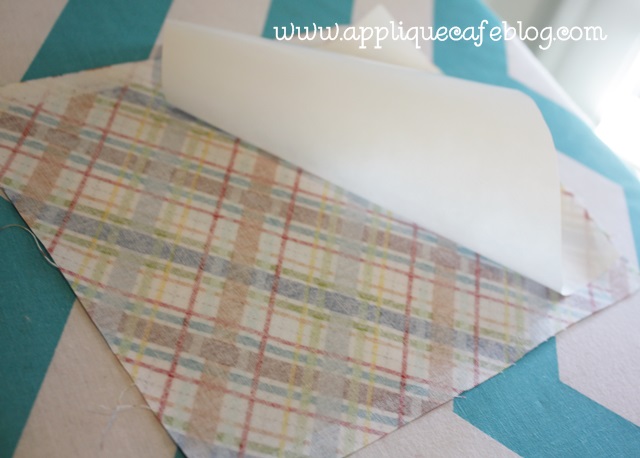
5) Sticky Stabilizer – true sticky stabilizer vs. spray adhesive + cutaway, what to do about sticky residue

6) Water Soluble Stabilizer – wash away vs. film topper and when you need them (she discussed free-standing lace designs and patch-looking designs)

7) Fusible Fleece (I skipped this one but will watch later)

8) Fuse & Stick Stabilizer (such as Heat N Bond Lite or Wonder Under) – in this lesson she goes through the applique process step by step also which might be helpful for beginners

9) Toppings & Cloud Cover (aka Solvy & Comfort Cover) – WHEN do you use these and how to remove it

I tried doing a video once using my Iphone and ended up posting like 9 snippets of video of me trying to applique and show you how to use my machine! 😛 What I love about the Craftsy videos is that they are professionally done (in a real studio) and super easy to understand. There are Questions & Answers on the right side of your screen with real people asking questions and Terri and others answering. You can also check out the Q & A’s under the Discussions tab when you are done. There’s also a spot at the bottom to type NOTES while you are watching that you can look at later (or you can hand write them like me!)  Also, when you purchase the class, you can watch it as many times as you’d like and you are given materials you can download like a sample design that Terri used and a Resources & Templates download which is like a cheat sheet with short notes on which stabilizer to use with what (for this particular class).

Here are a few of my take-aways for this class:

Stabilizer is used to SUPPORT the item you are monogramming, embroidering or appliqueing! She goes over hooping and stabilizer and how to avoid gaps in fill stitch designs, distorted designs and puckering which are usually all stabilizer issues! When all else fails, test your design first on a similar fabric to make sure your stabilizer is right!

If you missed my last post, it was another awesome video ~ How to Start a Machine Embroidery Business.

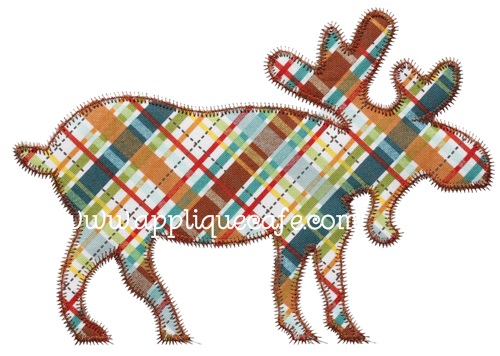
All designs are on sale at Applique Cafe til the 28th!

sale

How To Start a Machine Embroidery Business

OK people… I may be “late to the party”, but I just came across a cool website for embroidery. Has everyone else already heard of (and joined) Craftsy? The class that has caught my attention, mostly because I get asked this question A LOT, is How to Start a Machine Embroidery Business.

craftsy

Here are the topics covered by Marie Zinno, who owns and operates a successful embroidery business! Marie has written books and contributes regularly to popular sewing magazines. In other words, she is WAY more qualified than me to give you great tips and advice on starting your own embroidery business! 🙂

Lesson 1 – Business Basics – stuff you need to consider, think about and decide BEFORE you take the plunge!

Lesson 2 – Choosing a Machine – single needle? multi needle? single head? multi head/multi needle? Say what? Pros and cons of each and how to choose!

Lesson 3 – Ordering Blanks & Keeping Inventory – sounds like how NOT to just order everything you see that’s cute! 😉  Be strategic in what you order!

Lesson 4 – Pricing Embroidery & Taking Orders – what is your time worth? I think we all struggle with this one! How much do we charge these people??

Lesson 5 – Customizing & Bundling – learn how to package your products and innovative ways to create gifts and items people will WANT to purchase!

Lesson 6 – Organize Your Studio – this sounds like the whole “organization” thing I’ve been blogging about!

Lesson 7 – Promoting Your Business – you are ready now, so how do you get the word out?

Y’all, I’m excited about this CLASS! The good news is that you can watch it on your own schedule! Here is what you get:

  • 7 HD video lessons with anytime, anywhere access
  • Class materials, including pricing guidelines, order templates and vendor lists
  • Detailed instruction, explanation and demonstration
  • Answers from Marie in our virtual classroom

If you are interested in this video class series, please follow my link HERE! There is a cost involved, but for the information you are getting, that you can have access to anytime, it’s worth it!!

Applique Cafe on YouTube!

Good afternoon! I’m sampling new designs today {which you can always catch on Instagram} and finally getting around to a blog post from September 2013! Jeff & I have some friends who have been telling us for years that we need to do more with video, so one sunny day back in September, I decided to do just that. I had a new design to sample and on a whim, I videoed it with my Iphone. For the record, I hate my voice on video just as we all do. Also, I am an A-M-A-T-E-U-R videographer person-with-a-phone. Lastly, I have yet to master splicing 6 videos together, so there are 6 videos in this segment to watch. Lastly again, I was taking the video solo, so that’s why I had to stop and start so many times so I could actually sew the design. My phone doesn’t seem to have a “pause” button. Lighting is so-so and there is a part where I’m talking over my machine and you can’t hear me. Overlook all that and MAYBE you will learn something?

This series of videos might be helpful if A) you have a multi needle machine and aren’t quite sure how to use it or B) you are new to applique and want to understand how it works. I supplemented the video with a few photos too so I will try to explain the process and get you through this post!

Background: I am sewing a simple 1 fabric zig zag design (Zig Zag Moose) on my Brother PR650 6 needle machine. I like to assign thread colors to my machine and here I explain how and why I do that. This is a sample for Applique Cafe, so I sewed it on 2 layers of medium cutaway stabilizer in my 5×7 hoop (PES format).

zig zag moose 500

Here is video 1!

Just a closeup of the colors of thread on my machine, which I “assign” to each needle so my machine knows what colors it has to work with. I mention in the video that 1 needle out of my 6 is always free and you can’t “lock in” that color. It can be any needle, and I usually allow my free needle to be white or black. So if black is on needle 1, then that’s my free needle and there is no anchor by it on the screen.

IMG_8336

Closeup of my HOME screen. The top 2 rows are built in designs and fonts. I use a USB stick which is the button I pointed to. Side note: I have a USB cord that connects from my computer to my machine, but for some reason it takes forever to send something to my machine, so I just use the thumb drive (see Sewingmachine.com stick). I think there is something wrong with that USB port on my machine, but I have not wanted to part with my machine long enough to get it checked out! The checklist looking button is where you go to assign colors.

IMG_8337

IMG_8338

IMG_8339

I changed needle 6 from Khaki to Light Brown using Reset and Set buttons! “Set” assigns light brown to needle 6.

IMG_8342

These are the colors of thread currently on my machine.

IMG_8343

Here is video 2 and video 3.

There is a pause between them because my thread broke! I left off after video 3 with fabric prep, which is below. I cut my piece of plaid fabric for my Moose.

IMG_8344

I iron my fabric to get any wrinkles out. Generic Target Shark iron and I keep it on mediumish (not high) with NO STEAM.

IMG_8345

I’ve cut a piece of Heat N Bond Lite and I’ve ironed it on the back side of my fabric. If you don’t know what HNBL is, check out this post. It’s a fusible product which will fuse the applique fabric (the plaid) to my garment. Or in this case, my stabilizer!

IMG_8346

Don’t forget to peel away the paper! It will leave a shiny layer on the back side of your fabric.

IMG_8347

I’ve placed my HNBL-ed fabric down after the marking stitch, so now it’s time for the tackdown stitch and

video 4.

After video 4 I trimmed around my design (around the tackdown stitch) using my Gingher 4″ curved scissors. These are great for trimming and makes it easy to get up close to the tackdown stitch. Havels has a tiny curved scissor as well.

photo

Here is video 5

…after I’ve trimmed my fabric and I’m ready for the zig zag FINAL stitch. I tried to say something at the end of the video but you can’t hear me over the buzz of the machine. Sorry ’bout that!! Sew sew sew and lastly there’s

video 6 which wraps up this design!

I hope this is helpful! If you have any questions, feel free to comment! I hope to do some more videos in the future, and you can find them on my YouTube channel!  New designs coming soon to Applique Cafe!