Embroidery Software and Fabric

Happy Thursday Friday! Sometimes it takes me a day or two to get a post up…  I am so excited to post about a “new” product I am now selling on the website!! No, not all of the cute and simple applique designs even though I AM excited about selling those too. I am now selling the wonderful, affordable, not really new, but easy-to-use embroidery software I have been recommending to anyone who asks or will listen for the past several years. SEW WHAT-PRO!

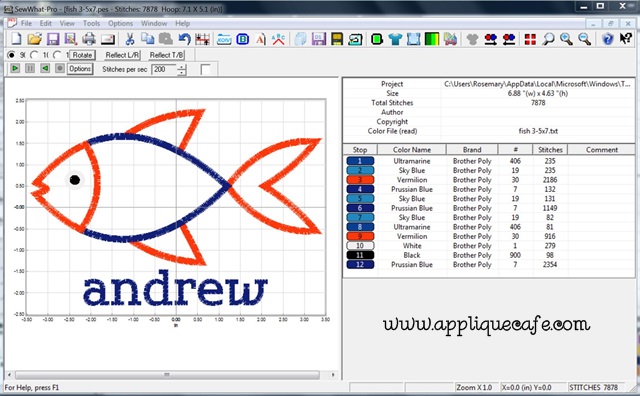
What do I use it for? Mainly I use it for merging a name or initials with an applique design. An example is below. I formatted the name “andrew” in Monogram Wizard Plus (font is Kazoo). I save it to my computer. I open SWP and OPEN the new fish design and then MERGE in the saved name. I then arrange it all and center the whole design and then put it on my machine to sew! There is a lot more you can do with SWP, but that’s my main use for it.

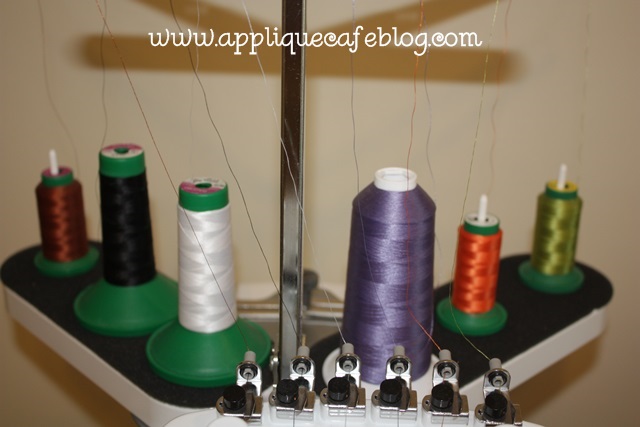
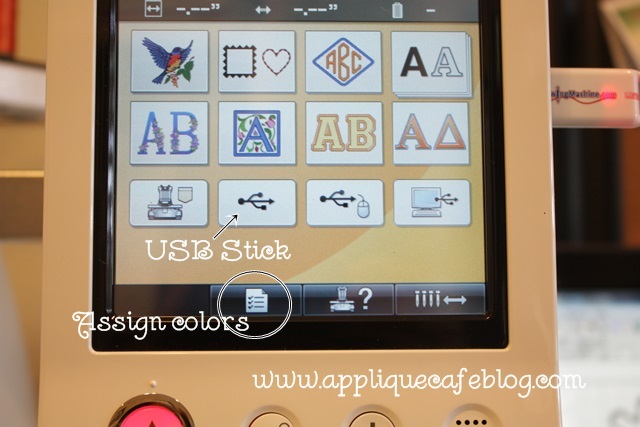
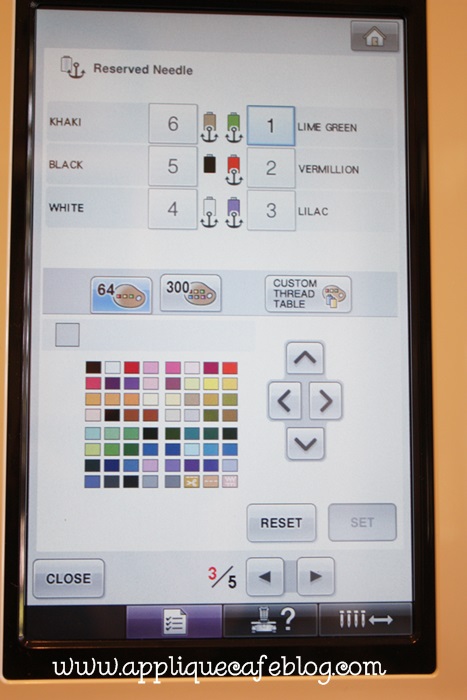
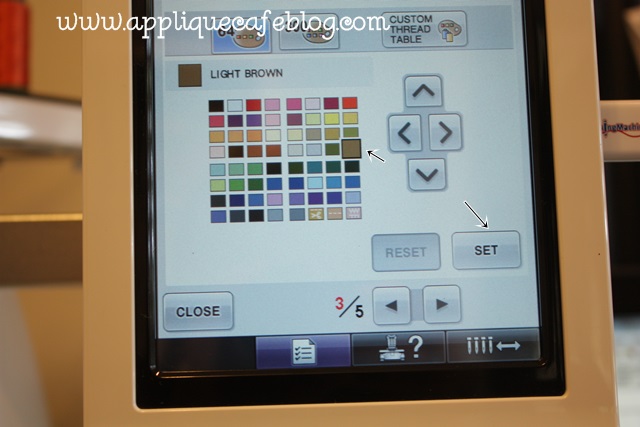
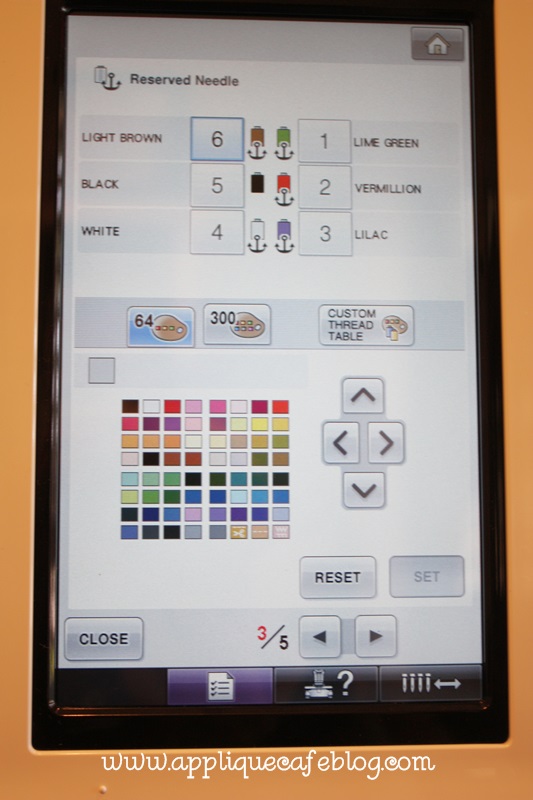
ALSO, I use it even when I’m just sewing an applique design with NO NAME. I like to *SEE* what I am sewing on my computer screen, so I open all of my files in SWP so I can see them. You can click on the thread chart on the right and see which step is next! You can also use SWP to delete parts of a design. A lot of people also use it to merge bought embroidery fonts together. When you buy embroidery fonts on the internet (NOT using a monogram software such as Monogram Wiz Plus), each letter is it’s own file, so you have to merge the letters together to form a name or initials. SWP can do that!

Please check it out on my website (Sew What-Pro) if you are looking for software such as this! It’s only $65 and it’s the best $65 I’ve ever spent. There is more info on the listing and also a manual you can download to look over.

swp4

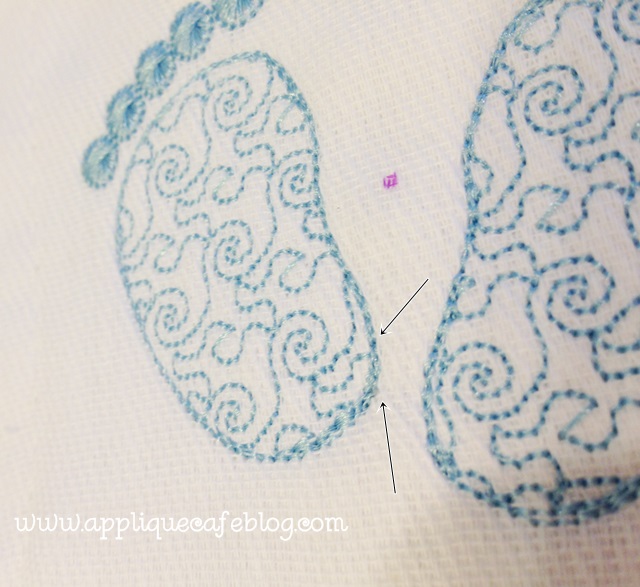
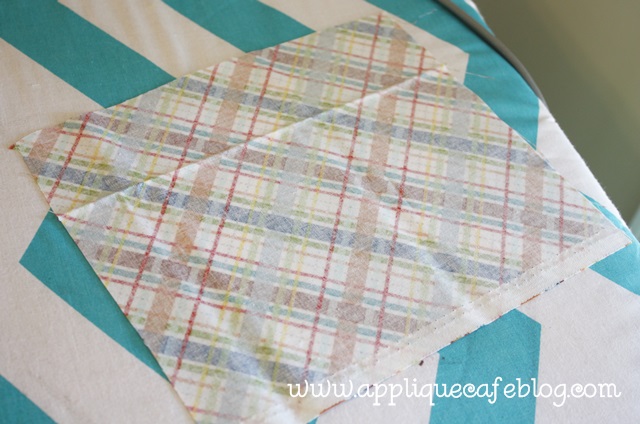
I had several people ask me where this Footprint design came from from a previous post. I did this design on some burp cloths for a local ministry so the design was sent to me. Thank you to my blog reader who reported where the design can be found! It looks like it’s part of a set, but maybe you could email the website and just get this design? You can find it HERE. (ps designs are a little pricey compared to American sites?)

photo (5)

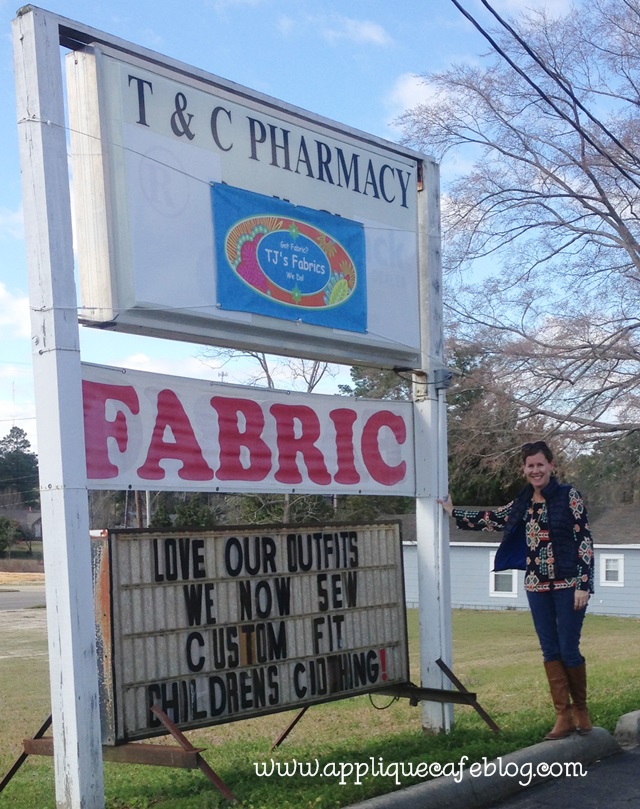
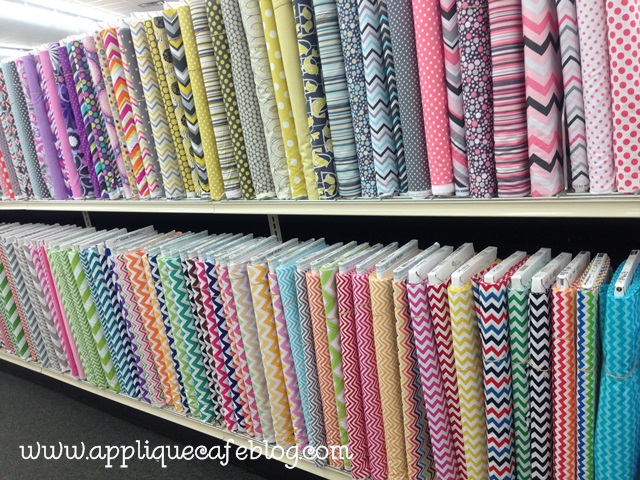
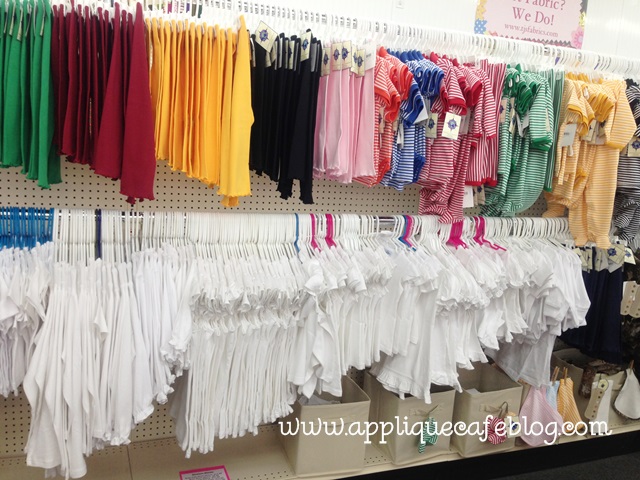
Now on to FABRIC! Last weekend the fam traveled to Destin, FL for a soccer tournament for my middle child. We normally take a route which leads us through Troy (AL), around Elba and someway here and there we end up at the beach. Well, there was road construction somewhere near Elba and we ended up NOT going the way we had planned. When I realized we were heading towards Opp, AL, I got excited b/c TJ’s Fabrics is in Opp! I had not been through there in a long time and was overwhelmed by all of the beautiful fabric that has now taken over the store! Last time I was there 1/2 the store was fabric and 1/2 was gifts and drug store type items. This time, fabric was everywhere!! Everything is arranged by colors and chevrons and I could have spent all day there had the kids and hubs not been waiting in the car. Lucky for you, they have an awesome website so if you aren’t in Alabama or traveling through the area, you can order online. If you ARE traveling to the beach (Destin, Panama City Beach, Seagrove/Seaside, etc) then DETOUR!! Plug it in the GPS and stop by, and tell TJ I said “HI”!! 🙂

My selfie for 2014! I will let the pictures speak for themselves…..

photo 4 (1)

photo 1 (1) photo 1 (2) photo 1 (3)

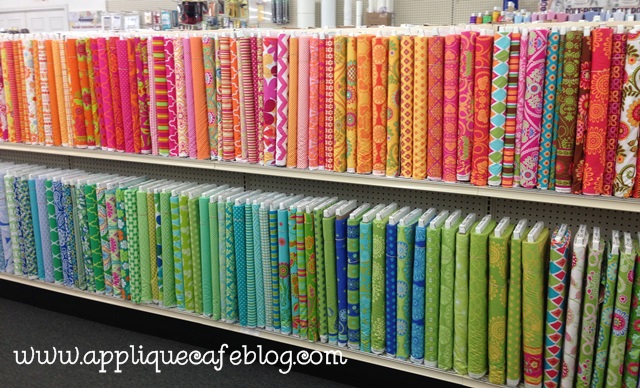
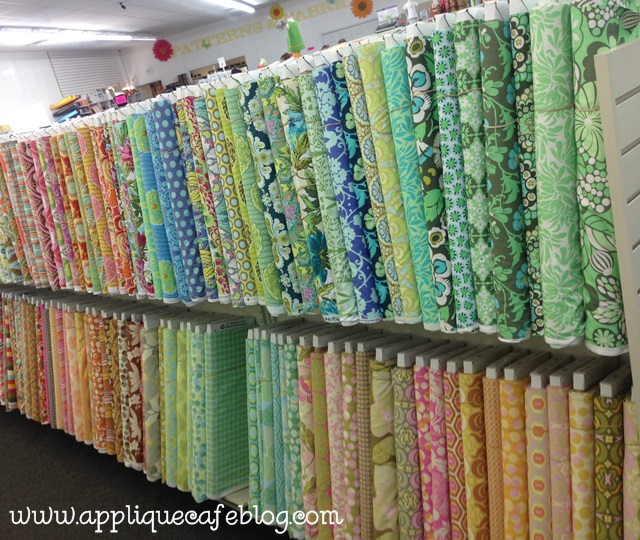
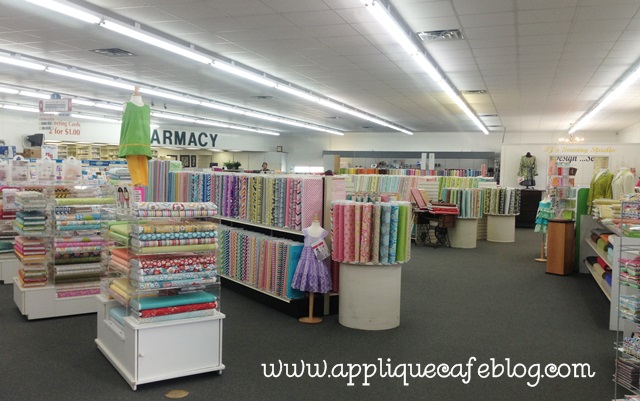
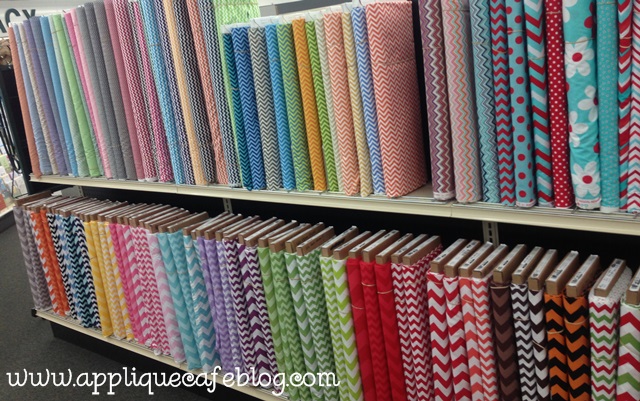
See what I mean? This is just HALF of the store! They also have a studio room (right side of photo) where they do classes and quilting and all that. Oh, you can still get a prescription filled there too! 😉

photo 2 (1)

I’ll take one of each….
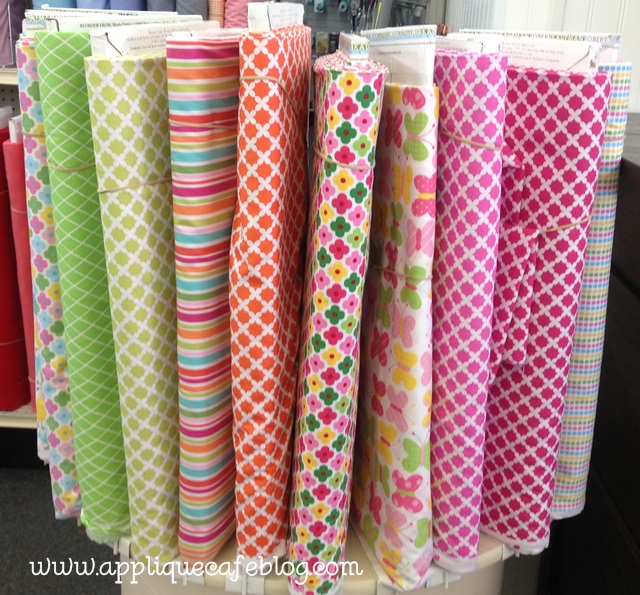
photo 2 (2)

Chevron for days…..

photo 2 (3)

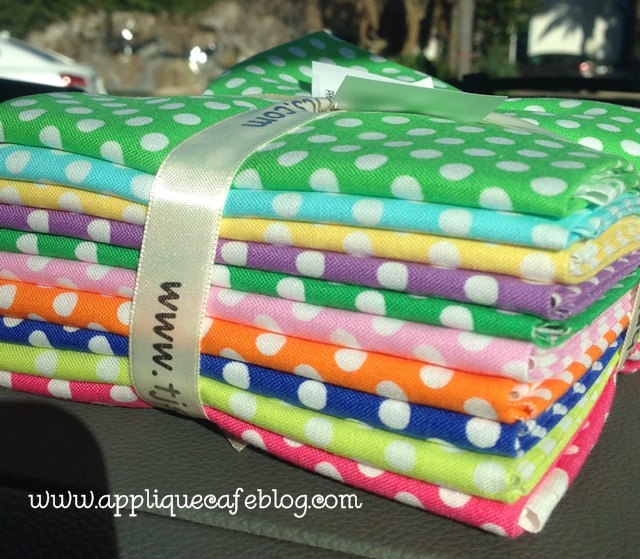
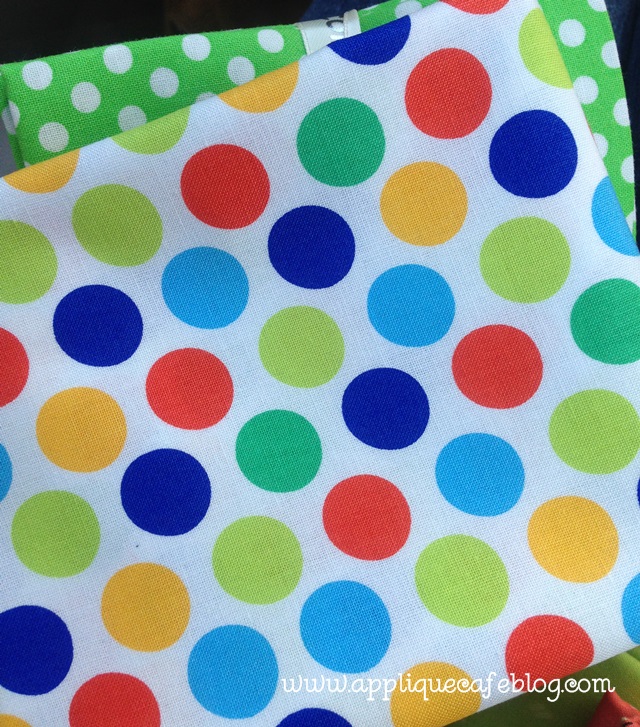
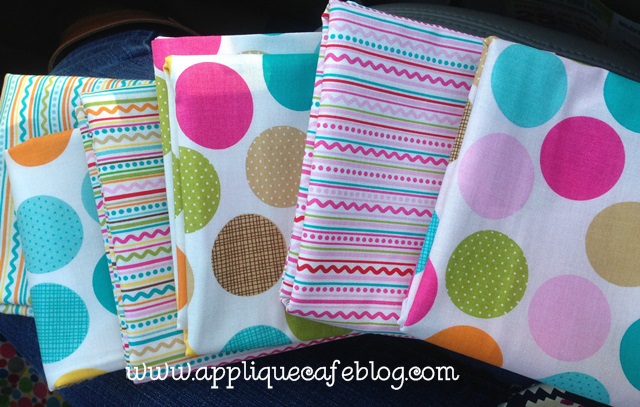
Here’s what I left with! I can NEVER have enough polka dots! These are Michael Miller “Kiss Dots”. I may have kissed them…

photo 2

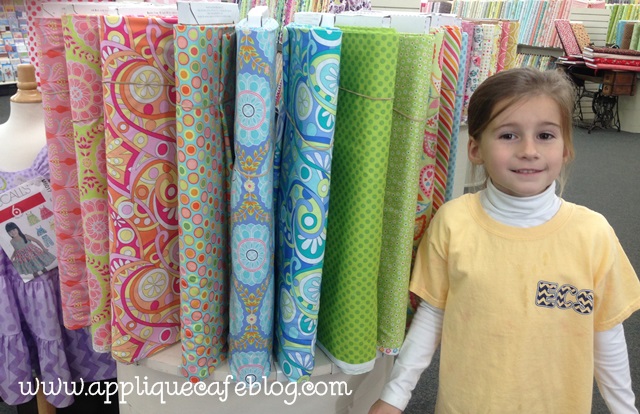
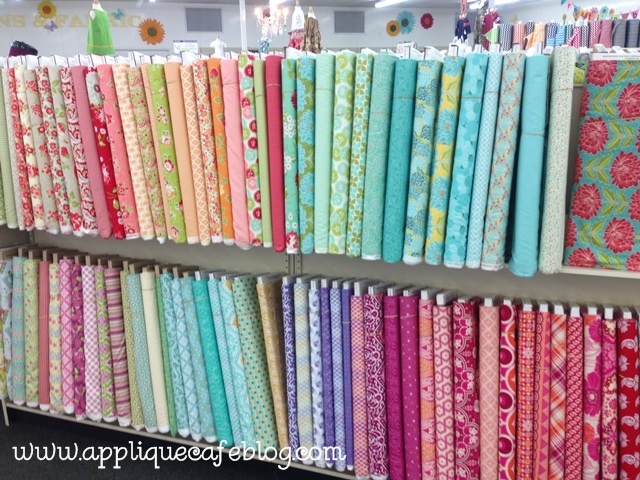
Sissy with some other pretties!

photo 3 (1)

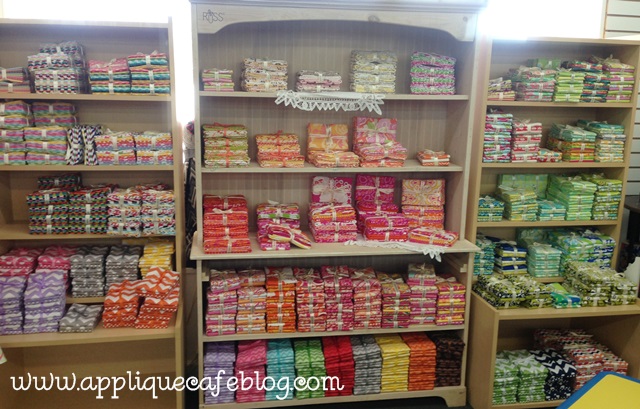
Fat quarter bundles ready for you to grab and go!

photo 3 (2)

More chevrons….

photo 3 (3)

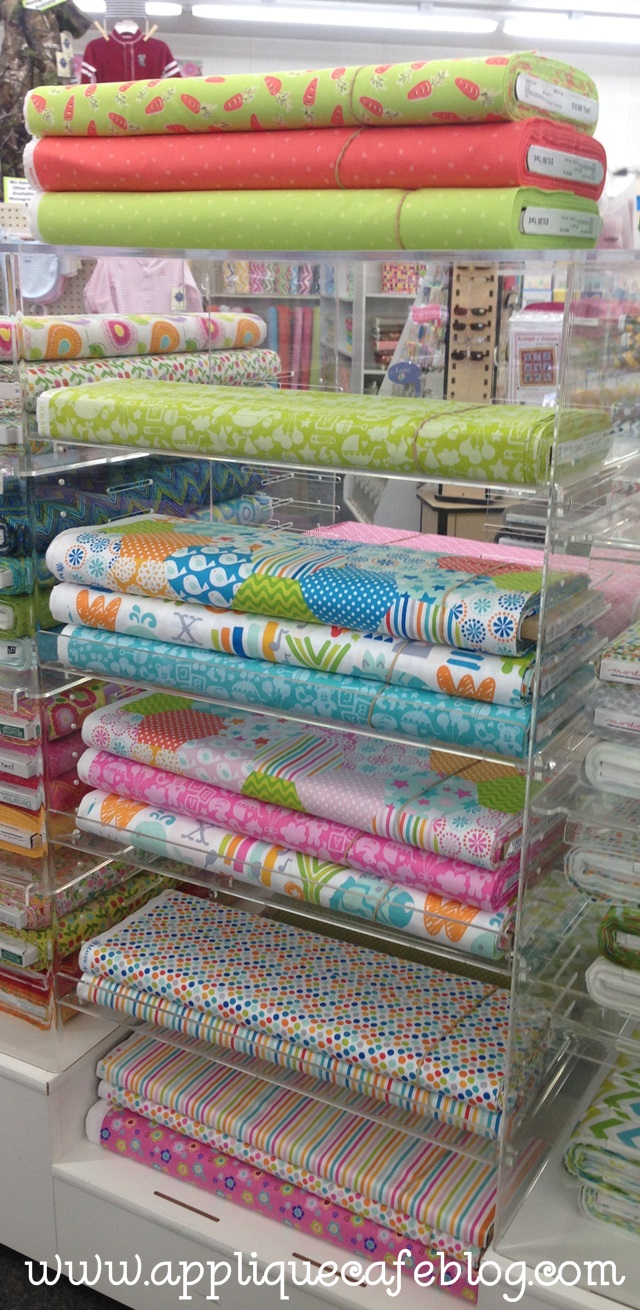
These are Susybee Bunny Dashes & Carrots. Easter is a little over a month away!

photo 3

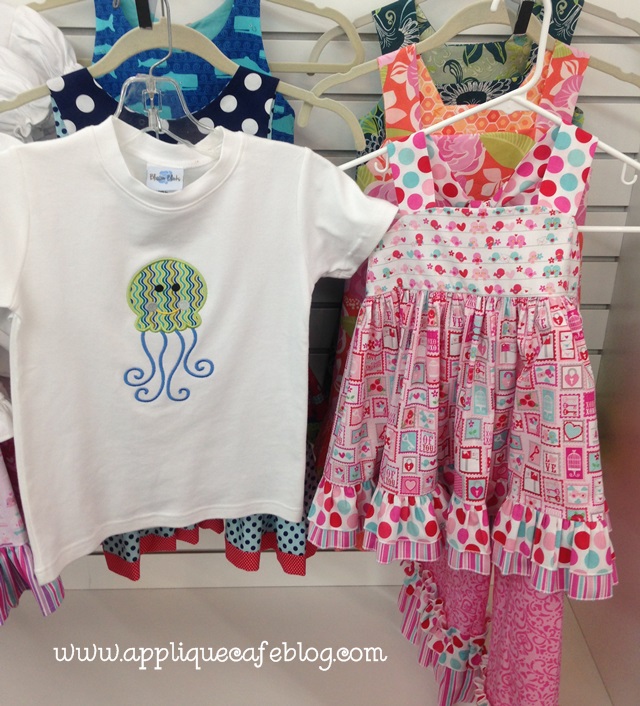
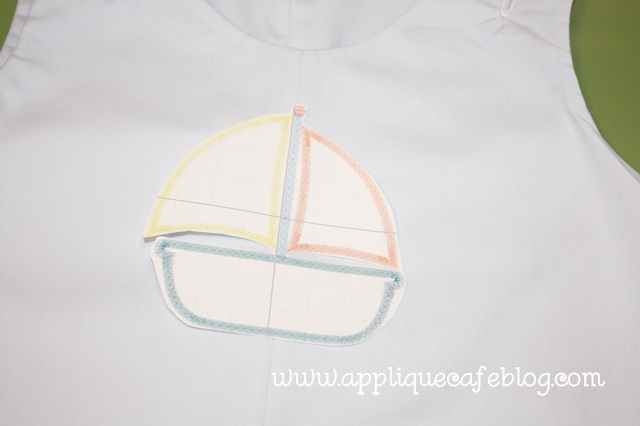
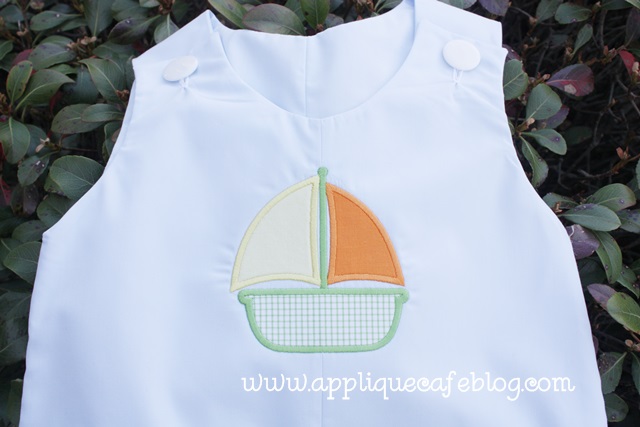
Our Jellyfish 2 design! I believe they are also sewing and doing appliques & monogramming for customers!

photo 4 (2)

photo 4 (3)

Michael Miller Diddly Dot Primary! So cute!!

photo 4

They also have gobs of blanks!

photo 5 (2)

More pretty colors…

photo 5 (3)

I’ve had my eye on these since I saw them on Facebook! These are Riley Blake, Summer Breeze.

photo 5

Again, if you are traveling to Florida this summer and coming anywhere near South Alabama, stop by!

I hope to get a more detailed post up soon on Sew What-Pro and how I use it! It’s been a busy week so stay tuned…

One last thing, because there is nothing more disheartening to post something and get no love!!

LIKESblog

Covering a Monogram

Just a quick post this Sunday! One of my longtime customers brought me a little jon jon last week and asked me to cover up the monogram that was originally on there (that she had picked out). The photo below is very light so you may not be able to see it all that well. She did a good job of removing the old monogram, but did cut the jon jon in one tiny place. She patched it, so I just needed to cover the monogram with an applique as best as I could. Her suggestions: our Sailboat or Sailboat Patch (I chose Sailboat 2) or our circle patch with new initials. All good choices!

IMG_8814

I decided to give our Sailboat 2 a try, and to make sure it would cover the monogram, I printed the 4×4 design on paper in Sew What Pro using the PRINT feature. It basically prints an image of each step and a final stitchout of the design. I cut around the design and even in between the sails and the bottom of the boat. I was then able to place the “design” on to the jon jon and SEE if any of the old monogram would show through. It covered it pretty well, and I got the design in the right position to cover up the monogram while being centered on the jon jon.  The jon jon had a center seam going down the front of it, so I used that as my horizontal center.

IMG_8815

Gridlines also printed on my design, so I was able to get the sailboat in good position and stick a pin through where my center should be. I then lifted the paper away and marked my center using an air erasable marker. You can see the mark on my first photo above.  I hooped the jon jon and lined my needle up with the center mark and sewed the design. (As you can see below, my pin is slightly right of the center mark on the grid. I wanted the center seam of the jon jon to line up with the center of the pole of the sailboat so I lined it up that way.)

IMG_8816

It turned out perfect, and the monogram was covered!

IMG_8817

My customer has 3 grandsons, so it’s great to be able to re-use custom made outfits such as this!

IMG_8821

Here is another blog post on covering a monogram: click HERE or on the photo below! Sometimes you are able to remove an old monogram cleanly and just re-monogram over it. If the monogram is too small or tight and impossible to remove (or if you cut a hole in the garment like I’ve done many times), then I suggest you take out what you can, and cover it with an applique! We have tons of PATCH designs that work well.

fish


Stay tuned for my next post on a new discovery I found!! If your monograms or appliques get “loopy” every now & then, you will want to read the next post!

Applique Cafe on YouTube!

Good afternoon! I’m sampling new designs today {which you can always catch on Instagram} and finally getting around to a blog post from September 2013! Jeff & I have some friends who have been telling us for years that we need to do more with video, so one sunny day back in September, I decided to do just that. I had a new design to sample and on a whim, I videoed it with my Iphone. For the record, I hate my voice on video just as we all do. Also, I am an A-M-A-T-E-U-R videographer person-with-a-phone. Lastly, I have yet to master splicing 6 videos together, so there are 6 videos in this segment to watch. Lastly again, I was taking the video solo, so that’s why I had to stop and start so many times so I could actually sew the design. My phone doesn’t seem to have a “pause” button. Lighting is so-so and there is a part where I’m talking over my machine and you can’t hear me. Overlook all that and MAYBE you will learn something?

This series of videos might be helpful if A) you have a multi needle machine and aren’t quite sure how to use it or B) you are new to applique and want to understand how it works. I supplemented the video with a few photos too so I will try to explain the process and get you through this post!

Background: I am sewing a simple 1 fabric zig zag design (Zig Zag Moose) on my Brother PR650 6 needle machine. I like to assign thread colors to my machine and here I explain how and why I do that. This is a sample for Applique Cafe, so I sewed it on 2 layers of medium cutaway stabilizer in my 5×7 hoop (PES format).

zig zag moose 500

Here is video 1!

Just a closeup of the colors of thread on my machine, which I “assign” to each needle so my machine knows what colors it has to work with. I mention in the video that 1 needle out of my 6 is always free and you can’t “lock in” that color. It can be any needle, and I usually allow my free needle to be white or black. So if black is on needle 1, then that’s my free needle and there is no anchor by it on the screen.

IMG_8336

Closeup of my HOME screen. The top 2 rows are built in designs and fonts. I use a USB stick which is the button I pointed to. Side note: I have a USB cord that connects from my computer to my machine, but for some reason it takes forever to send something to my machine, so I just use the thumb drive (see Sewingmachine.com stick). I think there is something wrong with that USB port on my machine, but I have not wanted to part with my machine long enough to get it checked out! The checklist looking button is where you go to assign colors.

IMG_8337

IMG_8338

IMG_8339

I changed needle 6 from Khaki to Light Brown using Reset and Set buttons! “Set” assigns light brown to needle 6.

IMG_8342

These are the colors of thread currently on my machine.

IMG_8343

Here is video 2 and video 3.

There is a pause between them because my thread broke! I left off after video 3 with fabric prep, which is below. I cut my piece of plaid fabric for my Moose.

IMG_8344

I iron my fabric to get any wrinkles out. Generic Target Shark iron and I keep it on mediumish (not high) with NO STEAM.

IMG_8345

I’ve cut a piece of Heat N Bond Lite and I’ve ironed it on the back side of my fabric. If you don’t know what HNBL is, check out this post. It’s a fusible product which will fuse the applique fabric (the plaid) to my garment. Or in this case, my stabilizer!

IMG_8346

Don’t forget to peel away the paper! It will leave a shiny layer on the back side of your fabric.

IMG_8347

I’ve placed my HNBL-ed fabric down after the marking stitch, so now it’s time for the tackdown stitch and

video 4.

After video 4 I trimmed around my design (around the tackdown stitch) using my Gingher 4″ curved scissors. These are great for trimming and makes it easy to get up close to the tackdown stitch. Havels has a tiny curved scissor as well.

photo

Here is video 5

…after I’ve trimmed my fabric and I’m ready for the zig zag FINAL stitch. I tried to say something at the end of the video but you can’t hear me over the buzz of the machine. Sorry ’bout that!! Sew sew sew and lastly there’s

video 6 which wraps up this design!

I hope this is helpful! If you have any questions, feel free to comment! I hope to do some more videos in the future, and you can find them on my YouTube channel!  New designs coming soon to Applique Cafe!