Monogramming Towels & Textured Materials

Happy Friday Friends! As a work update, I’ve been back for 3 weeks and am loving it! The 3 days I work are jam packed from 5:50 AM until bedtime, but then I have a 4 day weekend and time to catch up on other things and rest a little. I love working with the people (aka adults) I worked with before, and the structure of a schedule for 3 days has helped me to be super organized and I’m getting a lot more done around the house and with Applique Cafe!

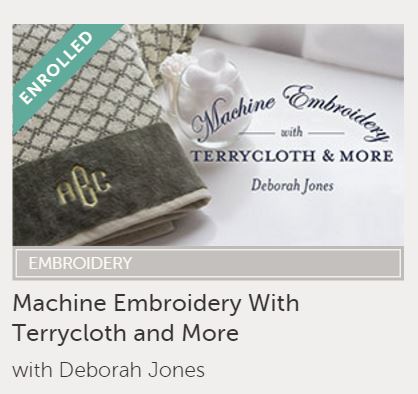
You may or may not know that I am an Affiliate of Craftsy.com, which means I get to review some of their videos from time to time and then share with you. I’ve reviewed a couple in the past (search Craftsy on my blog) and have a new one for you today.

Banner 728x90

This morning I got to spend a couple of hours {in my pajamas} learning about Machine Embroidery with Terrycloth & More, by Deborah Jones! You may wonder why I would be interested in this video after I’ve been doing embroidery (and monogramming my share of towels) since 1997. I was interested because I think we can all agree, towels are a popular item to monogram, and not always the easiest thing to monogram. Plus, this class is about monogramming towels, wool, velvet, corduroy, waffle weave, fluffy stockings, minky and other textured materials. 

terrycloth

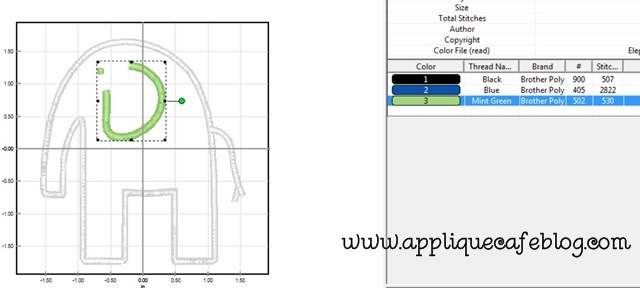
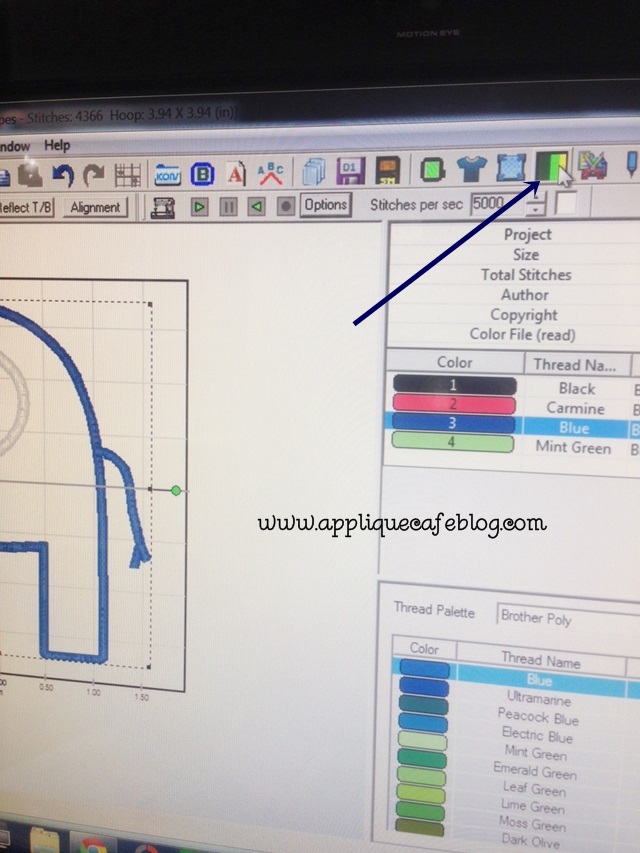
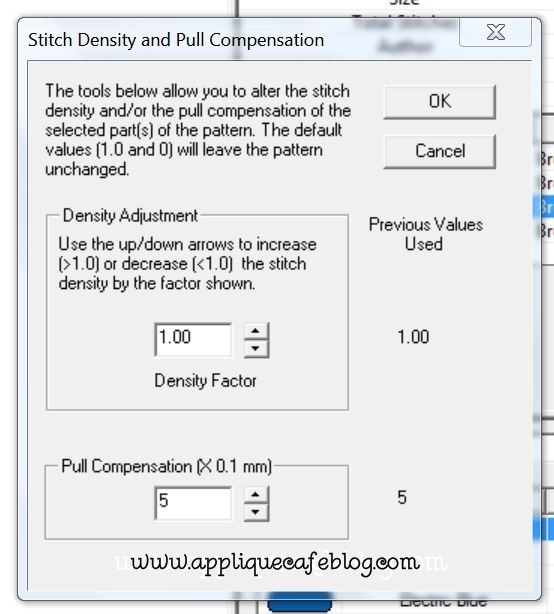
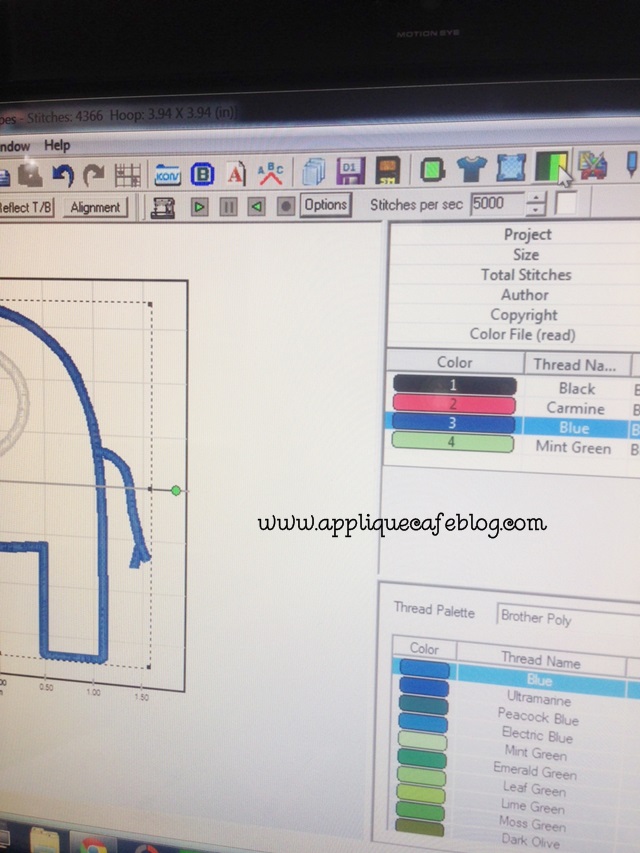
This class will help you *perfect* your technique in monogramming all of the above mentioned fabric types. Deborah shows you how to adjust the density, boldness or pull compensation & underlay settings of your fonts to avoid your towel peaking through your beautiful monogram.**The end goal is for your monogrammed towel to look great AFTER your stabilizers and toppers (water soluble is the most used) are removed and AFTER laundry.**

She also goes over what type of fonts work and which ones don’t. Think thicker vs thinner fonts. A lot of time is spent on all the different types of stabilizers used in each project, and believe me, there are a lot of options!! Deborah also doesn’t hoop the majority of projects she goes over, so she shows you which stabilizers to use and how to get the job done without hooping. Personally, I hoop most everything, but her techniques are great too and probably a little faster than my hooping techniques.

Another tip that I hadn’t thought of, was that she used matching bobbin thread when monogramming towels. I think this depends on your machine and which type bobbins you use. It made sense when monogramming a towel or blanket where the back of the monogram would also be visible!

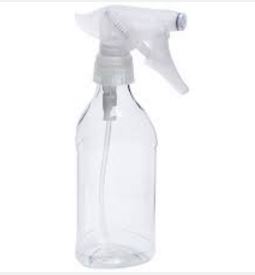
Deborah also uses a spray bottle after the embroidery is done to help remove water soluble stabilizers. Her solution – 1 part FABRIC SOFTENER to 12 parts water. Adding that to my Target list….

spray bottle

Watch the video to also see how she uses coffee filters or paper towels to help remove water soluble topper!

Deborah also goes over using “background frames” when monogramming towels, bath mats, bibs and other fluffy items. Background frames are light density fill stitch frames used behind a monogram. They are hardly noticeable and look like part of the design when finished, and really make the monogram *POP*. There are a few frames included in the cost of her class. Here is an example she showed and this is a bath mat. You don’t use a top stabilizer when using a background frame, and use a color thread that “goes” with the item you are monogramming. On this white bath mat she used white thread for the background frame, and it makes the terrycloth lie down, which is the goal. It really makes the monogram stand out!

background frame

She also discusses monogramming the different types of corduroy – baby or pin wale, regular wale or wide wale. Deborah also demonstrates techniques in monogramming ridged surfaces like a ridged place mat. Waffle weave is another surface that can cause your monogram to be “bumpy” or “uneven” if you don’t do it the right way.

The 8th lesson in the class was on monogramming Christmas stockings, which we all know can be a PAIN to monogram! Deborah shows how to get the monogram on the cuff correctly and also how to monogram FAKE FUR like you might see on a stocking or Santa hat! The last lesson was on monogramming stuffed animals. I found this lesson interesting because I haven’t monogrammed many stuffed animals in my tenure.

If you are interested in learning how to better monogram towels and the other items mentioned, then this is a great class to get in on! It’s 1/2 off through next Friday, February 26th for my Applique Cafe readers! It took me about 1 1/2 hours to go through the class while taking notes this morning, and with all Craftsy classes, you can go back anytime and re-watch lessons. There is also a DISCUSSION tab where you can ask questions and see questions others have asked that have been answered. You can check out the discussions by lesson, and there are 9 lessons within this class.

Let me know if you have any questions! Again, this class is $19.99 for the next week! You can click HERE to check it out! I hope to test out a “background frame” this weekend and will let you know how it goes! 🙂

Craftsy Classes

It’s less than a week until Christmas! I had a monogram-a-thon last Thursday and have several more items to finish up for customers this week. I haven’t posted about Craftsy in a while and got an email that all of their classes are on sale through 12/26/15. Search “Craftsy” on my blog to see which classes I’ve posted about, including Embroidery and Photography classes. Click on the photo below to see if there are any classes you might be interested in. Once you buy a class you can watch it any time, as many times as you’d like. The Jewelry class looks fun to me! 🙂 affiliate_1200x1200_collage1

Applique Cafe is an affiliate of Craftsy!

Give Life to an Old Design!

So I had a longtime customer email me the other day, and she wanted a baby gown with an *old* design on it that I had not sewn in years. It was the below elephant design and I bought it YEARS ago on Etsy, like in 2009 or before! I don’t believe the seller sells it [or any designs for that matter] anymore. I had done a gown or onesie for my customer’s son and she wanted the same to give as a baby gift. So…. I searched and found the design on my computer, and quickly remembered the design was digitized a little wonky. The design had 1 marking stitch (#1 black below) and then elephant outline satin stitch (#2 below) and then the eye and ear (#3 below) . What does that mean? NO TACKDOWN STITCH. In the good old days I would just repeat the marking stitch after I placed my fabric down, trimmed around the design and then proceed with the satin stitch around the elephant. However, I decided this week to give this old design a makeover using Sew What-Prolong thread

First on the list, create a tackdown stitch! I click on step 1, which is the marking stitch. long thread marking

Next I click on the COPY icon in my menu bar. This will copy that step 1 marking stitch.

IMG_6323

Next I click the PASTE icon in my menu bar, which pastes another marking stitch step 1 (aka tackdown stitch) in my design. How handy! It does place that new step at the end, so it’s step #4 of my design which wouldn’t work. No fear… we can reorder our steps to make this right!

IMG_6324

Click Edit, then Order Threads in the toolbar.

IMG_6325

This is the order of the steps after I have copied and pasted that marking stitch. I want to move step 4 up to step 2 so that the design stitches 1) marking, 2) tackdown, 3) satin elephant and 4) eye and ear. The satin stitch and eye/ear are 2 different steps in case you might want to sew those in 2 different colors.

long thread order

Below I have typed in the New Order, and when I click OK it reorders the steps.

long thread order 2

Now, since this is an old design, the satin stitches are really thin. Guess what? I can make them thicker in Sew What-Pro! I first click on the ear/eye step in my thread chart. Just pick one of the satin stitch steps – it doesn’t matter which one.

long thread ear and eye

I then click on the Stitch Density and Pull Compensation icon.

IMG_6326

On the bottom you see Pull Compensation, which makes the satin stitch thicker. I bumped it up to 5 and when I click OK, my satin stitch becomes thicker. You can go all the way up to 20, but 5 to 10 is usually enough. Please note that I do not mess with density!

long thread density

I do the same for the satin stitch of the elephant step. I click on that step in my thread chart.

IMG_6326

Again, bump the pull compensation up to 5. Again, you can do more, but 5 is plenty for this project!

long thread density

As you can see below, my satin stitch is noticeably thicker.

long thread outline satin thicker

Here is a side by side comparison! Again, this is bumping my pull compensation up to 5. You could do more if you like really thick satin stitches. So… I was able to add in the needed tackdown step to my design AND make my satin stitches thicker!

long thread thinner satin-horz

And here is the finished layette gown! I used Monogram Wizard Plus “Kazoo” font. I also did all of my satin stitches and my name in a light green color.

IMG_6327

To see and read more about increasing Pull Compensation using Sew What-Pro, check out my previous blog post where I show several different variations of increasing the PC of the satin stitch (5, 10 and 20) – that post is HERE! Pretty cool, eh? Sew What-Pro is a great investment at only $65! Please note that SWP is a Windows embroidery software. I get asked a lot if you can use it with a Mac, and you CAN, but only with a Windows Emulator. PlayOnMac Windows is a free emulator available on the Sands Computing website – click HERE for more info. Applique Cafe is an authorized dealer of Sew What-Pro!

Here are a few new designs we added last week! I LOVE LOVE LOVE the Girly Turkey! She has been a popular design since we added her! The Vintage Christmas Tree is a fast and easy design too! You can see all of these at Applique Cafe!

girly spider 500-horz

Lastly, our new Digitizer’s Pick which is $1.50 for a limited time….

adigitizerspick 500