Organization, Part 2

I wanted to go ahead and do part 2 of my Organization posts, but first, I am excited about something new we are selling on our website. I looked back through my old records, and on June 4, 2007 I purchased my first embroidery (font) software. If you’ve read my blog, you know I use Monogram Wizard Plus for my fonts (names & initials) and I use Sew What-Pro for merging and editing. I bought MWP first and have loved it for almost EIGHT years!! I don’t have to tell you I love SWP too, as we’ve been selling it on the website (here) for a little over a year now and I mention it on my blog quite often. It’s become our top seller each month over any single applique design. We are now selling Monogram Wizard Plus too, and while it’s more expensive than SWP, it’s worth every penny! I’ve used it for the past almost-8 years, so it calculates to just $30 a year thus far. It’s a great investment if you are in the business of embroidery and monogramming!  Check it out – click HERE!

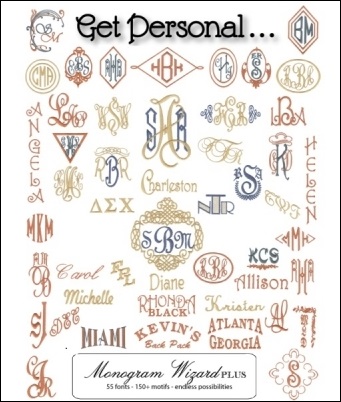
Here is just a sampling of what you can do in Monogram Wizard Plus. Lots of great fonts and motifs:

mwp4

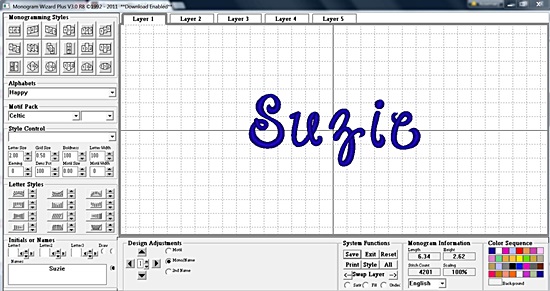
Here is a screen shot of your workspace in MWP. It’s super easy to use and super easy to scroll through all of the various font options, sizes, etc. Again, a great investment! You can click on the TAG Monogram Wizard Plus on the right column, or search “Monogram Wizard Plus” on my blog in the search box. There is also a post or two in Helpful Posts.

mwp3

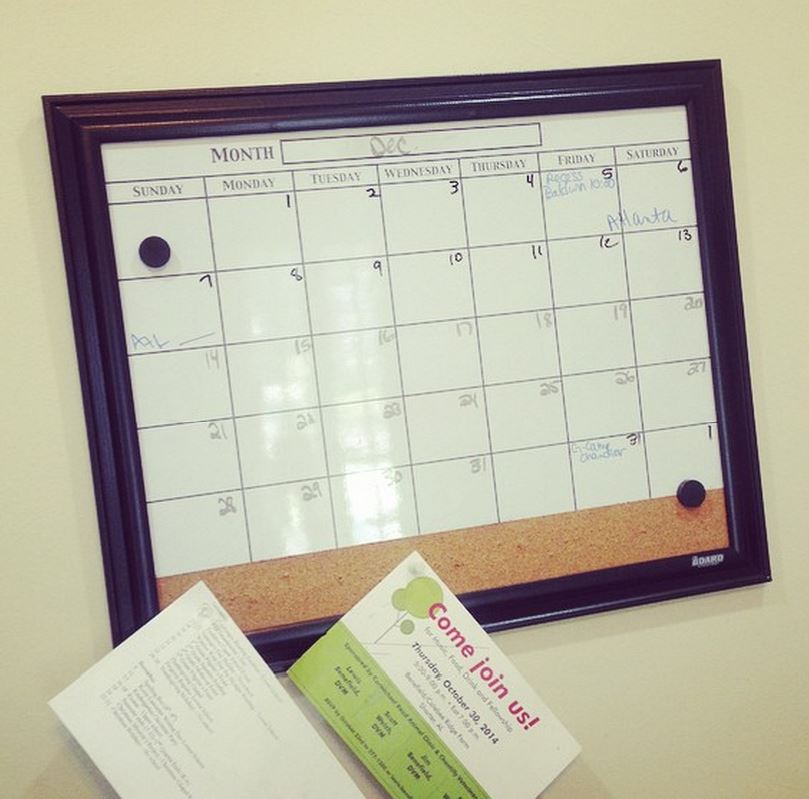
Now on to ORGANIZATION. As a follow up to my last post, Part 1, Kristi D. messaged me about a couple of apps you can download to help with to do lists and organization. They are: Evernote and Todoist (not “todolist”, but todo+ist). I just downloaded Todoist so I will try it out and see how it works! It looks like you can add tasks to certain days, set up reminders, etc. I just downloaded it so I haven’t gotten far yet! I may still be a pen and paper kind of girl but will give it a try!

OK…..

When is the best time to work?

I think everyone might answer this question differently because we are all in different stages of life and all have different schedules. Beth S. answered “I try to throw one or two things on the machine after my kids go to bed. I get a lot done when my husband takes my boys to practices.” (yay hubby!) Beth also works from home on Fridays so she tries to get 5 or more things on the machine on Fridays. For me, I try to get work done when my kids are at school. They go to a classical Christian school and they get out at 12:30 every day, so this is sometimes hard! Morning is my time to run my errands sans kids, go to bible study, volunteer at their school, etc. Usually 1 or 2 mornings a week I get to just stay home and work. I also try to work in the afternoons while they are doing their homework, but this is usually chaotic and I’m constantly interrupted and usually get frustrated. I try NOT to work much when Jeff gets home from work and throughout the evening, but sometimes it happens a day or two a week while the boys are at soccer practice. I also try to avoid working on the weekends unless we have NOTHING to do and I need to knock out a job or two. as I type this on Sunday afternoon…. If your kids are small and take naps, nap time is a great time to try to get a few things done! Maybe nights and weekend are your only time to work. That’s fine too! Just don’t sacrifice precious time with your family to work unless you have to.

Overall I think you have to look at your schedule and try to carve out time when you can get some work done uninterrupted! If you do this part time, you need to set hours and stick to them. I have a friend who lives in Atlanta who once told me that he intentionally gets up in the mornings, gets dressed and purposefully goes out for coffee or to grab breakfast. He then “goes to work” which is back at home. It’s hard to separate yourself from being at home when you work there! I am often distracted by laundry, cleaning, the dog, watching TV (I love The Today Show!), etc.

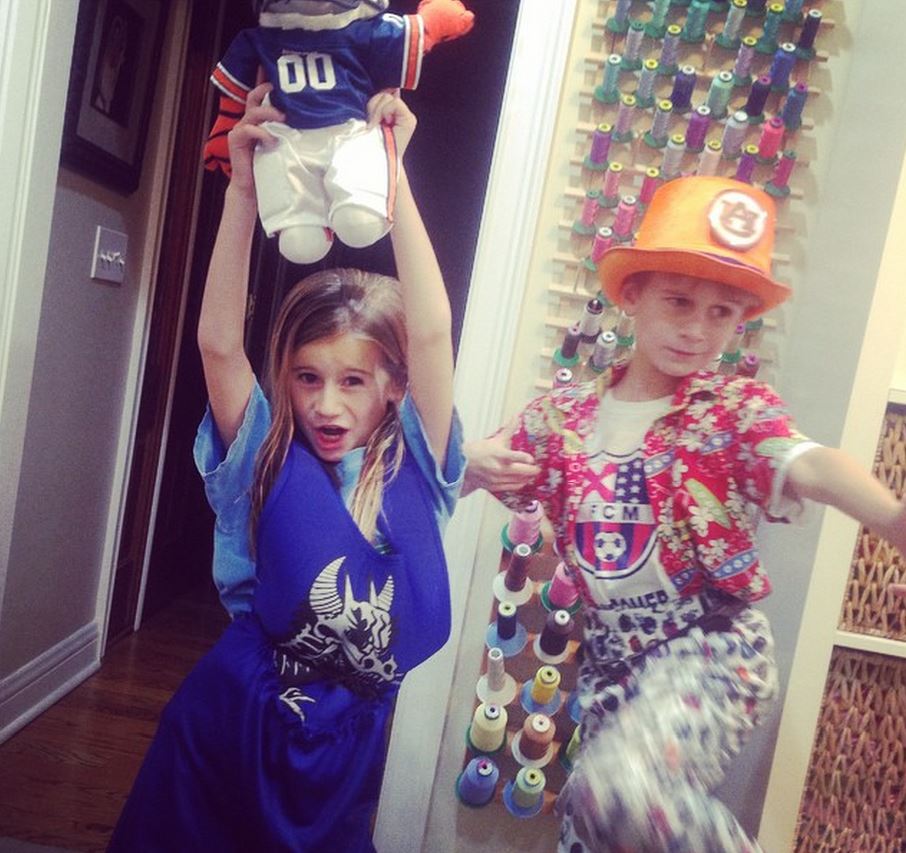
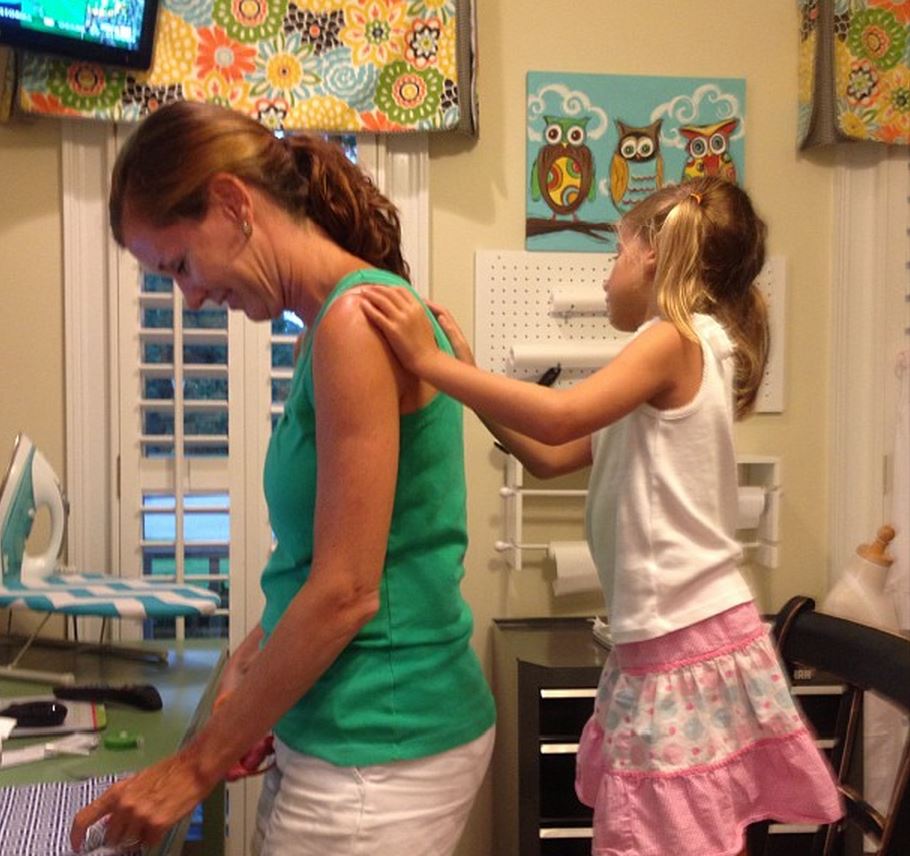
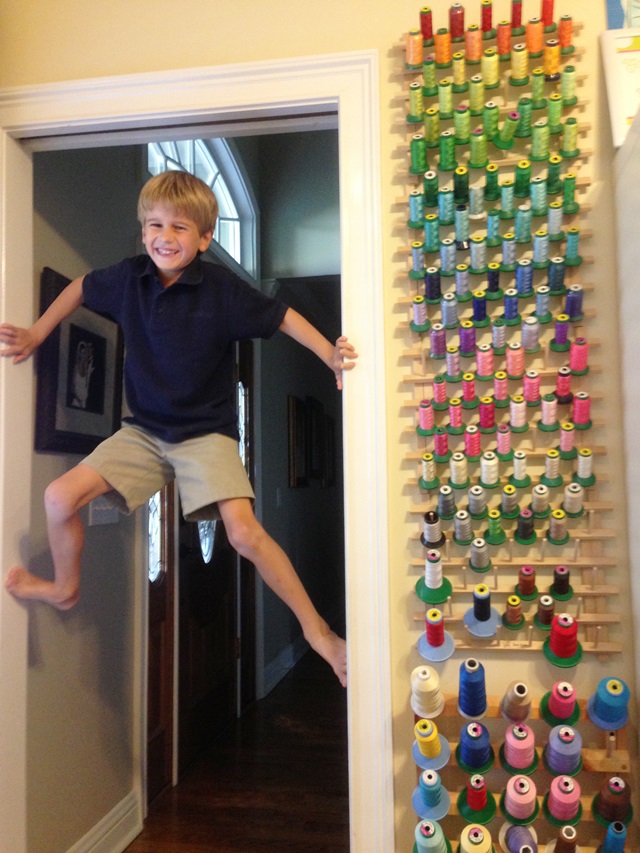
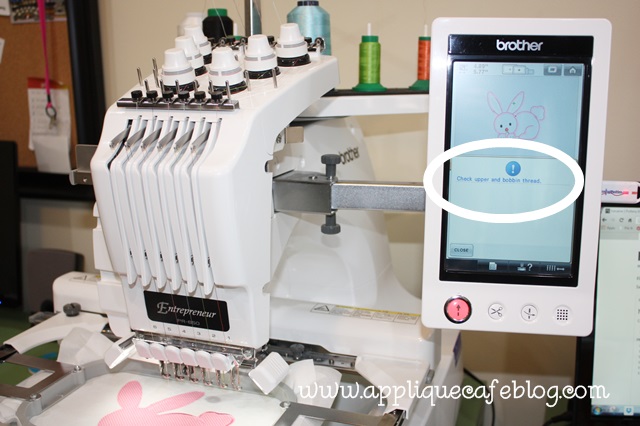
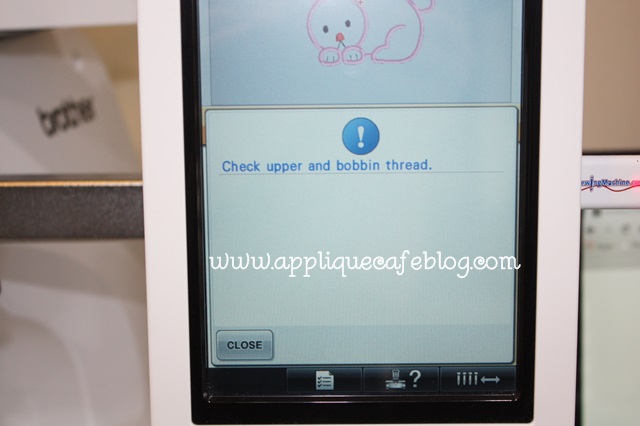
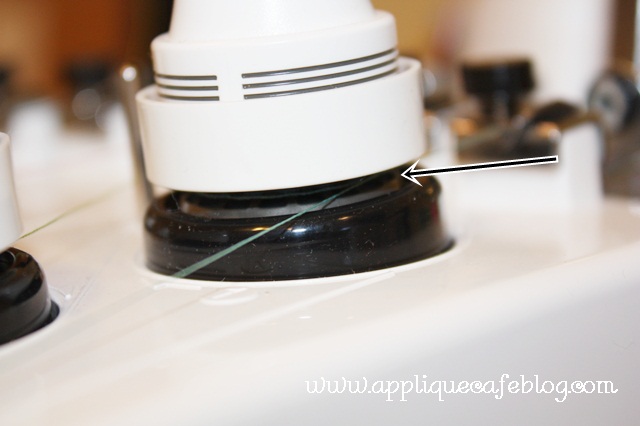
This is what happens when I try to work in the midst of kids!!

kids blog post kids blog post 2 garrison spider man

When is the best time to check email (other than every 5 minutes like I do sometimes….)?

I would add to this: Facebook, Pinterest, Instagram and all the other “distractions” I struggle with that are “for work” but can distract me for an hour!! When we first started Applique Cafe, I worked out of our dining room in our old house and felt the need to check email literally every time I walked by the dining room. It was out of control! Depending on what your business is and how important email is to you, I would say to check it 3 times a day. Set a schedule and try to stick to it barring special circumstances. Try to check it in the morning when you get up or sometime in the morning when you have a few minutes. Check it at lunchtime or in the afternoon if you are away from home during the day. Lastly, check it quickly at night before heading to bed. We do have to check ours often b/c the majority of our business is email, but I have found that if I check it too much, I am taking time out of my day to check it and may only receive 4 emails b/c I just checked it 20 minutes ago!

Social Media… if anyone is guilty of wasting too much time on social media, it is ME! There is no telling what I could accomplish in the hours and hours I’ve wasted since Facebook was invented! If you use social media for your business, try to stick with the same 3 or so times a day rule. Yes you might need to check Facebook to see if you have any messages or comments you need to check on. What you don’t need is to open Facebook in the middle of sewing a shirt and waste 30 minutes scrolling through to see what all your friends are up to! Same with Pinterest and Instagram! Both are great tools for business and most importantly they are FREE, but they can also distract you from your work and next thing you know an hour has passed and you haven’t even finished a single monogram! SET LIMITS!! 

How many items do you do each day? Goals are good!!

Beth S. says that she sets small goals. If she has 11 baseball bags on her to do list, then she tries to complete 2 to 3 a day. If she finds some extra time here or there, she can usually exceed her goal. I agree with Beth in that small goals are a great idea! I not only do this with embroidery work, but I do it with my every day stuff as well. Every day I either think about what I need to get done that day or write it down. It might be: go to the bank, send out X email, bathe the dog, monogram Leslie’s 2 items. Doesn’t it feel good to mark those things off the list, 1 by 1? I might have 32 embroidery items on my to do list, but know today is sort of a busy day and I don’t have a lot of time. Set a small goal of monogramming 1 thing, or 2 or 3 things. A lot of times you might be able to squeeze in 1 more and that’s great, but if you can’t, then at the very least you can accomplish the small goals before the day is done!

That’s all for today! I will continue next time with time savers & tips for doing monograms and appliques and the easiest fastest way to pick out fabric and thread colors! I would love to read your comments or suggestions for ORGANIZATION, so comment away!

Organization, Part 1

A couple of months ago, I did a blog post soliciting help, tips, shortcuts, whatever… on being organized and efficient. Just to show you how efficient I am, 2 months later I am finally back to share what I learned! I have to give a special SHOUT OUT to Beth S. who took the time to answer my plea for help in this area. Her answers were organized by questions by the way, so 2 thumbs up!

To give you a little background on Beth, she works full time and got her first embroidery machine 5 years ago. She upgraded to a Brother PR650 6-needle after 2 years, uses Monogram Wizard Plus and also has several extra hoops (I will touch on that later). Her biggest business is logos on baseball stuff (bags, pullovers, etc.) She’s an accountant by trade, so she is super efficient and doesn’t like to have inventory sitting around the house. Her goal is to create a sizable business so she can retire from her “real job” and still have income for vacations! I think that’s how a lot of us start out… embroidery “on the side” until we can see if we can really do it full time and still contribute to the family income or make a decent living. On the side, making extra money, is always good too!

Here is the first question on organizing orders! I will continue to answer the questions from THIS POST in future posts. I don’t want to overwhelm anyone! 🙂 A lot of the answers came from Beth, some from my own experience and a few others from emails and comments on the post.

How do you organize orders?

Beth has a to-do list on her computer that she keeps open at all times. It includes to dos for her house, real job & embroidery and she updates it throughout the day. She organizes her orders in the order in which they were received, but will sometimes switch between customers based on which hoop she is using on her machine. Beth’s turnaround time is a standard “2 weeks” but she often finishes early! Personally, I get overwhelmed with big orders! If I have a big order staring at me, and a couple of onesie twosie items on my to do list, I sometimes knock out the 1 or 2 items and then work on the big order. As long as I’m getting my orders done in a timely manner, it doesn’t really matter and it feels good to mark items off the to do list!!

to do list

I sometimes carry a little notepad or notebook around with me where I keep all of my to dos! I am 40-something years old, so if it ain’t written down, it ain’t going to happen. I can have someone bring over a bib to monogram and tell me they want bubblegum pink thread and a Master Circle monogram. Fast forward a few hours, and I cannot tell you what color or what font they want if it’s not written down. Truth.

As far as organizing orders, you need to have a system for writing stuff down. Whether it be a notepad where you write down the date and what the customer wants, or something more sophisticated like a typed up order form with the date and all the important details included on it. I believe you also need a PLACE to PUT your orders and a way to keep them organized. I got this nifty thing at Hobby Lobby on clearance a couple of years ago… The numbers come in handy!

order organizer

It helps that I have a dedicated sewing room now, but years ago I worked in our dining room and I had a wire industrial shelf from Target (see photo below) and baskets from Walmart where I kept all of my orders. That’s when I was doing customer work full time, and Jeff would sometimes hide stuff from me because I would become overwhelmed at my to do pile on the shelf. I think the key is to be organized as best you can! Put a date on everything. Keep a spreadsheet with important order info on it. Print emails if people email orders to you. Develop some type of system that works for you depending on where you do your embroidery, where you keep your to do orders, when you find time to work, etc.

wire shelf

If you aren’t organized, find a friend who is and ask for help! I have a friend who is super successful in the embroidery business. Her sister is super organized so she came in and helped her develop a system to keep track of all of her orders!

Keeping a good calendar is great too! Jeff and I have have 2 of these dry erase calendars on our wall in our office. We have 2 months going at a time. I know smart phones can do all that for us, but we like things written down.

calendar blog post

Chime in by commenting if you have any more specific ideas! Next I will cover the best time to work and juggling the computer stuff – email, social media, etc.

Multi-needle Error Message

Multi-needle users… how often do you get this error message? “Check upper and bobbin thread.” Sometimes this message is legitimate and you are out of bobbin thread or top thread. Sometimes you get it and realize one of your needles is not threaded correctly ~ you missed a guide or the thread has wandered around the wrong guide. Sometimes you get this message and everything appears to be FINE and you want to throw your machine out the window because it keeps happening every 7 stitches and you keep closing the error message and starting the machine again only to get the message again and again and again. Hypothetically. IMG_9337
I was having this issue with needle 1 and 6 on my machine recently and had my machine serviced a couple of months ago. I haven’t sewn a whole lot since I got it back, but noticed needle 6 was still giving me trouble. I emailed Steve at Sewingmachine.com last week about it and he sent me a GREAT list of “try this” for this error message issue. I took some pictures today to include and hopefully this will help if you are having the error message problem.

Please note: If you have this problem with needle 4, which has the shortest route from the spool of thread to the needle, wrap the thread around the tension disk twice! I did a short blog post on this – click HERE to read it! It worked for me!!

The following are suggestions from STEVE:

When your machine stops and says check upper and lower thread, it stopped because the machine did not “sense” the tension disc turning. The tension disc is the little (silver) wheel under your tension knob that you wrap the thread around 1-1/2 times when you thread up the machine.

IMG_9338
Tension Disc:
6 needle disk 2

There are two reasons for your to be getting a “false thread break” error. The first reason, and it is very uncommon, is that the electronic sensors that sense the motion (turning) of your tension discs are bad. We very rarely see that as the problem. The other reason is that your tension discs are just not turning steadily.

The first thing you want to try is to wrap your thread around the tension a second time to see if this stops the error message. The tension assembly is supposed to looped around one time during your threading of the machine – try looping it twice. This is just a test to see if it helps stop the error message. If that works then we know that your tension discs are not turning properly and it is not a sensor. (I tried this FIRST and this WORKED FOR ME! However, you still need to troubleshoot the issue with the following steps. Double wrapping the thread will eventually fail you, but it’s an easy fix to get through a project. RG)

Next if you pull straight down on a thread at the needle on one that is not giving you any issues you will see that the tension disc spins smoothly. (pull slowly) Next pull on one of the threads that is giving you problems and watch – the disc will spin erratically. If the disc was turning smoothly and steadily we would have to check the electronic sensor, but ninety times out of a hundred the disc or the felts, or a threading issue are to blame. Cleaning can also help and I will go into detail on that in a moment.

Disc & Felts:
6 needle disk
Below pics are from a blog post I did on 6 needle maintenance (found HERE):

6 needle disk 1

Tension can be an issue if the tension knobs are twisted down too tight and not allowing the tension disc to turn steadily. Try loosening the tension a little to see if the discs spin more smoothly.

The most common threading issue is that the little clips (pretensions) at the back and front of the head are not threaded correctly. The thread will only be half way under the clip or not at all and that will cause an issue. These pretensions help to hold your thread taut so that the when you wrap the thread around the tension disc the thread will “grip” the disc and spin it. Incorrect threading of the machine will also cause the error message. If the tensions and threading are correct then it may require cleaning to solve the issue.

Pretension Clips:
IMG_9341 IMG_9340

Here are the instructions for cleaning your tensions:

At the back and front of the head are two metal clips you run the thread under, these are called pretensions. Start by cleaning out under them. The space is very small under the clip so what we do is to cut a long skinny strip of fabric and run that under the clips. Soaking the fabric in rubbing alcohol can help to clean out any waxes or oils or dust that is trapped under the pretensions.

Next move onto the tension assembly itself and screw the cap off. Take each component of the tension off and stack them in a row for reassembly. As you take off the tension wheel that you wrap the thread around look at the underside and you will see a round ridge, that is the magnet the machine sense is turning, so that it knows that your thread is feeding and not broken. Clean any lint off of the blue felt disks, take a Q-tip or a fabric strip and clean inside the groove of the tension wheel. Use rubbing alcohol again to clean the tension wheel as you cannot have your thread slipping on this wheel. Be sure that when you reassemble the tension wheel that you put the side with the magnet facing down. After reassembly pull on your thread down at the needle and watch the tension wheel to assure that it is spinning. Pull slowly and the wheel should spin smoothly and not start and stop. If it will do that then you are good to go!

Tension Assembly:
6 needle 1

The blue felts should be replaced every so often – and the tension discs too. But cleaning is a first step to try, if that fails then replace the felts and discs. make sure and clean under the pretensions though as if you do not have adequate pretensions even new parts will not help.

Blue Felts (again) and the one on the right has a piece of lint on it, which can cause issues:

6 needle disk 1

I hope that helps you with this bothersome error message.

Again, check out my blog post on 6 needle maintenance and see how lint can collect and cause problems with your embroidery!

Steve has tons of great videos on their website ~ www.sewingmachine.com! Click on VIDEOS.