Organization HELP!!

Happy Monday! Let’s take a break from BATHROOMS! Do you ever feel totally disorganized? Inefficient? Stressed out? Like you can’t get anything done? Overbooked? Forgetful? Find yourself on Facebook for no reason? Easily sidetracked by laundry or the Girl Scout cookies in the freezer? All of the above describe how I feel on a daily basis! I wanted to work on a BLOG POST with tips on how to stay organized and efficient. I know most of us are stay-at-home moms who maybe do this for fun/on the side/for friends and family…. or maybe this is your full time J-O-B? What are your best tips for staying organized and efficient?

How do you organize your “orders”?

When is the best time to work?

When is the best time to check email (other than every 5 minutes like I do sometimes….)?

How many items do you do each day? Goals are good!!

How do you not get distracted?

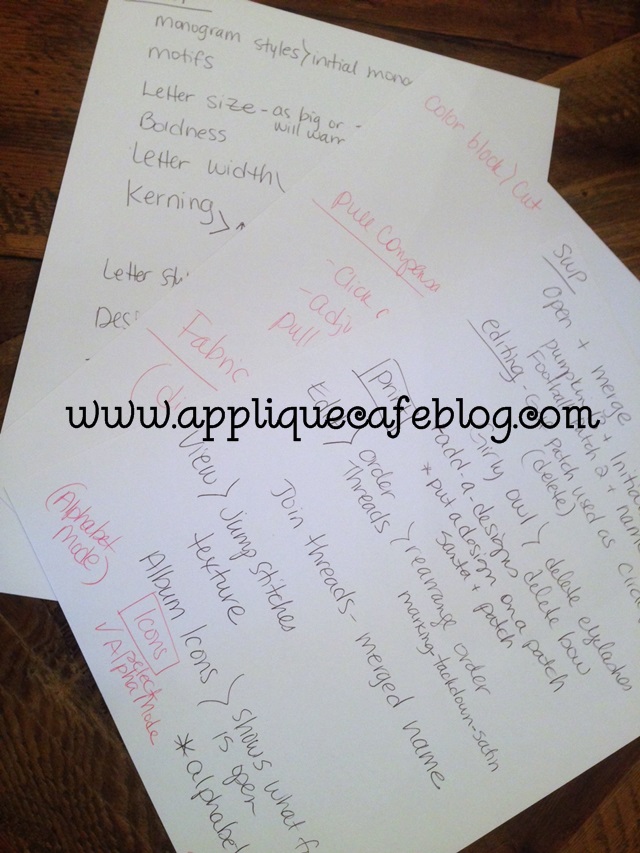
Tips & time savers for doing monograms and appliques?

Easiest way to pick out fabric & thread colors?

When do you not work or when is it OK to take the day off?

Those are just A FEW questions I could think of! I’d love to hear your thoughts. Sound off in the COMMENTS, or email me at rosemarygulledge@appliquecafe.com. Photos would be AWESOME too, if you have any to share! Be on the lookout for my BLOG POST!

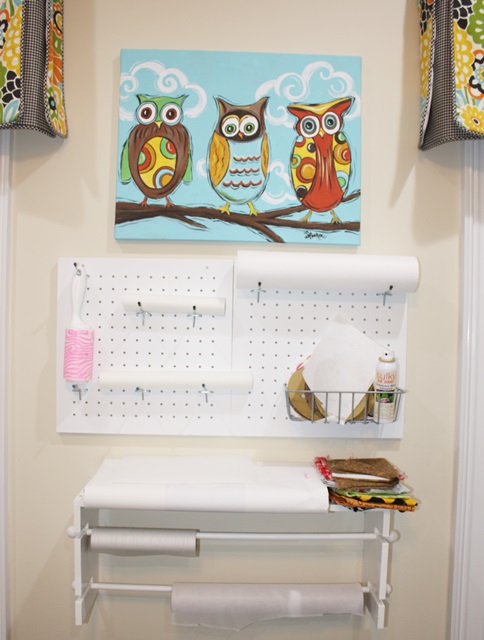
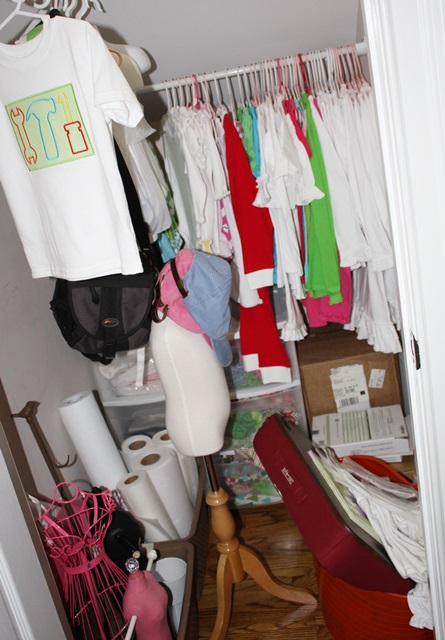
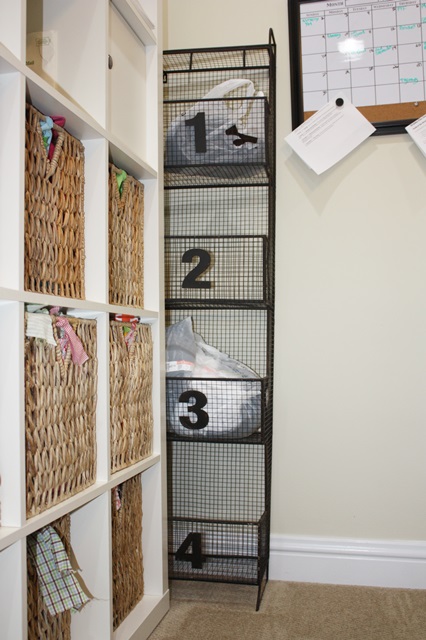
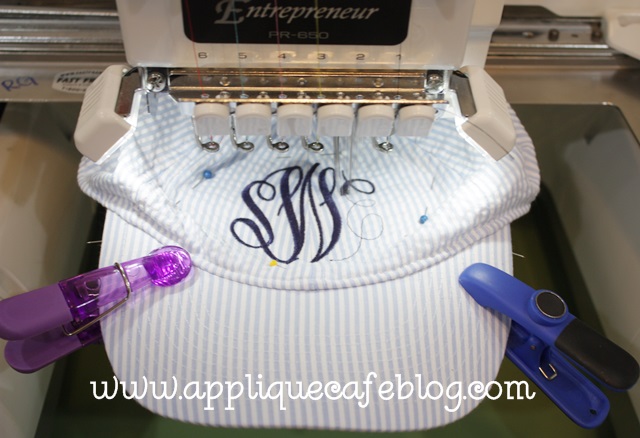
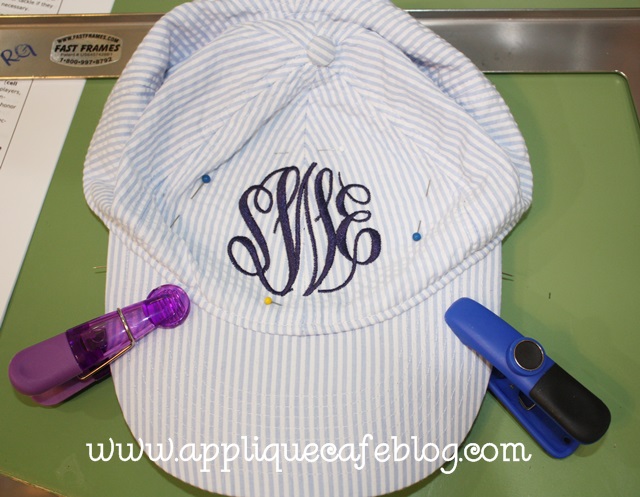
Here are just a few pics of my sewing room from a previous blog post on ORGANIZATION! Thanks in advance!!

organization 2

 My BLANKS & SUPPLY closet:

organization 3

 My ORDER organizer:

organization

Widening Satin Stitches!!

I taught a class last Thursday night at Beth’s Heirloom Sewing in Wetumpka, AL. I’ve taught a couple of “intro to embroidery & applique” classes before but this time she asked me to teach Embroidery Software. Since I use Monogram Wizard Plus and Sew What Pro, those were the 2 I chose to teach. I took 3 pages of notes (front and back) and ended up spending a good hour on Monogram Wizard Plus and the last hour on Sew What Pro. We didn’t even take a break! People really ARE interested in software!! Check out Beth’s website ~ they are now selling fabric online and she said they were still in the process of adding all of it! If you are in the area, you can also sign up for their newsletter and hear about upcoming classes. I need to take my notes and put them in a good outline form ~ I will work on that in my spare time!

beths

photo (10)

One of the most impressive features of Sew What Pro is that you can adjust PULL COMPENSATION, or in other words, you can WIDEN YOUR SATIN STITCHES on your appliques and fonts! Say what???? I posted a picture of a demo I did on Facebook last week and got a huge response!

I will walk you through the process, and also include a link to a video from the Sands Computing website so you can also watch the process. It’s SUPER easy to do!

Here is your Sew What Pro workspace screen and I did my demo using our Mini Satin Circle Applique Design. There is an icon up top for adjusting your density and PULL COMPENSATION. Click on that button (which says “Adjust Density”). I don’t mess with density by the way. I found this when googling Embroidery Density ~ “Density is the distance between individual stitches in a satin column or rows of stitches in a fill. The closer the rows are to each other, the more dense an area of stitches is.” You can read more about density here. Again, I typically don’t mess with density!

pull comp


On the bottom you will see Pull Compensation and X.1mm. You can adjust your PC up to 20, which would be 2mm. You can also go -20 which would make your satin stitch 2mm thinner. Basically, 5= 1/2 mm, 10=1 mm, 15 = 1.5 mm, and 20 would be 2 mm. You will see my examples down below.

pull comp 2

pull comp 3

pull comp 4

This is what my adjusted design looks like after changing my PC to 10. This, I thought, was a good increase for PC and it didn’t make it too thick.

pull comp 5

Here is the demo I did! As you can see, 20 is almost too thick unless you just like super duper thick satin stitches!

IMG_9108

Here is a shot of the back of each applique. As you can see the bobbin distribution looks great (about 1/3, 1/3, 1/3)  so adjusting Pull Compensation does not mess up how the design stitches.

photo (28)

And now, here is the video you can watch from the Sands Computing website: http://sandscomputing.com/sitebuildercontent/sitebuilderfiles/PullComp/PullCompensation.swf

There are also other helpful videos on their website! Let me know if you have any questions! This is just one of the cool features of Sew What Pro, which you can find at Applique Cafe! There is a 30 day free trial if you are interested in trying it out, and it’s only $65 to purchase. Well worth every penny!!

Check out our new Digitizer’s Pick for Christmas. This is a great design for the BOYS and it’s $1.50 for a limited time!

appcafeframe1loopy cmas tree 2

The Year of Hats

I am declaring the summer of 2014 The Year of Hats, or the Season of Hats, or the SUMMER OF HATS? I’m doing hats every week and this will be my 3rd blog post this summer on doing hats. Check out the first 2 HERE and HERE. I’ve also done 2 posts so far on VISORS, so check them out HERE and HERE.

I have mostly done monogramming on hats, but recently did our new Anchor Patch (which comes in a “small size” great for hats).

photo 5 (4)

This week we listed a new Mini Dog Applique AKA “Stitch” so I sampled it on a hat as well. It was a little trickier because I had to trim around the small legs of the dog. I typically use Gingher 4″ curved scissors to trim my appliques, but busted out the “Snips” for this hat. I used my 5.5″ X 6″ Fast Frame + sticky stabilizer and pinned the front of my hat to the frame. I use the seam on the front of the hat for my center and it’s best to get the front of the hat as flat as possible and pinned down securely. I also use chip clips to clip the bill of the hat (which is flattened) to the frame.

photo 1 (10)

Here it is after I’ve unpinned. I not only use a layer of fabric, but I fuse it to a layer of medium cutaway stabilizer with Heat N Bond Lite so that the seam doesn’t show through my fabric. Fabric alone would probably work, but adding a layer of stabilizer keeps it firm and you can’t see the hat color or seam through the fabric.

photo 2 (10)

Finished product! Please note that the dog polka dot fabric is not wrinkled. For some reason the camera captured the dots weird and it looks that way, but it’s flat and smooth!

photo 3 (7)

More hats. These cute seersucker striped hats came from the J. Crew Outlet and were about 6 bucks each. My sister in law bought all they had and I have 3 more to do today. Again, flatten the bill, chip clip it to the fast frame and smooth and pin the front of the hat.

IMG_8975

I used Monogram Wizard Plus “Master Circle font and this is roughly 2.75” tall. I think I increased it a couple of times once I got it on my machine and saw that I had a little more room.

IMG_8976

This is what it looks like from the bottom. Most hats come with a “lip” or mini liner (the white part) that folds down – I usually pin it back before I pin the hat to the frame. The chip clips keep the bill flat and in place on the frame.

IMG_8977

Finished product!

IMG_8978

Here is another type of Fast Frame that I was told worked great with hats. It’s a 6″ thin radius frame and this one is from Ken’s Sewing Center. I believe you can also get a 4″ thin radius frame which might also work great for hats. Make sure you get THIN. Most 7 in 1 Fast Frame sets come with a regular radius frame, but I believe the thin will allow you to get closer to the bill on the front. They also sell these frames at Sewingmachine.com, but are currently not on the website. I was told they should be available next week online. Again, I don’t have one yet, but was told they work great for hats!

radius frame

We listed a few new designs this week and are having a quick little July 4th SALE at Applique Cafe.

july 4 sale

Here are our new designs for this week, which include a couple for BACK TO SCHOOL!! We also added a new “Patch Applique“. I love the TOOLS and these new patch designs are only 1 fabric and super easy to sew.


IMG_8989-tile

Have a safe 4th of July!!