Good morning! Last week I had a customer email me asking about mini embroidery designs. It took me a week to get this post together but here it is! I took several photos of a shirt I did for my middle child, a couple of Polo shirts (kids) and then some adult polo type shirts with logos on them. If you look at all the pictures, you’ll see there is no rhyme or reason to where the design should go as far as “go to this button and measure”. Some shirts have 2 buttons and some have 3 (and some might have more). The only thing we can conclude is that it goes on the left breast area of the shirt (right if you are facing the shirt). It’s also always centered! That’s about it! You might google for more scientific recommendations but I say eyeball it, measure left to right and go for it!
This is a shirt I did last summer with our Mini Embroidery Dog. If you are like me, white shirts do not last around this house! This is the 1.5″ dog.
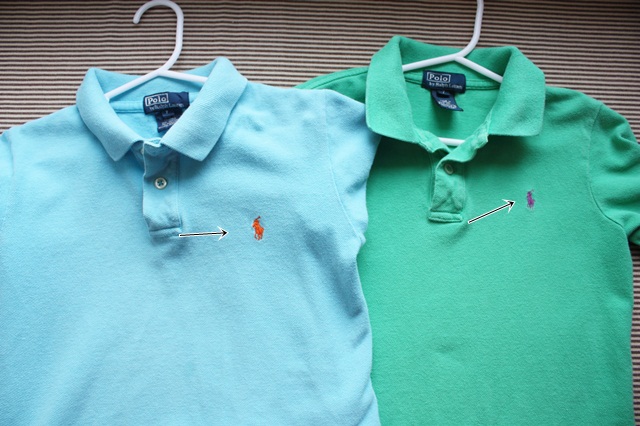
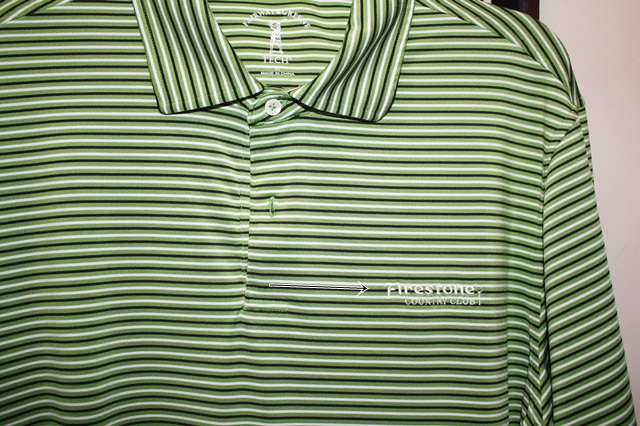
Here are 2 youth size Polo brand shirts, both size 7. As you can see, the signature Polo design is not located in the same place on both shirts! On the turquoise it looks like they measured from the bottom of the button placket over to the right side of the shirt. On the green, it looks like they measured from sort of in between the 2nd button and the bottom placket over to the right side of the shirt. Again, these are both the same size.
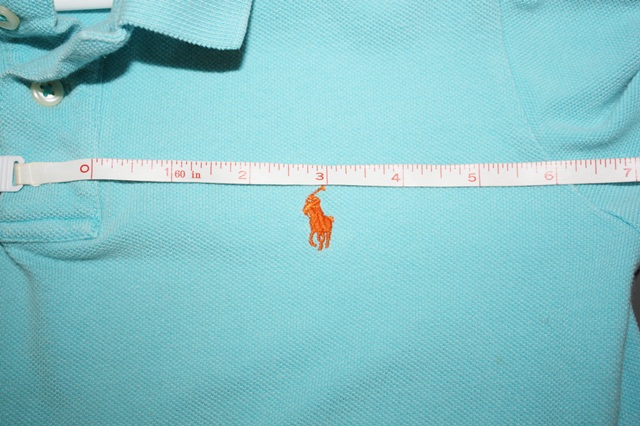
Below you see the breast area measures roughly 6″ from the button placket seam over to the arm seam of the shirt. The Polo design is roughly in the middle (3″).
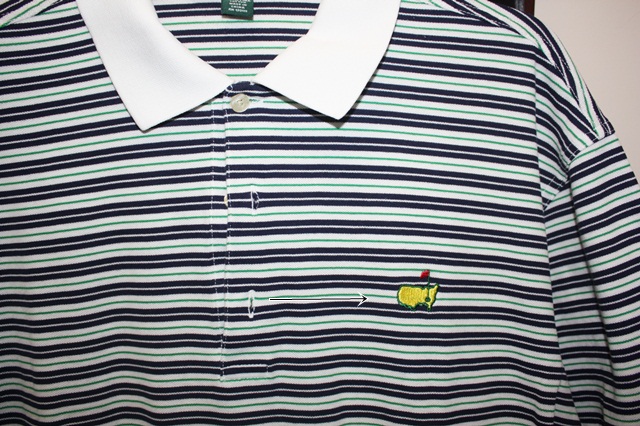
Here are a few of Jeff’s shirts. I noticed on a lot of his shirts the logo is measured from the bottom or 3rd button.
Again, bottom button.
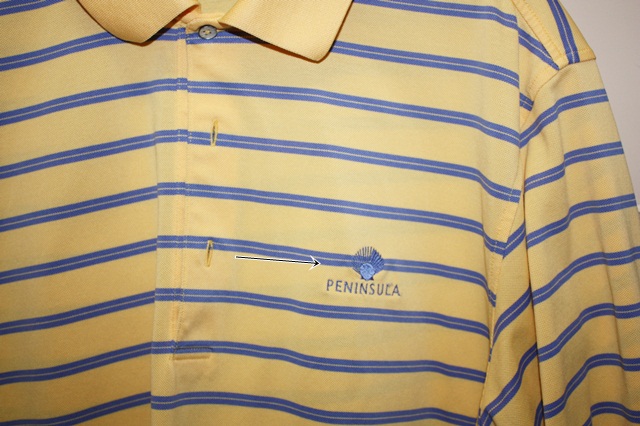
This one only has 2 buttons so this one is measured closer to the bottom of the button placket.
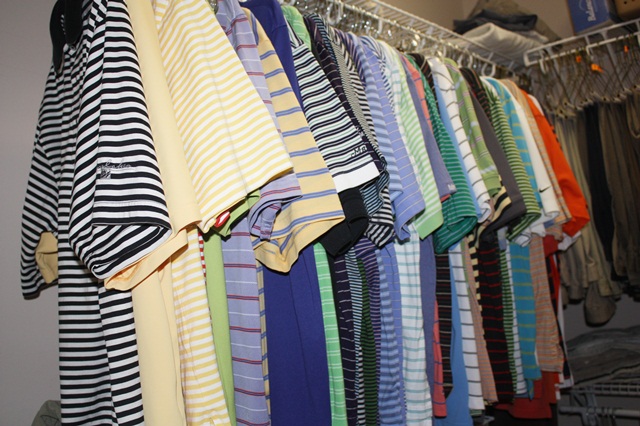
Jeff is a golfer. Can you tell? He has a ridiculous amount of golf shirts.
I hope that helps?!?!?!?! I don’t think you can go wrong as long as the mini design is centered between the button placket and the arm seam of the shirt! It REALLY depends on the size of the shirt and how many buttons the shirt has! Again, you might find more scientific info on the world wide web, but to me it makes more sense to look at the shirt and figure it out.
Now…. more on those mini embroidery designs. Every now & then I get an email saying “the outline of the design does not match up with the design. It’s “off” for some reason.” Believe me, I have been one of those customers. Years ago I did a cute embroidery fill stitched lion from another site and the outline of the lion was “off”. I didn’t realize several things about embroidery designs (where no fabric is involved). 1) when you stitch a fill stitch embroidery design, big or small, the stitching may ‘gather’ your garment even ever so slightly. Proper stabilizer is KEY! 2) the outline stitch of mini embroidery designs are computer generated, therefore they outline the design perfectly. The are computer digitized to outline the design (and not done “by hand”).
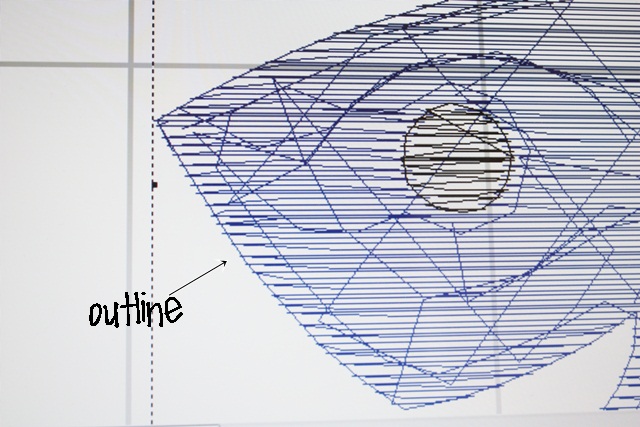
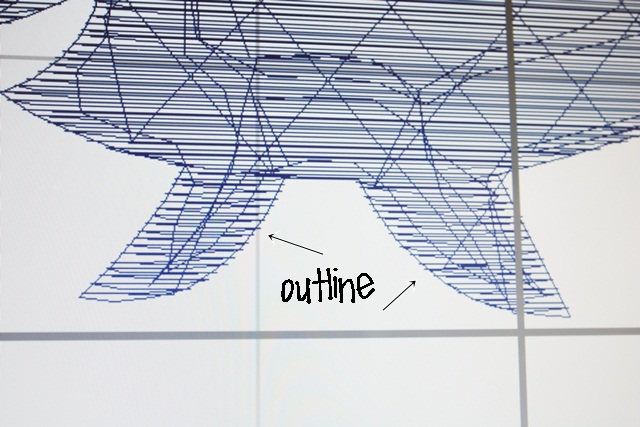
As you can see on this zoomed-in mini shark design, the outline is there and is actually on top of the outside of the design.
Here it is again, and you’ll see down below this next photo how that outline can appear to shift when you don’t use proper stabilization (or if your garment is wrinkled, has spandex or a thin knit).
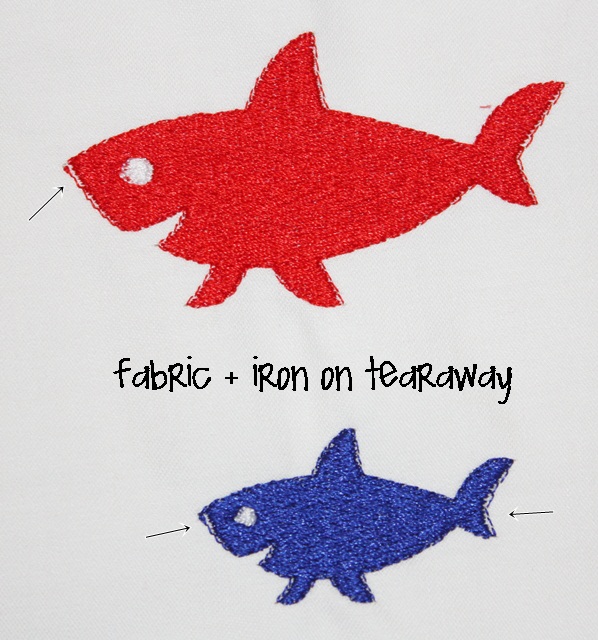
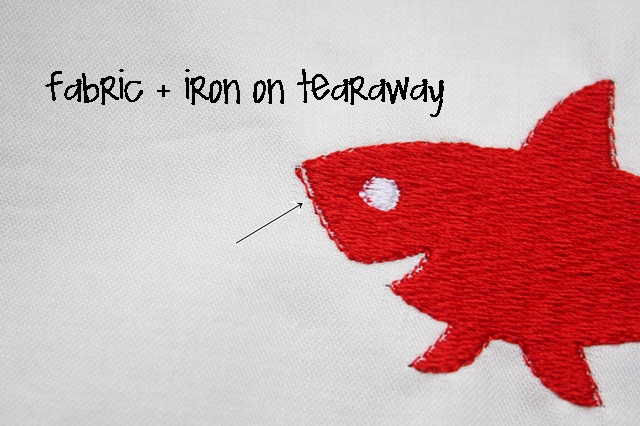
I sewed the mini embroidery shark (2 sizes) on 1) fabric and iron on tearaway stabilizer (thin paper-like stabilizer) and also on 2) fabric and medium cutaway stabilizer. As you can see below, the iron on tearaway shark outline appears “off”, when above the outline is more on top of the outer edges of the design. This is because a) the stabilizer is not enough to support the thin fabric and 3,000+ stitches (on the larger shark). You have over 3,000 stitches in a span of a few inches. It’s going to gather your fabric just enough that the outline does not match up exactly! Even on the smaller shark, you have 1400 stitches in a span of about an inch and 1/2.
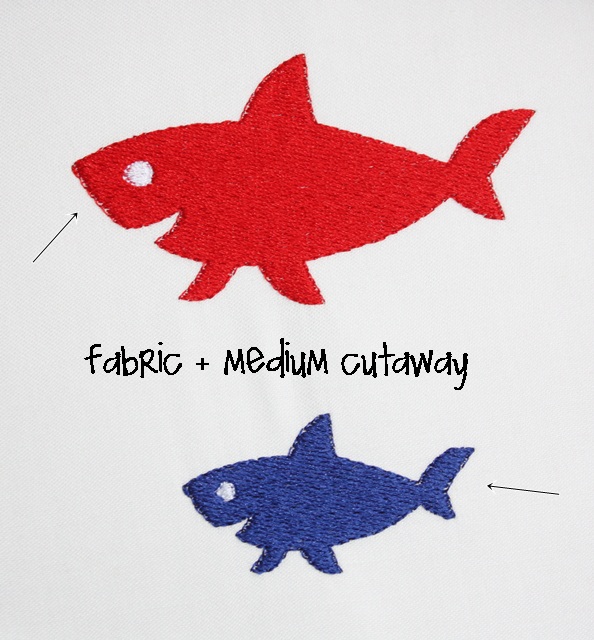
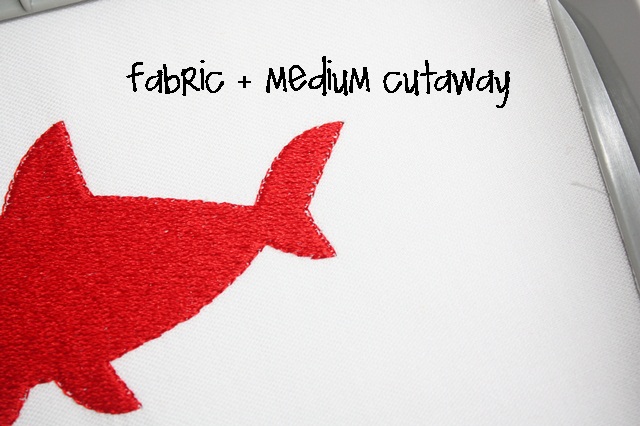
Here are the same designs on fabric and medium cutaway stabilizer. The outline matches up much better!
I have seen much much worse! I have seen fabric and sticky stabilizer and the outline is WAY off. On this photo you can see closer all of the fill stitch in the design. That stitching is back & forth, back & forth, etc. and will gather your fabric even ever so slightly. Knit fabrics or fabrics w/ spandex can even be worse!
If you are having this problem try different stabilizer! You might even try 2 layers of stabilizer.
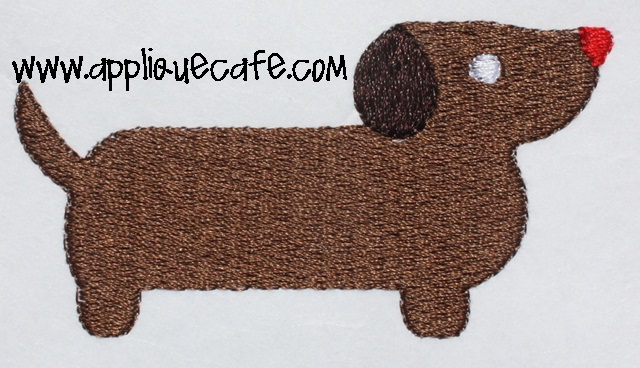
Here is a new mini design (mini wiener dog not yet listed). This was done on 2 layers of medium cutaway stabilizer, and as you can see the outline lines up great!
Mini designs are a great way to jazz up those plain polo type shirts! If you are having any issues try cutaway, make sure your garment is ironed and if you hoop, make sure it’s nice and smooth. You can also stop your machine and leave off the outline. I hope this all helps and makes sense!
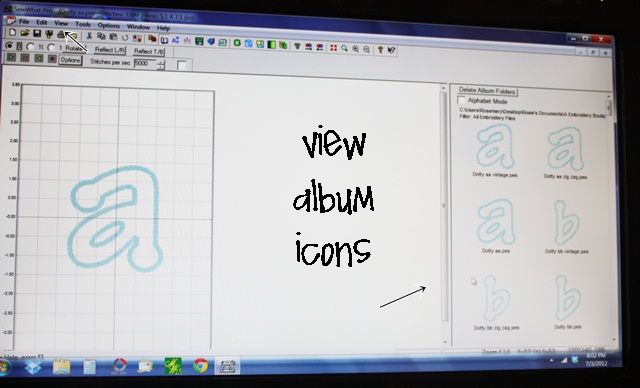
I also get asked a lot about merging font files in Sew What Pro. Here is a shortcut if you are unaware ~ if you click View, then Album Icons, the folder you are using with all of your font files (a file for each letter) will open up on the right side of your screen instead of the thread chart. You can then click on the letters you need and SWP will move them to your work screen on the left. You still have to arrange them and center the design, but it’s a little easier than opening the folder over and over again! Below is the Embroidery-Boutique Dotty applique font!
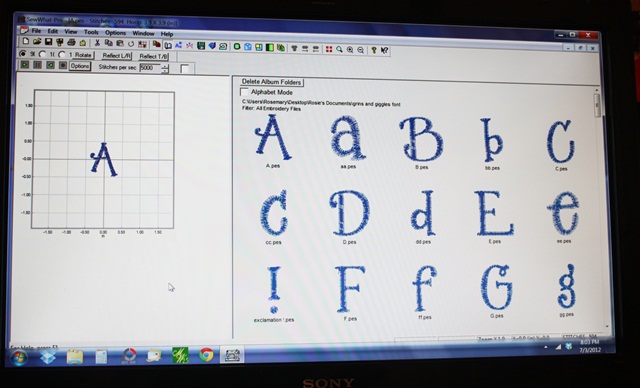
Most of you know I use Monogram Wizard Plus 99% of the time for my fonts, but if you are just starting out and are buying fonts off the internet to merge, then this might help! When you click on each letter, it will move it to your work area (and stack on top of the A in this case). You will then have to separate and arrange the letters.
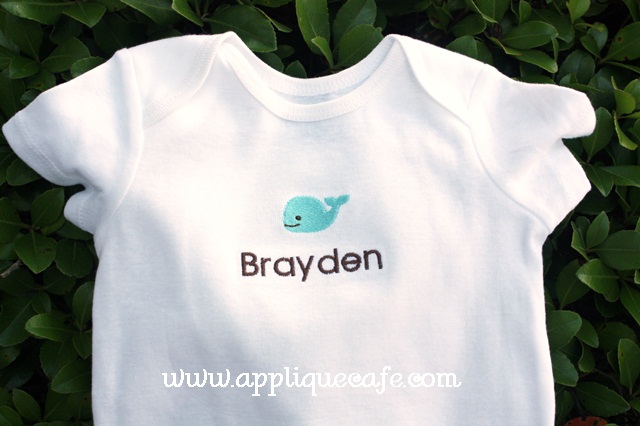
Lastly, here is another great use of mini designs ~ they are great for onesies and baby layette items!
I hope you all have a great week! We are having a sale through next Tuesday, July 17th at Applique Cafe. All designs are 30% off. We already have several new designs for this week which will be listed ASAP.
Wow! I love the tip for SWP. That will makes this so much faster. Thank you!
I can only afford one merging software and want one that can merge fonts with appliqués. Which one would you recommend for a beginner. Loved the conference.
For merging I recommend Sew What Pro ($65). You can download a trial for 30 days at sandscomputing.com. You might see you want something more for fonts later, in which case I love Monogram Wizard Plus!
Rosemary, I love your posts and your designs. Thank you for posting about these outlines, it has happened to me but I was never quite sure how to remedy the problem. It was very easy to blame it on the machine, LOL. Several years ago, when I was new to embroidery I went to the extreme and over stabilized and you can imagine what that looked like. I did a fill stitch for my great nephew and used so much stabilizer it stood out from his chest! Sometimes, I will go to your blog to see if you have written something about a project I’m about to work on. I just did this today after reading this last post and I can’t believe I missed the one you wrote in 2010 on designs being off-center due to tails on sock monkeys, vines on pumpkins, etc. My daughter has complained about this very thing on the shirts I do for the children and I always tell her I centered it so it has to be correct and that when it’s measured left to right it is centered. I had no clue about adding but not stitching a word underneath to force a pumpkin, for instance, to center, thus making it more visually appealing. That is one of the single most helpful posts I have read anywhere and I thank you and commend you for that one. Keep up the good work!
Barbara
Good to hear the posts are helpful!! 🙂
Ooooh, forgot about the SWP tip. I’ve had it for over a year and haven’t mastered it simply because I haven’t taken the time to learn it. This will help me I’m sure.
Barbara
Thanks so much for the tips!!! I love your blog!!!
Great posting – thanks for all the tips!
Just a thought on your white shirt with the stain–have you tried Clorox bleach pen? I know they have been around for awhile now, but I just started using them on the white shirts of my daughters’ that I have embroidered or appliqued and hence can’t bleach in the wash. It has been a life save in most cases! If you haven’t tried it check it out–might extend the wear-ability of some of those white shirts.
Yes I have one! I actually used it last week on a shirt. I need to try it on the white dog shirt. Thanks!
I’m about to purchase my FIRST embroidery machine for home use. What would you suggest? I’m torn between the Brother PE780D and the Brother Innovis 1500D. I currently sew on a Singer and have a very basic Brother as well. Any advice would be greatly appreciated. I’m located in Columbus, GA (West Central GA) and have 2 Brother dealership that each about 45 mins away. We do have a Babylock dealer right here in town but they seem so much more expensive. My budget is about $1200 and I want to get the most for my money and I believe that Babylock is out of my price range. Thanks for any help at all.
Marnita
I started with a PE770, so that’s what I would recommend! I am not familiar w/ the Innovis but you might compare the 2 and of course consider price. I know the PE is well less than $1000 which would give you some budget for designs, fabric and all that if you don’t already have that stuff. (Software too). I do recommend you go to West Point to Sewingmachine.com! LOVE them and their store!! 🙂 I’m in Montgomery so not too far from you.
I just had to comment, that I SNORTED out loud at your husbands golf shirts. I should take a picture and send it to you, I thought I was looking into my closet for a moment. My husband is a golfer as well and has an OBSCENE amount of golf shirts. I think I see a few of the same shirts hanging in your space as I do mine. At least I’m not the only one. When I buy several pairs of shoes, but in different colors, or maybe the same style type dress, all I say to my hubs when he comments is “GOLF SHIRTS”
What about khaki shorts and pants?? There is no shortage at our house!!!
Another great post Rosemary! I think the mini’s make cute add ons t6 other designs as well. Thanks for all the tips!
Oh my! I’m thrilled about the SWP tip!! Had no clue you could do that!! Thanks!
I love your blog posts! They are always so relevant, easy to understand and fun to read! With the SWP album icons- the files must be unzipped! When I download designs they come zipped and for the sake of ease and being rushed I usually dump them in a folder. When I saw the album icons tip for SWP I was determined to figure it out and it wouldn’t work. I even uninstalled and reinstalled the program! I told hubs my woes and he sat down and in 2 seconds said “oh they’re zipped!” So I’ve been going through endless folders of designs and unzipping and moving unneeded formats to a different folder. Talk about work!!
I am planning to get the Brother PE770. I love making American Girl doll clothes. I want to be able to applique on these. If I download patterns from a website can I make them smaller in size? Is it harder to stitch. I live in Florida so I want to do flip flops and sea life and such!!
There are tons of mini designs out there which might work great for American Doll clothes! Mini embroidery and applique might work!