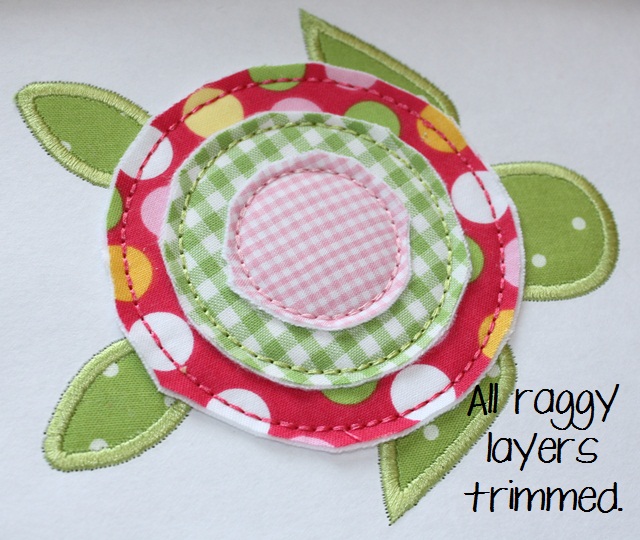
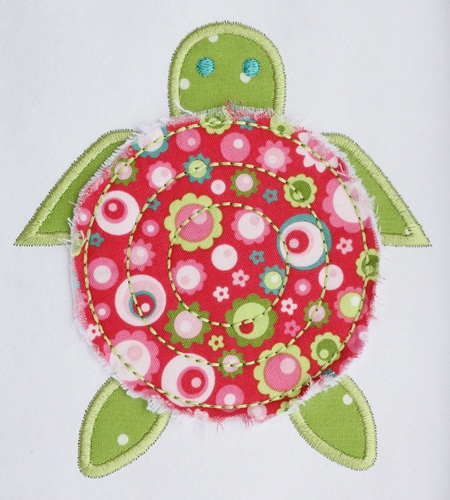
I did a new Raggy Turtle sample yesterday and someone suggested the design have multiple fabrics for the shell, so I took a few photos just now when I redid it! It turned out SO CUTE! You can’t see steps 1, 2 and 3 in this photo but I’ve already done the head, “arms” and “legs” which were done with regular ole marking, tackdown & satin. You will see them later. BEFORE I DID THE EYES, WHICH IS THE LAST STEP, I STOPPED TO TRIM ALL OF MY RAGGY FABRIC INSTEAD OF TRIMMING AFTER EACH LAYER! As you can see below, I first put down a layer of WHITE flannel, then my bright polka dot fabric (that is steps 4 & 5 and it stitched the fabric down with a redwork stitch which is a thick running stitch). Next, I put another layer of white flannel and my fat lime gingham on top of that (steps 6 & 7). Then on the top layer another layer of white flannel and my pink gingham (steps 8 & 9). You COULD trim each layer in between steps, but since this is raggy it’s easier to just let it sew and trim all at once at the end (before the eyes which is step 10!).
So, obviously I start at the top and trim, leaving about 1/8″ of fabric. You can do more or less.
Next I trim my lime fat gingham layer.
Now the bottom layer and as you can see, the head and other parts were done first. Those are regular satin stitch; only the shell is raggy!
Next I take my (dull) little embroidery scissors and I scrape the edges of the fabric to make it fray. You may notice lots of loose crazy long threads. And, as you can see I did the last step which is the eyes.
Lint brush! It’ll pick up any loose threads. If there are any long threads left, just trim them w/ scissors.
Here is the finished turtle! I love how it turned out!! It’s always fun to coordinate fabrics!
This was yesterday’s sample and if you prefer, you can use just 1 fabric (and a layer of flannel underneath)!!
I bought yet another 3 drawer cart at Target today. I WILL have all of my fabric organized by the end of the day and that will be my next blog post! I’m halfway there!!
This post will be filed under “Helpful Posts” on my menu bar along with my previous Raggy post ~ https://www.appliquecafeblog.com/raggy/. Don’t be afraid to try it! It’s fast and has some texture and depth to it!
p.s. after explaining this I see that it might be easier to have Jeff move the eyes step up to 4 right after the satin stitch for the head and other body parts. That way you can do all the shell layers and trim and be done! Hope this doesn’t confuse anyone! We will get it changed before we list it later today!


Adorable, adorable! You inspire me always! I just hope it is as easy when I try it as you seem to make it in the explanation. Thanks again for sharing your talent with us.
Ok, that is cute as a button!! What are the names of all the fabrics you used for the raggy turtle? I want one JUST like it!
So cute!! How much would you charge a customer for a shirt like this with 4 different fabrics, etc….
I would probably charge $12-14!