It’s June already (and this is my 2nd blog post in the past week)!! It’s going to be a great summer! Yesterday I FINISHED every single piece of “customer work” I had to do, so now it’s time to dig in to some other things. I got some great sample blanks at the Everything Applique Conference, so I want to *do* something with them and post about them (coming soon). I also have a pile of samples from EAC I need to sell and a few things to do for Mallory too.
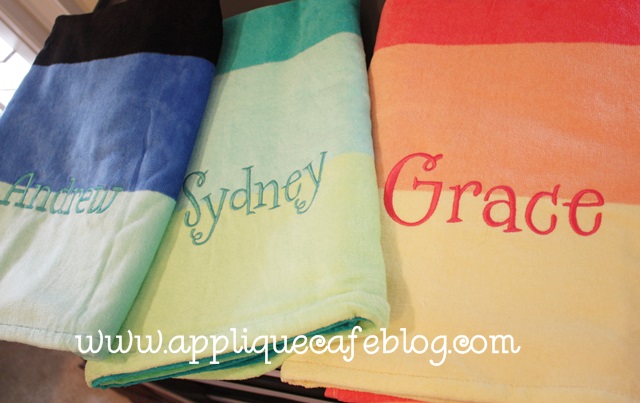
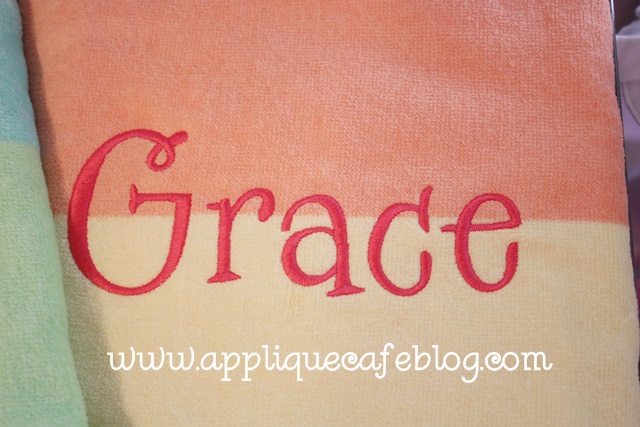
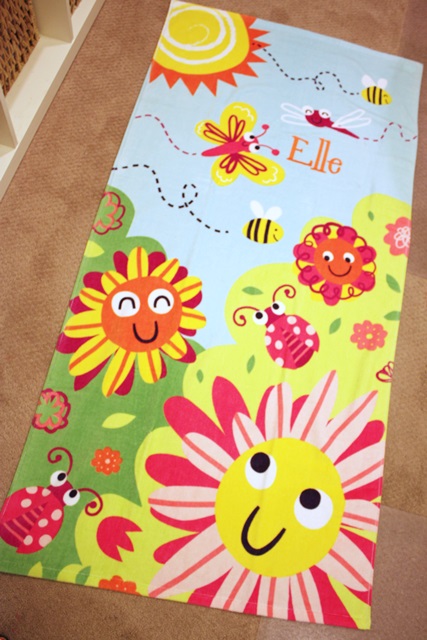
You know how I always say I like to use FILL STITCH when I do towels? Well, I have an exception to the rule. I had a customer bring me these beach towels to monogram, and she specifically said “nothing too thick”. These are from Tarjet I think, and they are cute little towels and also relatively thin. In this case, I DID NOT use fill stitch. I made sure my font was thin enough to do satin stitch. These names pretty much filled the 5×7 hoop, so close to 6.5-7″ wide. In Monogram Wizard Plus you can adjust the boldness (thickness or fatness of the satin stitch) of a font so I did decrease the boldness on the right 2 girl towels. The font is MWP Specs. On the left boy towel, I used MWP Kazoo font and the name wasn’t too thick at this size, so I don’t think I had to adjust the boldness on it. If this is all confusing to you, stay tuned for my next post on Monogram Wizard Plus and adjusting a font’s width and boldness and all that good stuff.
Specs is a wonky font, so I did the letters in layers and then arranged them all in Sew What Pro. See this post for more info b/c I didn’t take pictures of how to do it.
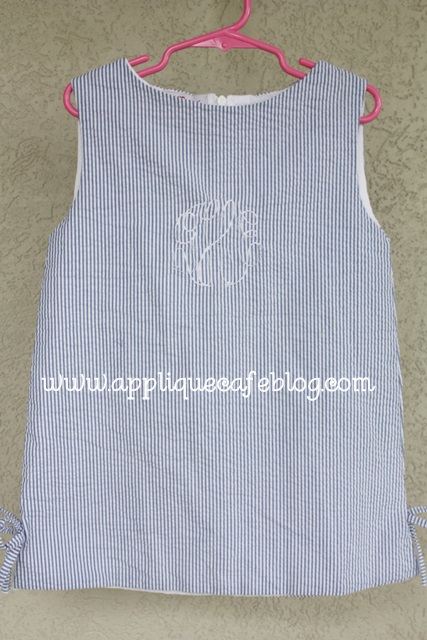
Now on to a project I did today for Mallory. I bought this a-line dress/top at an overstock sale several months ago. It was all of like $8 or $10 and was a sample from Red Beans clothing line. It had a monogram on it, but I got it anyway. When I see something monogrammed, I usually see A) if it will come out easily and B) if I can cover it. I did a little bit of both on this one.
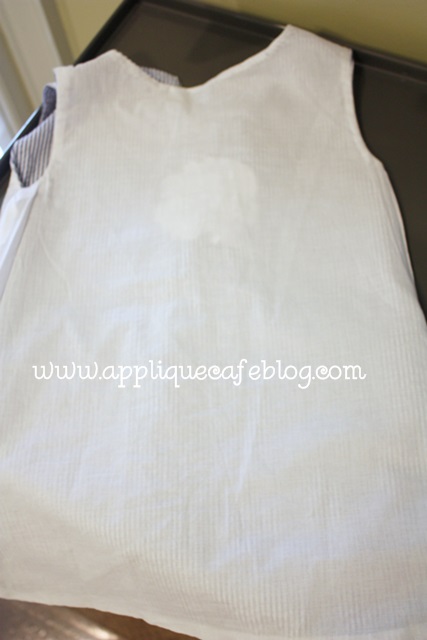
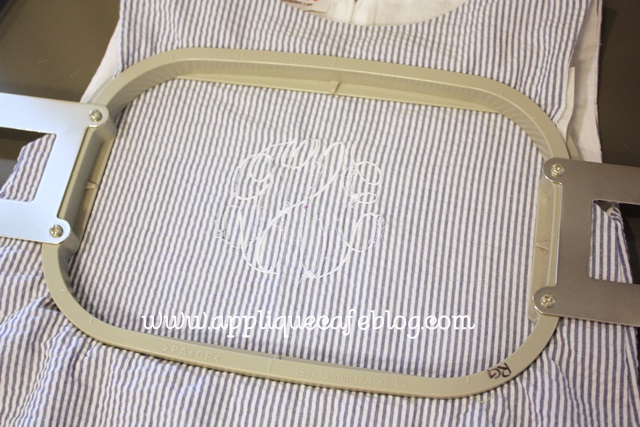
As you can see below, I took out what I could of the monogram ~ mainly the fat parts that I could easily cut (with a seam ripper or small scissors) and pull out. The dress/shirt was fully lined, so I didn’t have access to the back side and bobbin thread and could only take out the monogram from the front which was a little tricky. Anyway, I took out what I could and decided to move on. You can also see where I marked the approximate center of the monogram. My plan was to cover it with an applique!
As I said, it was fully lined (covering the back of the monogram) and I didn’t want to mess with the lining.
I used medium cutaway stabilizer on the back side of the dress and hooped it so that the monogram was pretty centered in the hoop. You want to make sure the applique will cover the entire monogram.
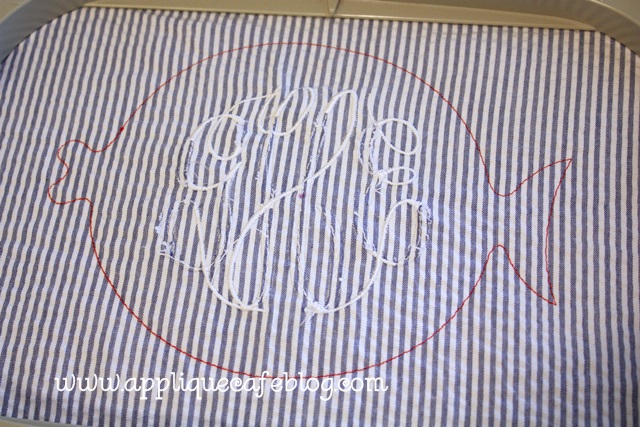
I chose our Fat Fish Design to cover the monogram. As you can see below, I sewed the marking stitch first. I then had an idea… what if I cut out the seersucker fabric and monogram INSIDE the marking stitch LEAVING the lining in tact. Had I thought of this before, I would not have wasted 20 minutes trying to take out part of the monogram. See my post on Layering Fabrics in an Applique for more info on this.
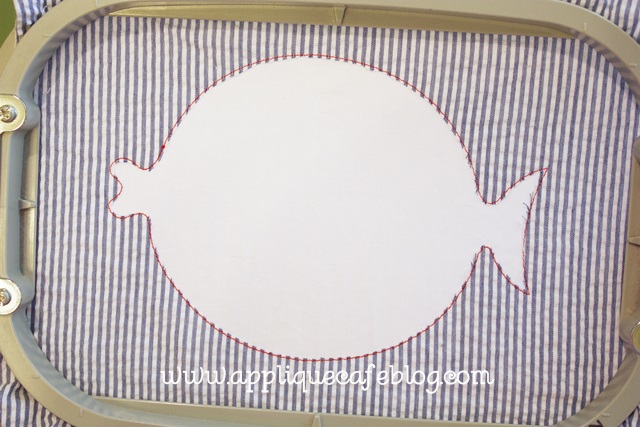
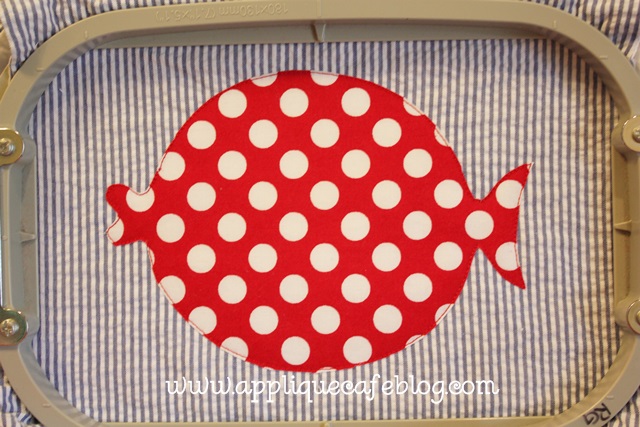
As you can see, I trimmed closely inside the fish. The white you see is the lining of the dress/shirt (I’m honestly not sure which it is, dress or top, but we plan to wear this w/ shorts).
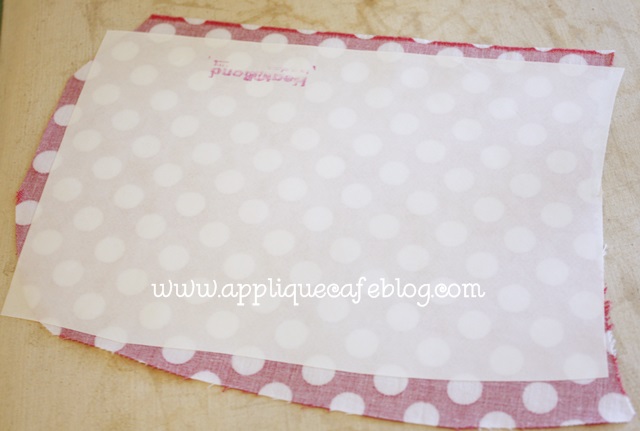
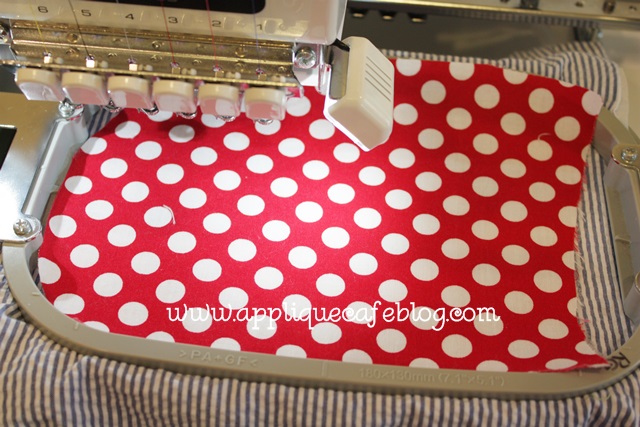
I am using red Ta Dot fabric because I have a pair of little ruffle shorts she is going to wear this with. I use Heat N Bond Lite on the fabric (of course).
Ready for the tackdown stitch!
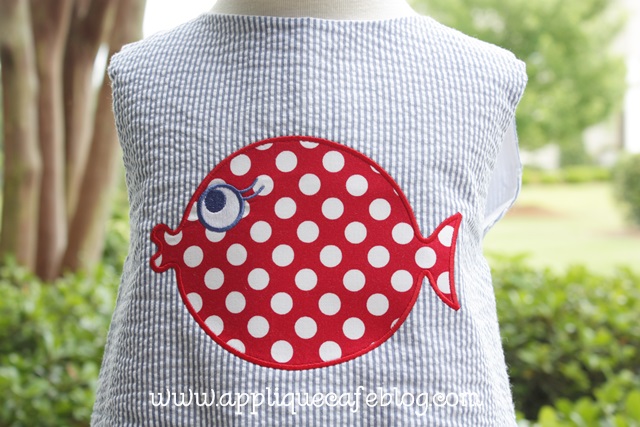
Here I have trimmed the fabric closely. I love my Gingher 4″ curved scissors! It will then stitch the eye and around the fish and I stopped the machine and left off the fin that is shown on this design.
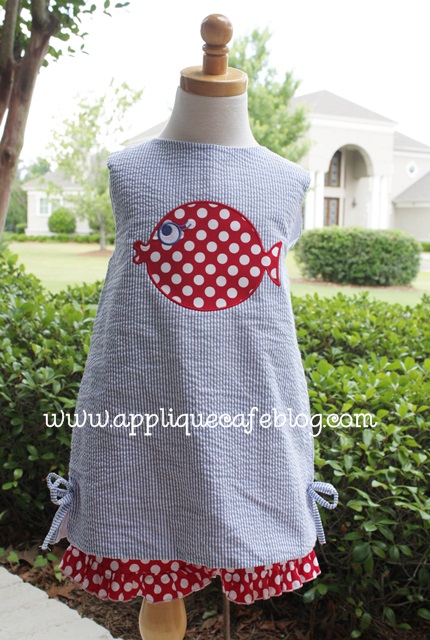
Here is the finished outfit! I got the shorts from Doodles Boutique. This will be great for the summer AND it’s a little patriotic for the 4th of July!
I love this fish!
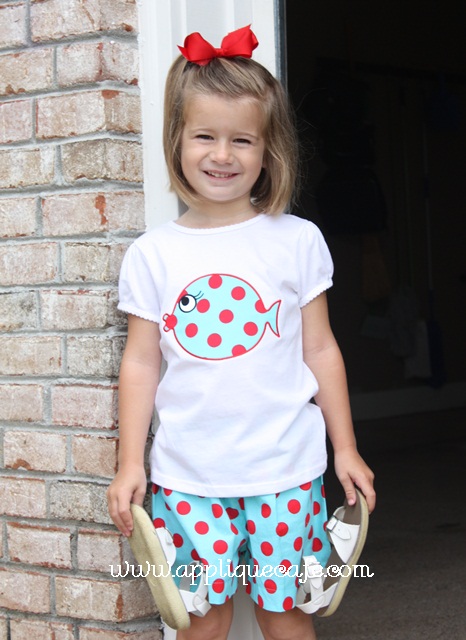
I also did this Fat Fish last year to match a pair of shorts I got at the same overstock sale! I believe the shorts are from Red Beans too!
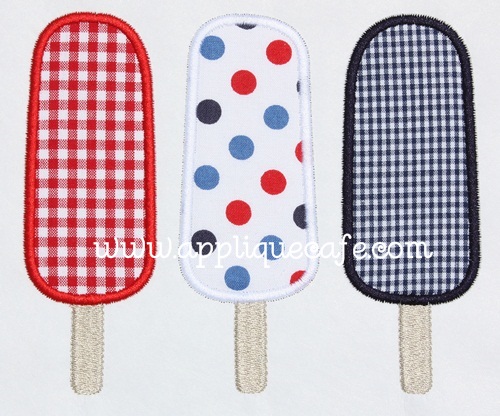
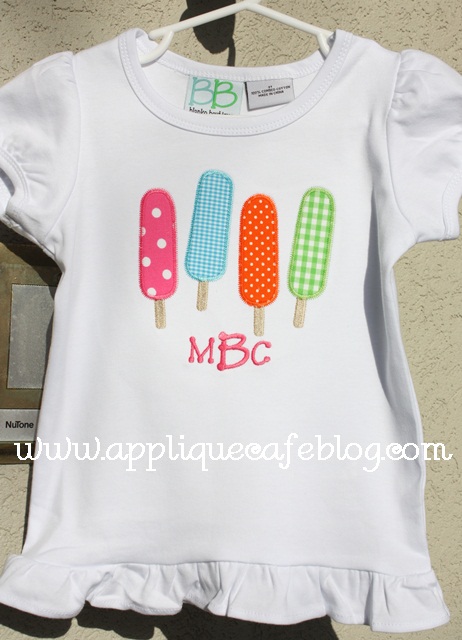
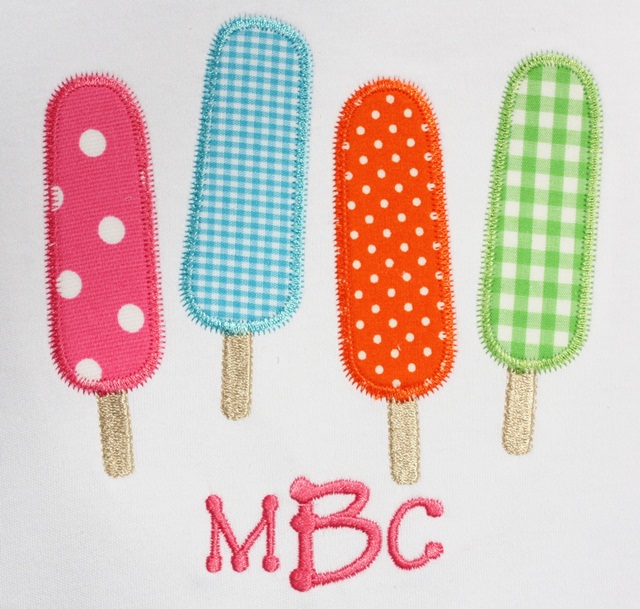
Lastly, I posted on Facebook yesterday that you can make pretty much any design patriotic by using red, white & blue fabric, like in the outfit above. Here is also a pic of our Popsicle Trio design done in RW&B fabrics! Have a great week!


Recent Comments