Organization, Part 3

Did you think I forgot about ORGANIZATION?? Here is my next (and last) installment of organization posts! Hopefully you caught my previous 2 blog posts on some cool videos I found – Stabilizer Savvy and How to Start an Embroidery Machine Business. Now back to Organization and Part 1 & Part 2 are on the blog…

Tips & Timesavers for doing monograms and appliques

Beth’s answer to this – if she has 10-15 minutes before school, carpool or a sports event, she will sit down and design monograms (in her software) so they are ready when she is ready to sew them. She also may cut fabric and iron on the backing (Heat N Bond Lite) so she’s ready!

This is also where having extra hoops comes in handy! When I first started, my PE700 came with 1 5×7 hoop. Of course I ordered the 4×4 and 2×3, but also eventually ordered extra 4×4 and 5×7 hoops. That way I could work on hooping the next item while stitching another. I now have 3 4×4 hoops, 2 5×7 and a variety of other hoops – Durkee 9×9 and 6×6. I also have a variety of Fast Frames so I have plenty of hoops/frames to get the next item ready!

hoops blog post

INSTEAD of cruising Facebook (or Instagram, or Pinterest…) while that 46 minute monogram stitches, see what else you have to work on and start preparing. Iron, mark your center, go ahead and hoop it or attach it to the fast frame, cut your fabric for appliques, iron them and apply Heat N Bond Lite. Go ahead and set aside thread colors for the next project! There are lots of ways to maximize your time while sewing. Try not to get distracted! 

I think I posted this photo before, but while the burp cloth was stitching, I went ahead and ironed the bib, marked the center and ironed tearaway stabilizer on the back. I knew I was doing a small patch applique, so I went ahead and cut that fabric, ironed it and applied my Heat N Bond Lite. It’s ready to hoop and stitch!

photo (22)

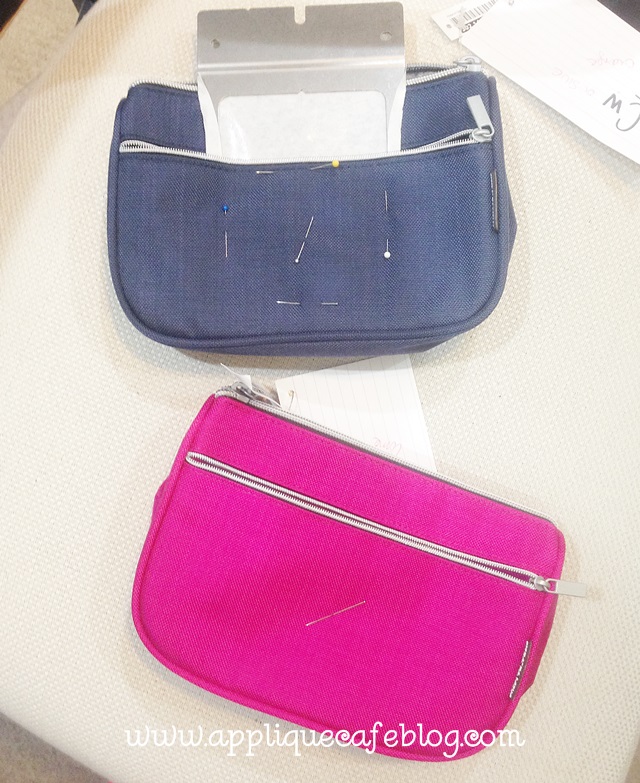
I was doing a few of these cute bags the other day from Ikea. While 1 was stitching, I went ahead and got the next one ready – center marked and attached to the fast frame! I didn’t have another frame to get the 3rd one ready, but I went ahead and marked my center. IMG_5574
Easiest Way to Pick out Fabric & Thread Colors

This can be hard sometimes and easy sometimes! For me, Sew What-Pro saves me A LOT of time in this department. When I am getting ready to sample or sew a NEW design, I always open it up in SWP first and change the colors around to get an idea of what colors I want to use. This gives me a head start in choosing fabrics. Here’s an example:

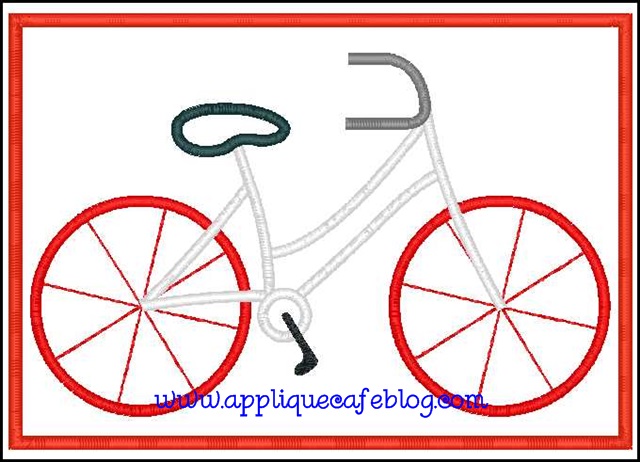
This is what the design looked like fresh out of being digitized, ready for me to sample. As most of you know, my husband Jeff does the digitizing and he makes each step a different color, but there’s no rhyme or reason to which colors he chooses.

Bicycle Patch5x7

The first thing I do is change the colors to help me visualize what color fabric and threads I plan to use. For boy designs I usually start with primary colors, or my favorites like turquoise, lime, orange, etc. For girls, I usually start with hot pink and then go from there – turquoise, lime green, orange. This is just a starting place!

Bicycle Patch5x7colors

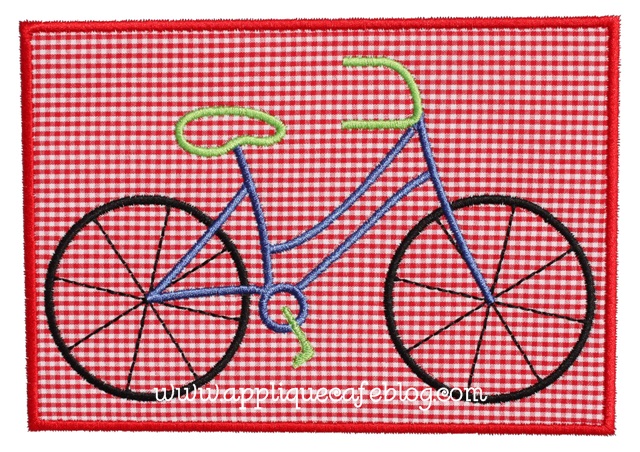
This is one of our single fabric patch designs, so I typically use simple fabrics like ginghams, stripes & polka dots. As you can see, setting the colors I want to use before I sew it really helps!

bicycle patch

Sometimes you might be matching a pair of shorts, or matching a monogram to some trim on a bag. Those projects are easy! Sometimes I am sampling new designs and I will sort through every piece of floral fabric I own trying to find the perfect fabric. This is where organized fabric comes in handy! I have mine organized by design – polka dots, ginghams, florals, boy fabrics, textured fabrics (minky & chenille), etc.  Keeping your fabric & thread organized is a good start!

If your applique is several fabrics, start by nailing down the main fabric. If it’s a floral, see what goes with it – polka dots, ginghams, stripes, solids, etc. Most of our designs at Applique Cafe are very SIMPLE. Other than Turkey designs and a hand full of others, most of our designs aren’t more than a few fabrics which makes your job easier!

When do you not work or when is it OK to take the day off?

Beth tries really hard not to work when her kids are around! See my last post! 🙂 If her kids are playing outside, she might throw something easy and “safe” on the machine. If she is not in the mood to embroider, she tries to stay away from the machine. I agree! That’s when you make the most mistakes, or your machine will act up FOR SURE. Personally, I try not to work on the weekends. There are some Saturdays when we have nothing going on and the kids are down the street playing, so I might sit down and get some work done. I often have people call and want to come over at all times of the day, including when we are eating dinner. I try to avoid that! You need to keep family time sacred, and as much as you think you need to work for 12 hours a day, you need to pace yourself, be more organized and set a reasonable work schedule!

Another tip or suggestions that I got:

At the end of the day, put everything back in it’s place! Put your hoops away. Make sure your fabric is all back in the right basket. Throw away the scraps and things that need to be thrown away. Finish up the day by leaving your work space organized and clean, then you are ready for the next day!

If you have any other suggestions or tips, do share! Leave us a comment and I will be sure to share!
Road Trip!!

eem

I am super excited about a SHOPPING EVENT coming up in February 2015! The Everything Embroidery Market will take place in Chattanooga, TN on February 20-21st. Check out their Facebook page to keep up with who will be there and everything you need to know! The website is www.everythingembroiderymarket.com to register, find hotel information and much more. Who all will be there??

Tadpoles&tutus-Logos-tutu-photo-frog

ME!!!! ……. I missed the Applique Conference this year so I’m excited to be there to see everyone and get to shop, network and learn some new things! Best of all, I WILL have a display table but won’t be teaching or anything so it’ll be a stress-free and fun trip! Not that teaching is stressful but you know what I mean… 🙂

Who else?

Sassy Kid Blanks, Southern Home Blanks, Sewingmachine.com (my favorite!!), Monkey Tails Blanks, All Stitched Up by Angela/Angela’s Fabric and Trim, web designer Strafire.com just to name a few ~ LIKE their Facebook page to find out who else is coming. There are other applique/embroidery website friends coming too! I hope to see you there!

Sewing Room Organization

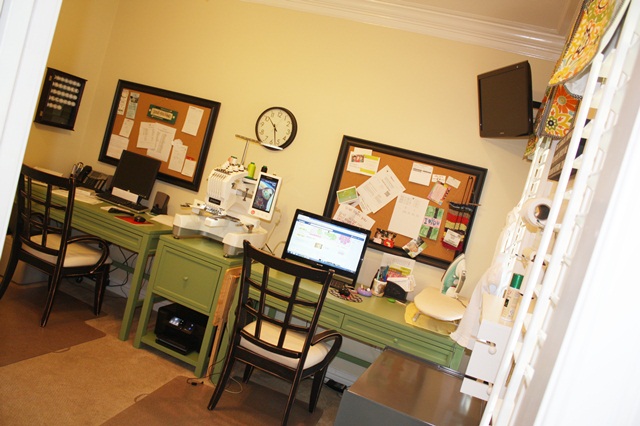
Hello AC Blog readers!! A while back (like in July) I solicited blog post suggestions on Facebook (or maybe it was on a blog post?) and I got some great suggestions. Sorry it has taken me 3 months to address some of them! I thought I would share a few pictures from my sewing room and show you how I (try really hard to) stay organized!! I think organization is a good thing or else your work space may feel chaotic and stressful. Luckily I have my own sewing room (that I share with my husband – he gets a corner and a shelf or two!). Before this house, my dining room was my sewing room and we all know how crazy that can be.

This is an old photo, but you get the idea. The furniture is from Home Decorators – Martha Stewart Living Craft Space Furniture.  It comes in a few colors and bunch of different options and has really held up well. My desk is dinged up from hitting it with hoops and such, but overall it is sturdy and we like it!

sewing room

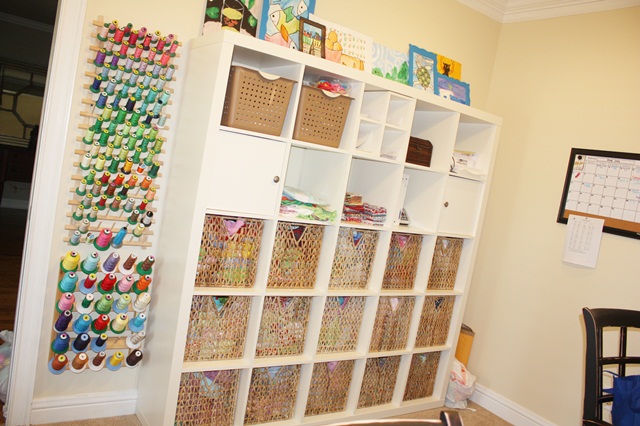
This is an old photo as well. This is my Expedit cubby system from Ikea, which I LOVE!!!! This thing is heavy and sturdy and comes in a few other configuration options. I was told that Expedit has changes names to Kallax at Ikea, and I am not sure if this 25 cubby system is being offered, but I looked online and see the 16 cubby system and a few other options. There are also lots of basket options, doors, drawers, etc. All 15 of the bottom baskets are filled with fabric, and are organized by style. For example: fat ginghams, regular ginghams, microcheck fabrics, chevrons, polka dots, solids, floral prints, etc etc etc are in a basket together. They are wadded up and thrown in the baskets haphazardly, but they are organized!!

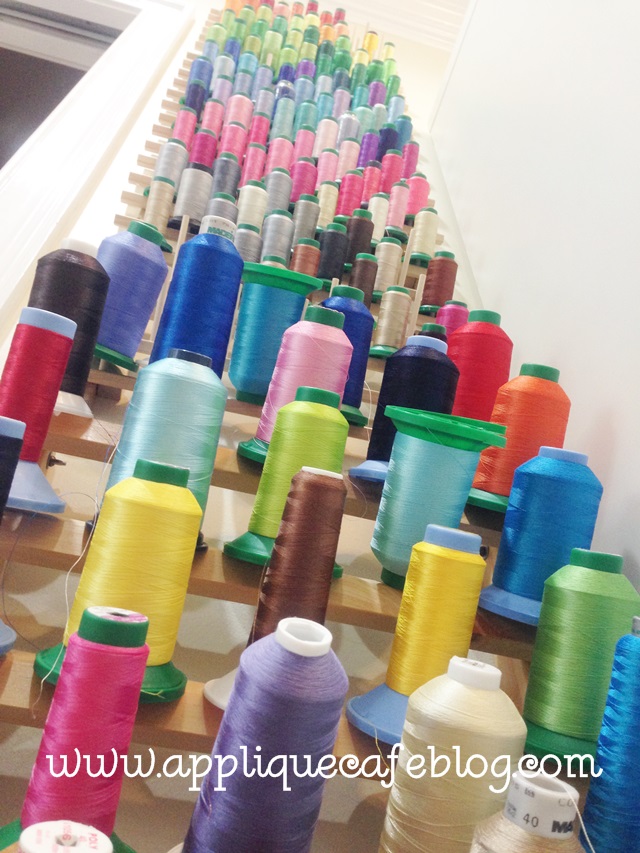
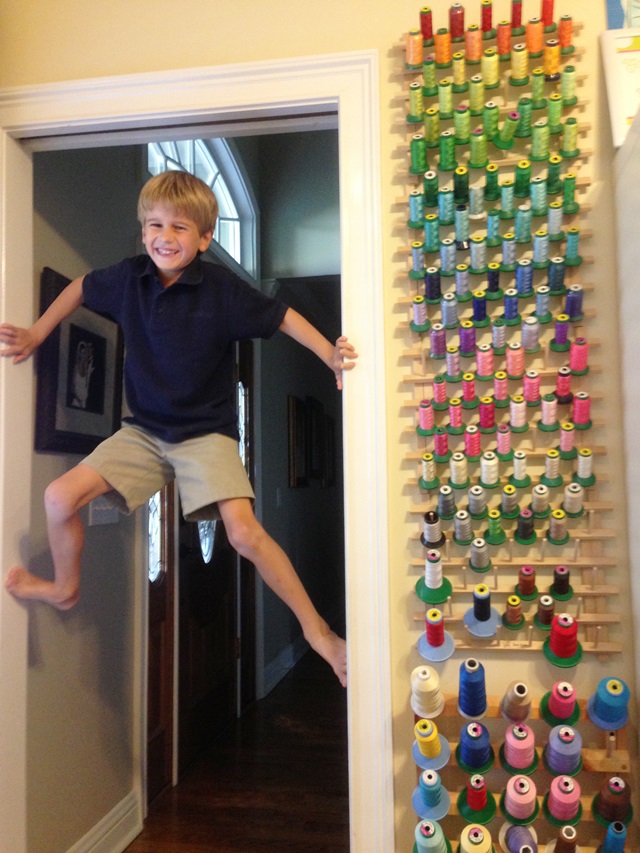
Thread — I have 4 standard sized thread racks hanging on the wall. You can buy them at Hobby Lobby, Joann, etc. I also have a large spool (5000M) rack that I bought at Sewingmachine.com at their West Point location. I think this is it — 30 Spool Thread Rack.

expedit

Here is more recent photo I took while laying on the floor doing hip exercises! Pretty cool huh (not the hip exercises…)? I use mostly Isacord and Exquisite thread. I get my Isacord from Sewingmachine.com and my Exquisite from Kenssewingcenter.com! I do have some random spools of other brands, but those are my 2 go-to brands for embroidery thread.

photo (7)

Another picture I posted on Facebook recently of my now-8 year old! He was peering over my shoulder the other day while I was doing a newsletter and asked me, as seriously as he could, “Do you have a website? Wait… do you own your own company?” WHERE HAVE YOU BEEN SON????? 🙂

garrison spider man

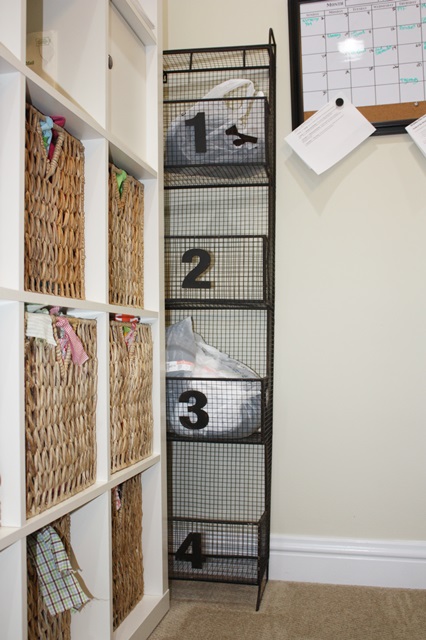
Another old photo! I bought this 1 2 3 4 wall cubby thing at Hobby Lobby a year or two ago. I believe it was on clearance and I thought it would be perfect for my TO DO stuff! Be on the lookout for things like this at Hobby Lobby, World Market, etc. when you are out shopping! They are great for getting organized!

photo (41)

This photo was today, and luckily my TO DO pile is small!

IMG_9102

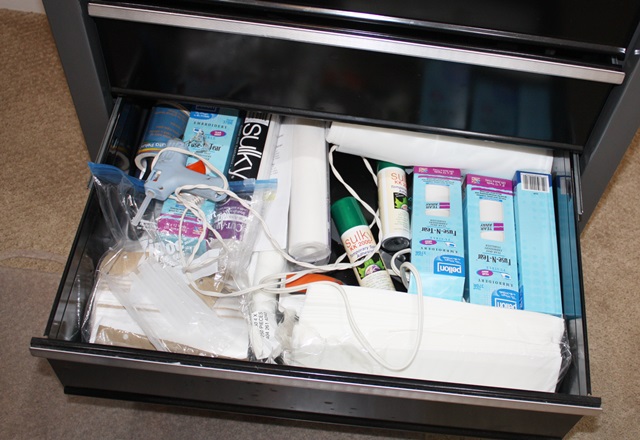
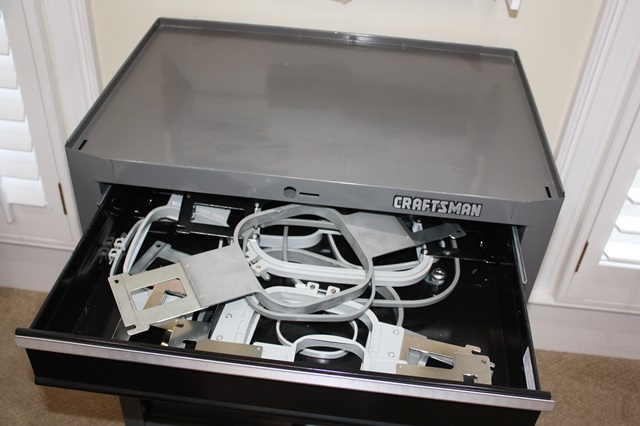
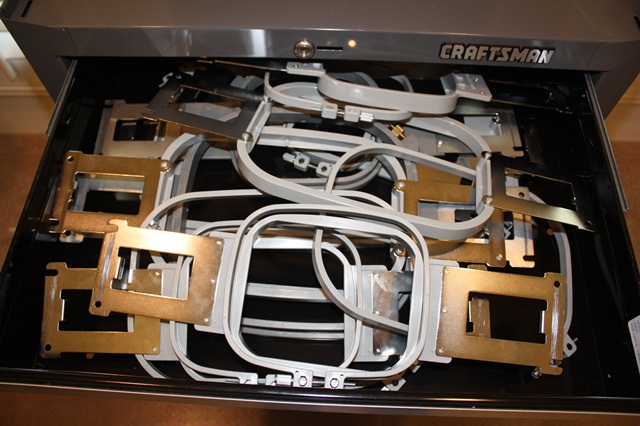
I have posted may times before that I used to use a Craftsman Tool Chest as a machine stand. It worked great! When we bought this house and I got a sewing room, I bought the 1-drawer piece of furniture seen in the first photo, but I kept the tool chest and I love it! I use it as my hooping station, and the drawers are great for all of my STUFF (hoops, extra stabilizer, etc.). As you can see below, when they have a sale at Joann I stock up!

IMG_9105

Drawers are great for all those hoop pieces! The top is great for hooping too. I bought this at Sears for less than $100 and it has 4 drawers.

IMG_9104

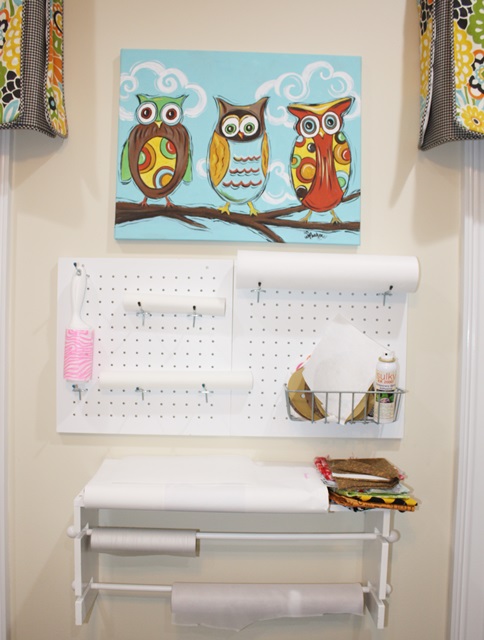
Above the tool chest I have a couple of peg boards I got at Michaels and a craft rack I also got at Michaels. It holds some of my stabilizer! This hangs above my tool chest so everything is handy when I’m hooping.

IMG_9103

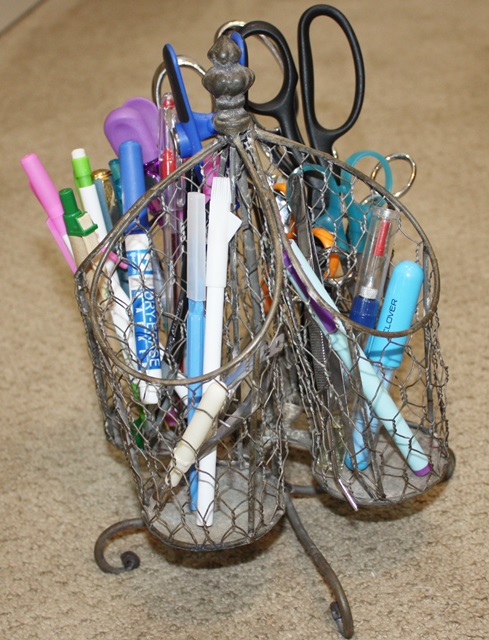
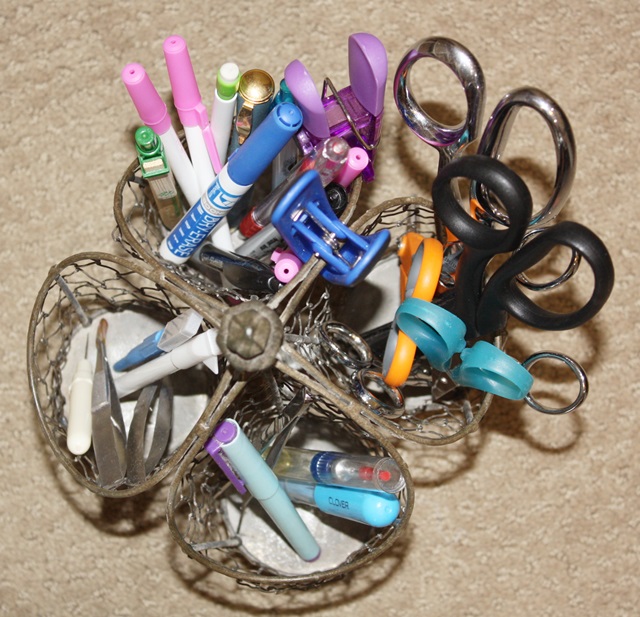
I bought this utensil caddy at Southern Homes & Gardens here in town. It spins around which comes in handy! My only complaint is that my stuff falls through the holes of the chicken wire and often gets stuck, but you get the idea! Any utensil caddy would be great for scissors, pens and all those other “things” you use (seam ripper, marking pens, etc.) in keeping them organized.

IMG_9101 IMG_9100

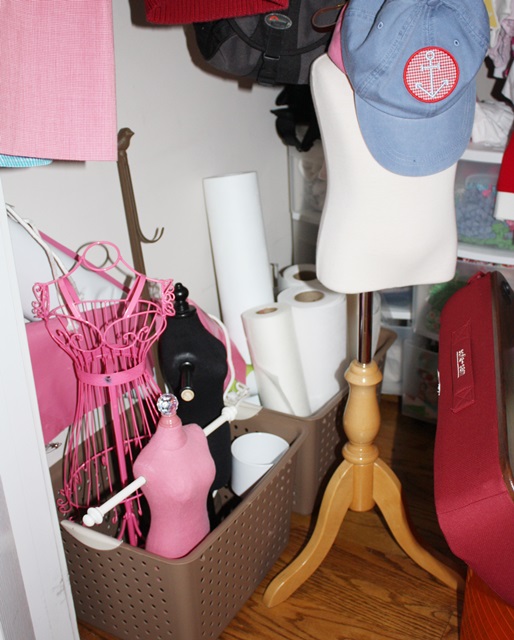
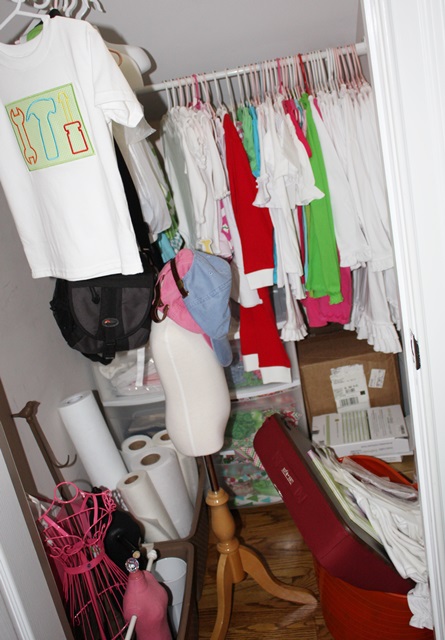
I am also lucky in our house to have a closet for all of my STUFF! My husband had some stuff in this closet and I kicked him out. It’s just a small closet under our stairs. As you can see below I have a dress form and some other smaller “props” which I use when doing classes or events. I bought the dress form from a local store that was closing, and the other smaller props all came from Hobby Lobby. You can find dress forms on Ebay also!

IMG_9107

I have tons of blanks and samples and I love that they are hung up and organized! I keep blank bibs and burp cloths in the plastic drawers underneath. It looks a little messy but it’s really organized!

IMG_9106

I hope that helps as you think about organization!!

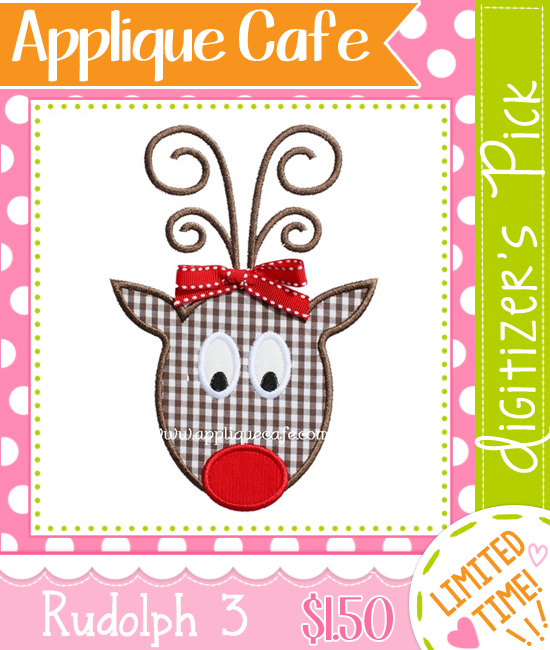
Have you been on the website lately? Hopefully you’ve noticed our Digitizer’s Pick! We change it out randomly so be sure to grab it when you see it! Right now our Rudolph 3 is featured! Also, ALL DESIGNS ARE ON SALE THROUGH 10/14/14!

appcafeframe1loopy cmas tree 2

Lastly, I am teaching a class at Beth’s Heirloom in Wetumpka next Thursday night, October 16th from 6-8 pm. I will be showing you the software I use (Monogram Wizard Plus and Sew What Pro) and we will talk about using software in designing with embroidery and applique! Here is a LINK to the class!

logobg