Simply Classic!

Good afternoon! I am back to work full steam ahead today after having been on vacation all last week at the beach with my whole entire (party of 17) family. It’s good to be home! We missed Maggie and it’s always good to get back to reality and turn my machine on again! Here are a few pics from our trip. This was our 9th year going to the Seagrove/Seacrest area of Florida (which is near Seaside in between Destin and Panama City Beach). It’s BEAUTIFUL!!

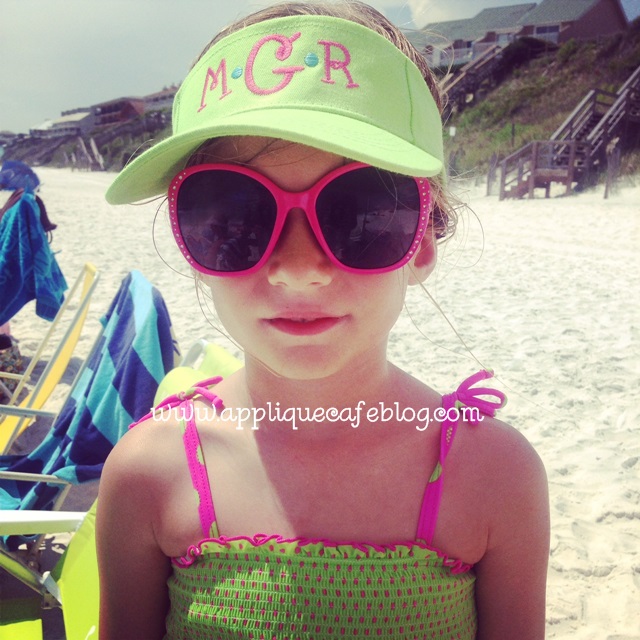
Sissy sporting her MONOGRAMMED visor I did for her! I used Monogram Wizard Plus “Camp” font with motif SySerif 26 dots in between. Check out my recent blog post on doing VISORS.

photo (18)

Here are all the cousins minus one that is older. All boys but Sissy!

photo (19)

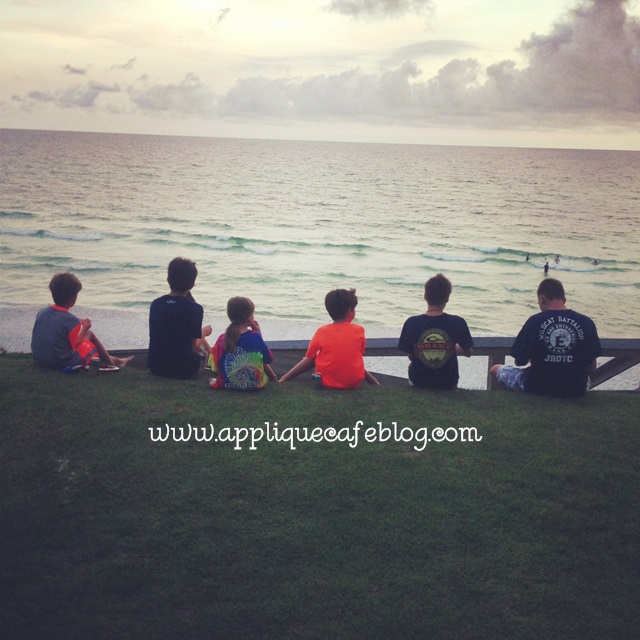
My 3 at a concert at Alys Beach. G lost one of his front teeth the 1st night we were there!

photo (20)

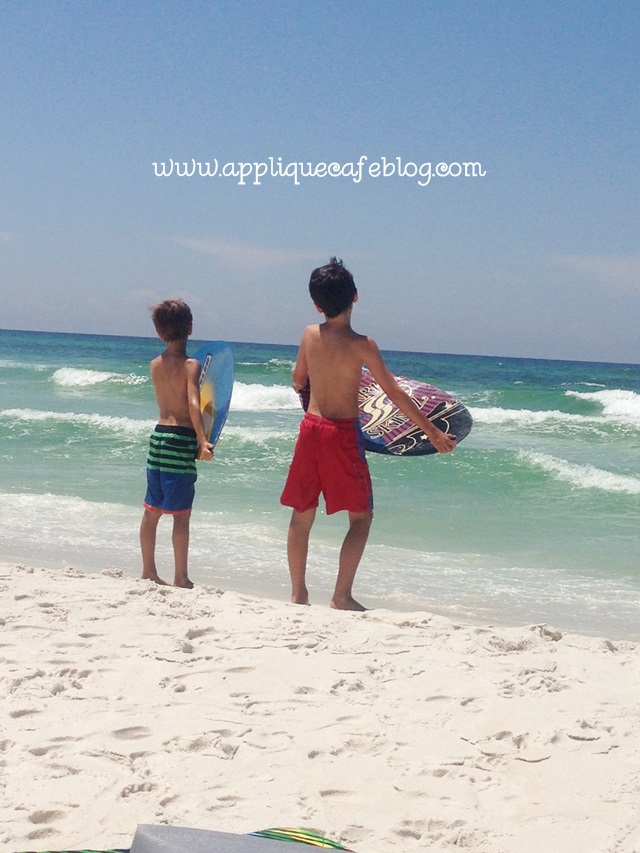
My oldest teaching little brother how to skim board. The sand is gorgeous and the water is beautiful! We had red flags a few days but overall it was a great beach week!

photo (21)

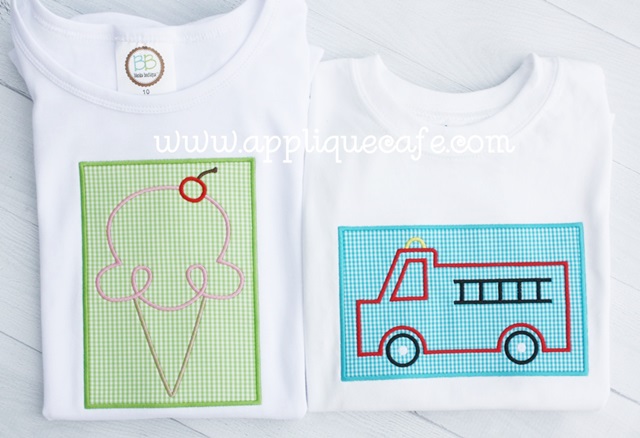
Before I left we listed a couple of “new” designs, meaning they were new to the website, and sort of a “new” style to Applique Cafe. These are 1 FABRIC PATCH DESIGNS. The base fabric is done in 3 steps just like any applique designs (marking, tackdown & satin). After that, it’s all thread and super easy and fast to stitch. As you can see, I’ve used a lot of old school ‘good ole’ gingham fabric on these designs. There’s much controversy over whether or not CHEVRON is here to stay or (some hope) heading out of style. Gingham is both CLASSIC and SIMPLE!! Polka dots work too and even stripes.

This is our Ice Cream Cone Patch & Fire Truck Patch, both of which are available on our website now.

IMG_8944


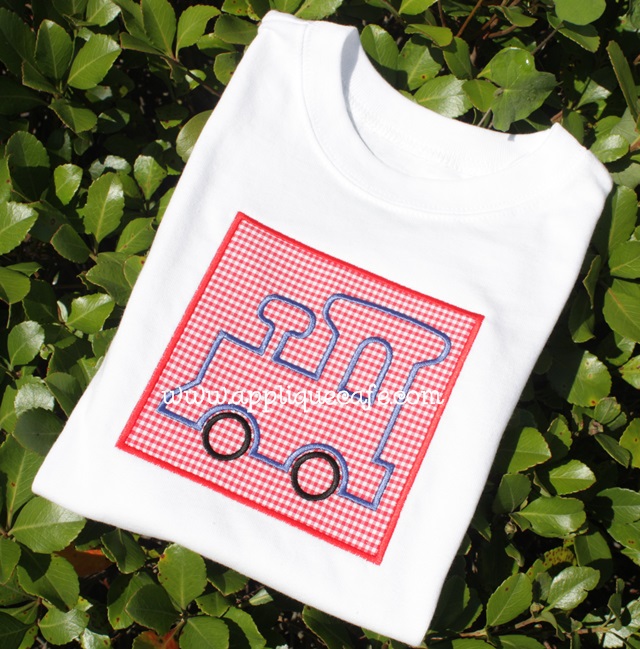
This Train Patch is a new design and will be listed hopefully sometime tomorrow.

train blog

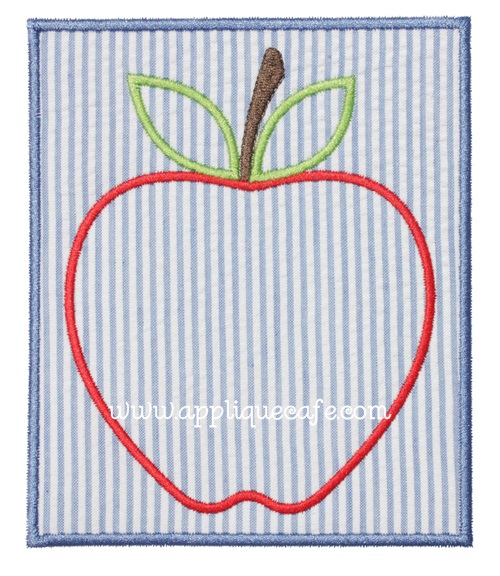
Did I mention it was PATCH WEEK? We are already thinking of BACK TO SCHOOL. Here’s a quick and easy APPLE PATCH that will also be listed this week. I used seersucker striped fabric on this one.

apple patch 2 500

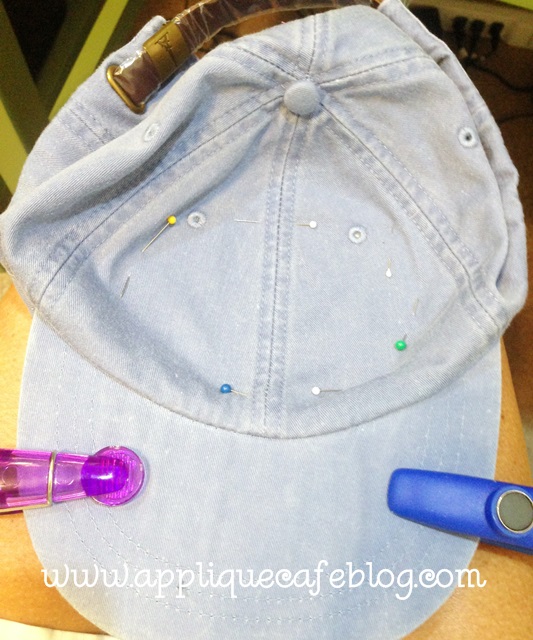
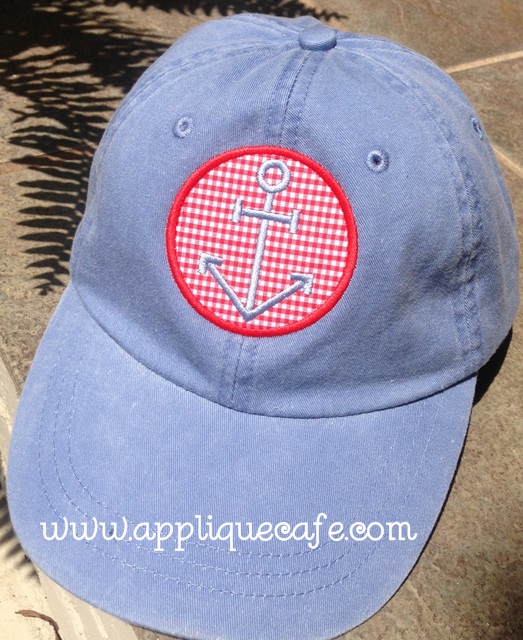
Also new is an Anchor Patch which will come in our regular 4×4, 5×7 and 6×10 sizes + we are including a smaller size (2.70″ X 2.70″) which is great for hats. This is an Adams brand pigment dyed hat and I stitched it this morning using my Fast Frames. You could also hoop a piece of sticky stabilizer I believe and do the same thing on a single needle machine (or any machine with no fast frames). The key is to get the bill of the hat flat, and also to get the front part of the hat where the applique (or monogram) will go flat and straight. *Check out my other recent post on doing HATS! I used chip clips to keep the bill of the hat flat and attached to the frame. I also smoothed the hat fabric and pinned it down. The seam of the hat is a great marker for your center.

photo 1 (8)

This is what it looks like from underneath.

photo 2 (8)

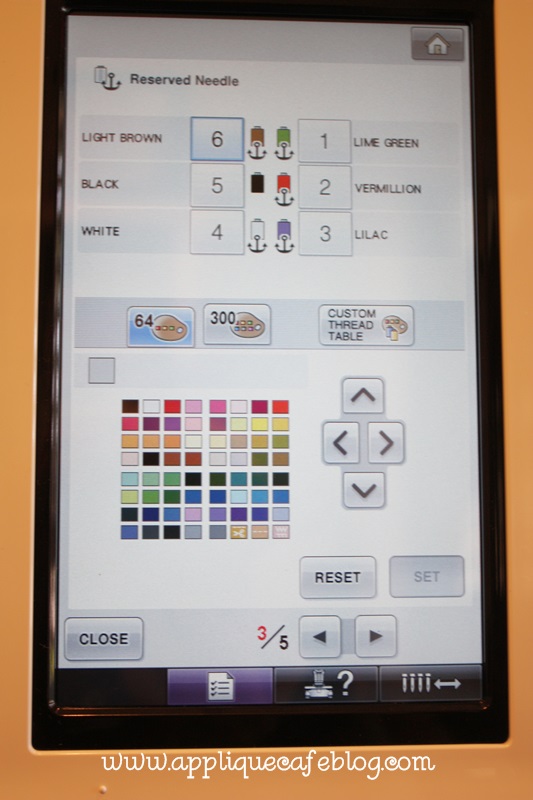
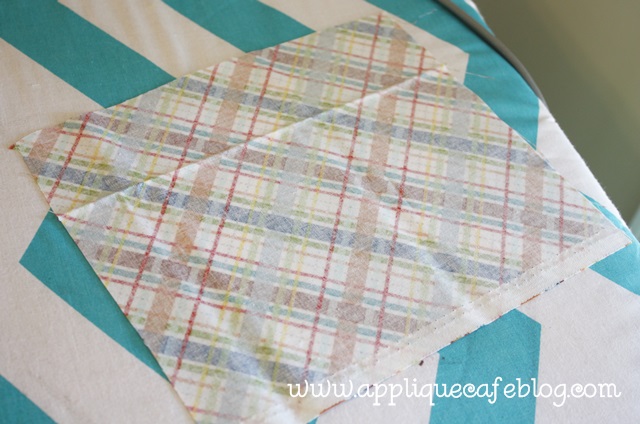
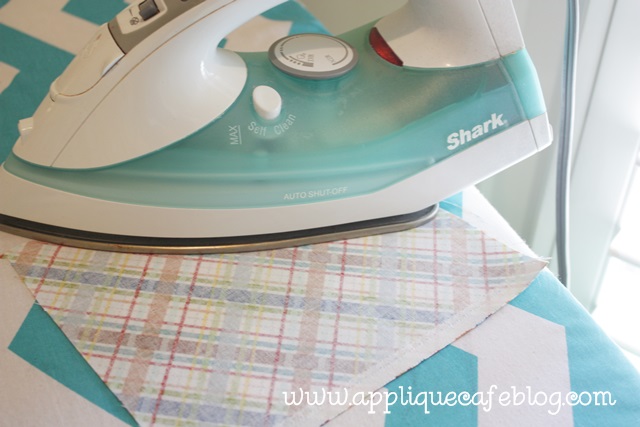
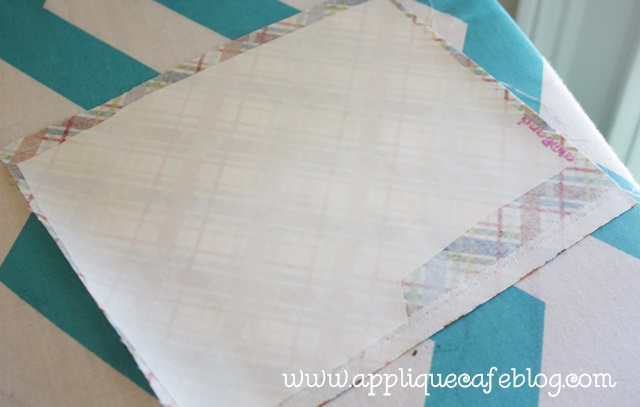
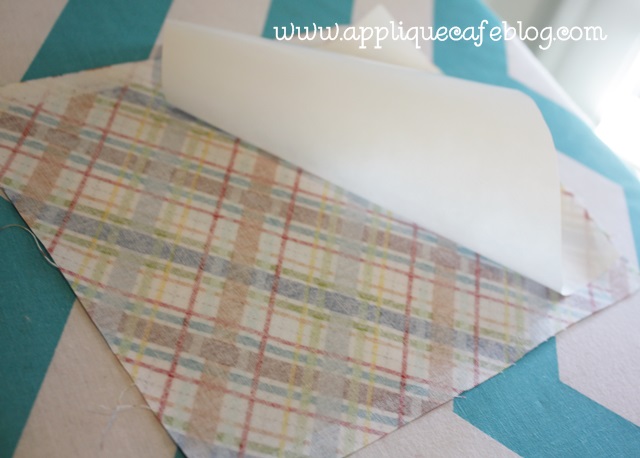
I used a red gingham fabric, and I applied Heat N Bond Lite to the fabric and fused it to a piece of medium weight cutaway stabilizer. I also applied HNBL to the stabilizer. Why did I use stabilizer? I was afraid the cotton gingham would be too thin on its own so the stabilizer makes it thicker and more stable for the applique.
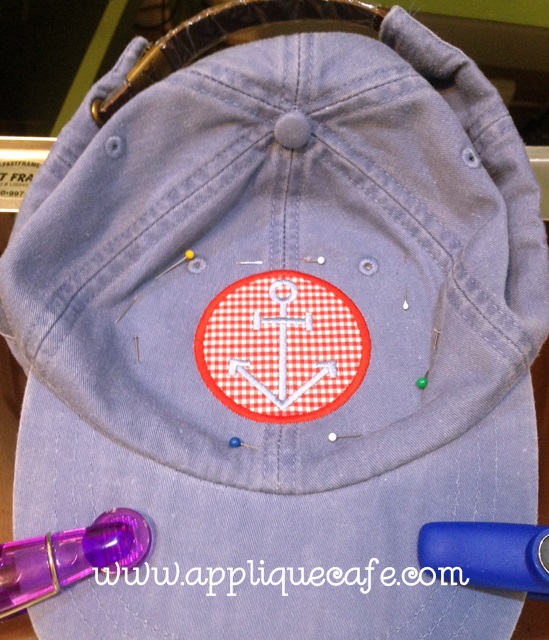
photo 3 (5)

Finished product!

photo 5 (4)

I also sewed the Anchor Patch in the 5×7 size. It is new and will also be listed this week. anchor patch 5x7 500

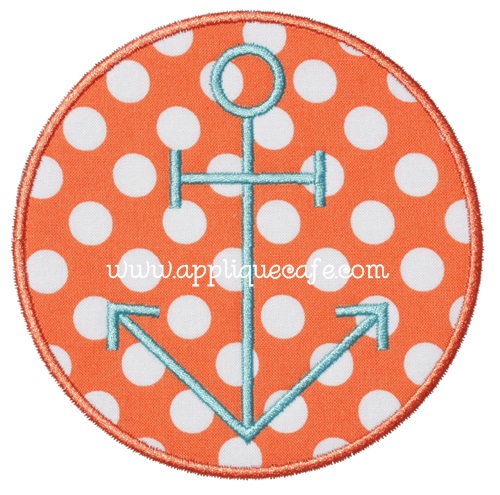
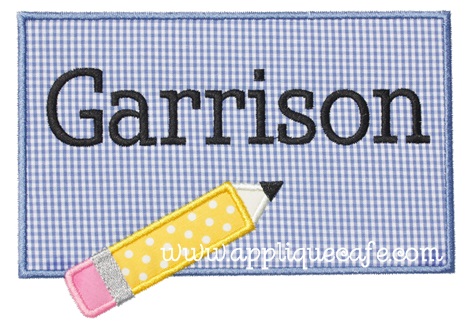
One more new design for this week ~ Pencil Patch. This is great for BACK TO SCHOOL (yikes!!) and I used Monogram Wizard Plus “Kazoo” font which is for idea purposes only. Be on the lookout for a Crayon Patch similar to this!

pencil patch name 500

Hats are really popular right now as well as visors. The “pigment dyed” is also super popular!

I wanted to mention that I would not be at the Everything Applique Conference in Atlanta this weekend. I was leary about committing to do it back in April because I knew it was going to fall right after my first summer vacation. I thought I could swing it, but then realized it was going to be too much to get back from vacation and then leave town again for a long weekend with half of my sewing room. Summer is so short so I’m enjoying spending time with my kids and just having fun! Have a great week, and check Applique Cafe in a day or two for our new designs (and maybe a summer SALE).

Applique Cafe on YouTube!

Good afternoon! I’m sampling new designs today {which you can always catch on Instagram} and finally getting around to a blog post from September 2013! Jeff & I have some friends who have been telling us for years that we need to do more with video, so one sunny day back in September, I decided to do just that. I had a new design to sample and on a whim, I videoed it with my Iphone. For the record, I hate my voice on video just as we all do. Also, I am an A-M-A-T-E-U-R videographer person-with-a-phone. Lastly, I have yet to master splicing 6 videos together, so there are 6 videos in this segment to watch. Lastly again, I was taking the video solo, so that’s why I had to stop and start so many times so I could actually sew the design. My phone doesn’t seem to have a “pause” button. Lighting is so-so and there is a part where I’m talking over my machine and you can’t hear me. Overlook all that and MAYBE you will learn something?

This series of videos might be helpful if A) you have a multi needle machine and aren’t quite sure how to use it or B) you are new to applique and want to understand how it works. I supplemented the video with a few photos too so I will try to explain the process and get you through this post!

Background: I am sewing a simple 1 fabric zig zag design (Zig Zag Moose) on my Brother PR650 6 needle machine. I like to assign thread colors to my machine and here I explain how and why I do that. This is a sample for Applique Cafe, so I sewed it on 2 layers of medium cutaway stabilizer in my 5×7 hoop (PES format).

zig zag moose 500

Here is video 1!

Just a closeup of the colors of thread on my machine, which I “assign” to each needle so my machine knows what colors it has to work with. I mention in the video that 1 needle out of my 6 is always free and you can’t “lock in” that color. It can be any needle, and I usually allow my free needle to be white or black. So if black is on needle 1, then that’s my free needle and there is no anchor by it on the screen.

IMG_8336

Closeup of my HOME screen. The top 2 rows are built in designs and fonts. I use a USB stick which is the button I pointed to. Side note: I have a USB cord that connects from my computer to my machine, but for some reason it takes forever to send something to my machine, so I just use the thumb drive (see Sewingmachine.com stick). I think there is something wrong with that USB port on my machine, but I have not wanted to part with my machine long enough to get it checked out! The checklist looking button is where you go to assign colors.

IMG_8337

IMG_8338

IMG_8339

I changed needle 6 from Khaki to Light Brown using Reset and Set buttons! “Set” assigns light brown to needle 6.

IMG_8342

These are the colors of thread currently on my machine.

IMG_8343

Here is video 2 and video 3.

There is a pause between them because my thread broke! I left off after video 3 with fabric prep, which is below. I cut my piece of plaid fabric for my Moose.

IMG_8344

I iron my fabric to get any wrinkles out. Generic Target Shark iron and I keep it on mediumish (not high) with NO STEAM.

IMG_8345

I’ve cut a piece of Heat N Bond Lite and I’ve ironed it on the back side of my fabric. If you don’t know what HNBL is, check out this post. It’s a fusible product which will fuse the applique fabric (the plaid) to my garment. Or in this case, my stabilizer!

IMG_8346

Don’t forget to peel away the paper! It will leave a shiny layer on the back side of your fabric.

IMG_8347

I’ve placed my HNBL-ed fabric down after the marking stitch, so now it’s time for the tackdown stitch and

video 4.

After video 4 I trimmed around my design (around the tackdown stitch) using my Gingher 4″ curved scissors. These are great for trimming and makes it easy to get up close to the tackdown stitch. Havels has a tiny curved scissor as well.

photo

Here is video 5

…after I’ve trimmed my fabric and I’m ready for the zig zag FINAL stitch. I tried to say something at the end of the video but you can’t hear me over the buzz of the machine. Sorry ’bout that!! Sew sew sew and lastly there’s

video 6 which wraps up this design!

I hope this is helpful! If you have any questions, feel free to comment! I hope to do some more videos in the future, and you can find them on my YouTube channel!  New designs coming soon to Applique Cafe!

Sample Makeover and HNBL

A little history on Applique Cafe… we started in August 2009, so 3+ years ago. Bless my heart, some of my old samples are just sad! The fabrics are yuck so-so, but some of the photos are worse than so-so. We now have over 575 designs, so while I can’t re-do ALL of the “bad” samples, I’m working on it here and there. I also just recently started removing the background (i.e. white stabilizer or shirt or whatever I used) from my photos. Again, I can’t do all 575+ but work on them here & there. I use Photoscape to edit my photos (rotate, crop, lighten, add watermark, etc), but also have Photoshop Elements (Adobe Photoshop Elements 10) to remove my backgrounds. I really need to learn more about Elements so I could do it all in there, but for now I toggle back and forth between the 2 programs. Photoscape is FREE, BTW.

We also sell some of our designs at SWAK Embroidery and also on Etsy. Here’s a prime example of a design that we were getting ready to list on Etsy. Our Alligator design is one of our originals (#60 out of 575) and I shrieked a little when I saw this picture! The fabrics are cute enough, but I think I must have taken this picture in a closet somewhere! So…. this morning I re-did the sample with a brighter chunky lime gingham with turquoise teeth and eye. I also got a brighter picture (outside even tho it’s dreary here) and removed the background in my photo. It looks MUCH better, eh? One design at a time…… A good photo and fabric can make ALL the difference!

alligator 600-vert

 Now, on to further discussion on Heat N Bond Lite (see this POST for more info). I saw a post or two last week on Facebook regarding Heat N Bond Lite versus Steam A Seam Lite (2?). You can find it at most sewing stores like Joann, Hancocks, Hobby Lobby etc. It’s described as “double stick fusible web”. Years ago before I discovered HNBL I tried it (and Wonder Under), but found it a little stickier than I liked for my machine. I HAVE NOT tried it since, and they may have changed it and I noticed a SASL2 so that may even be the new thing (vs. just LITE). Anyway, a question was posed on Facebook asking if people were going to switch, or stick with HNBL. I am choosing to stay with HNBL. I’ve been using it for years, it’s easy to work with and my machine has no problems with it! I encourage everyone to try SASL if you feel inclined (Wonder Under too for that matter), and figure out what YOU like! Figure out what works best for you and your techniques, and your machine, and your finished product. Just because I use HNBL doesn’t mean everyone else has to. But, I do recommend it!

I thought I would post a few pics I took of a shirt I did recently for my daughter. I wanted to show what the shirt looked like straight out of the dryer. This is a Garanimals long sleeved tee from Walmart (60% cotton/40% polyester), and our Bird 3 design. As you can see it’s a little wrinkled, which is normal for a t-shirt I believe and this was probably after 3 fluff cycles since it takes me 3 days to get clothes out of the dryer to fold them.

IMG_7109

The applique itself looks pretty good. Most of the “wrinkle” in my opinion is in the shirt. The applique fabric is still fused to the shirt with no bubbles.

IMG_7110

I ran an iron over the shirt a time or two, and this is how it looks. There is a “wet spot” between little birdie’s legs, which is probably a stain of grease or cheese dip or something. Sissy is 4 so most of her shirts have something on them!

IMG_7111

The applique looks crisp and wrinkle-free!

IMG_7112

Here is a side view – no bubbles.

IMG_7113

I use a cheap Shark iron that most likely came from Target.

IMG_7119

The instructions on HNBL say: Preheat iron to medium heat, no steam. I do keep water in my iron but do not use the steam setting. The water comes in handy ~ squirt it on any hoop burns and iron and they go away. Also, if you stitch an applique design on a shirt and feel as though your fabric is a little bubbly, squirt a little water on it and iron well. For me, it takes the bubbles out and fuses the applique fabric to the shirt. In case anyone is wondering, I do not prewash shirts, fabric or anything. No dryer/hanging to dry is probably good practice for applique shirts, but I have 3 kids and doing laundry is a daily chore. I dry just about everything and have no issues!

IMG_7120

Please comment with any questions!