Sewing Room Organization

Hello AC Blog readers!! A while back (like in July) I solicited blog post suggestions on Facebook (or maybe it was on a blog post?) and I got some great suggestions. Sorry it has taken me 3 months to address some of them! I thought I would share a few pictures from my sewing room and show you how I (try really hard to) stay organized!! I think organization is a good thing or else your work space may feel chaotic and stressful. Luckily I have my own sewing room (that I share with my husband – he gets a corner and a shelf or two!). Before this house, my dining room was my sewing room and we all know how crazy that can be.

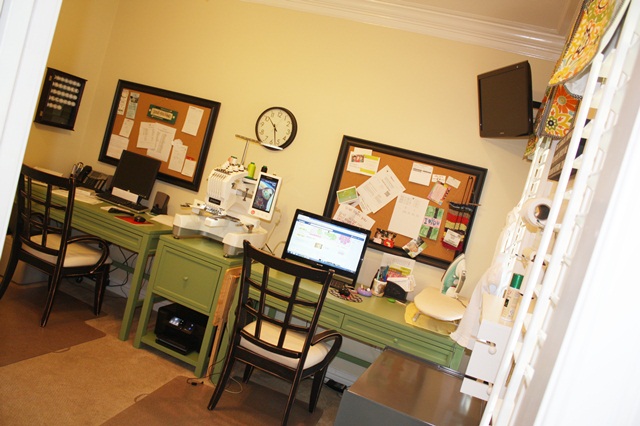
This is an old photo, but you get the idea. The furniture is from Home Decorators – Martha Stewart Living Craft Space Furniture.  It comes in a few colors and bunch of different options and has really held up well. My desk is dinged up from hitting it with hoops and such, but overall it is sturdy and we like it!

sewing room

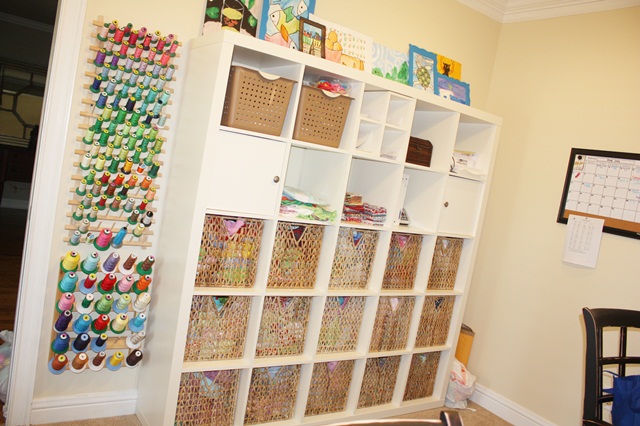
This is an old photo as well. This is my Expedit cubby system from Ikea, which I LOVE!!!! This thing is heavy and sturdy and comes in a few other configuration options. I was told that Expedit has changes names to Kallax at Ikea, and I am not sure if this 25 cubby system is being offered, but I looked online and see the 16 cubby system and a few other options. There are also lots of basket options, doors, drawers, etc. All 15 of the bottom baskets are filled with fabric, and are organized by style. For example: fat ginghams, regular ginghams, microcheck fabrics, chevrons, polka dots, solids, floral prints, etc etc etc are in a basket together. They are wadded up and thrown in the baskets haphazardly, but they are organized!!

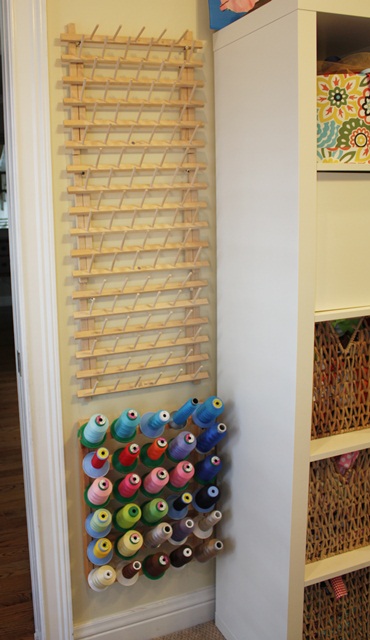
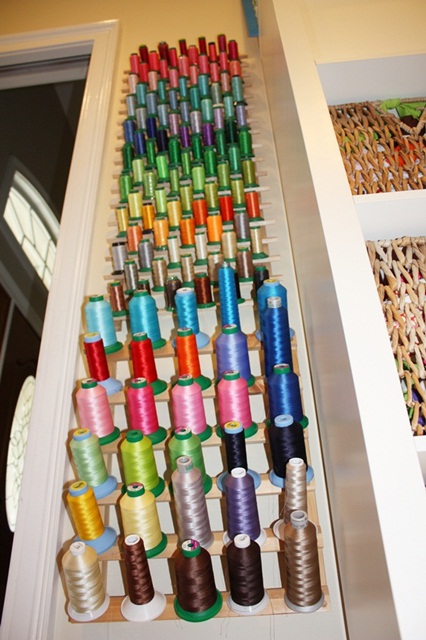
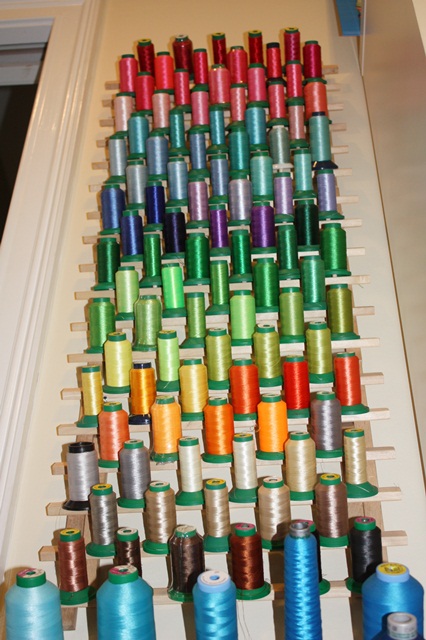
Thread — I have 4 standard sized thread racks hanging on the wall. You can buy them at Hobby Lobby, Joann, etc. I also have a large spool (5000M) rack that I bought at Sewingmachine.com at their West Point location. I think this is it — 30 Spool Thread Rack.

expedit

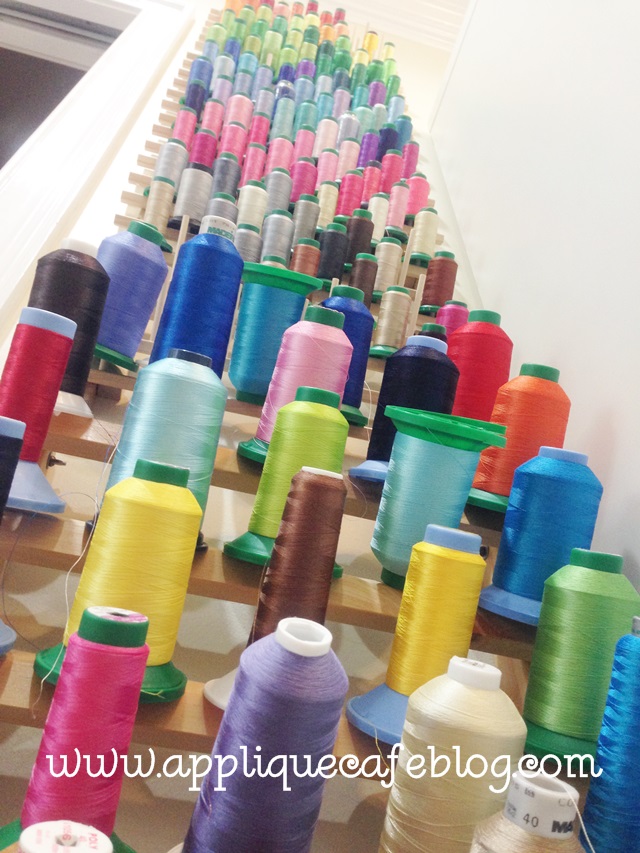
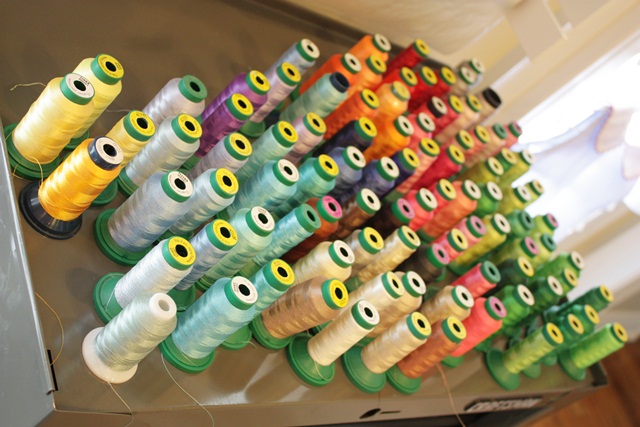
Here is more recent photo I took while laying on the floor doing hip exercises! Pretty cool huh (not the hip exercises…)? I use mostly Isacord and Exquisite thread. I get my Isacord from Sewingmachine.com and my Exquisite from Kenssewingcenter.com! I do have some random spools of other brands, but those are my 2 go-to brands for embroidery thread.

photo (7)

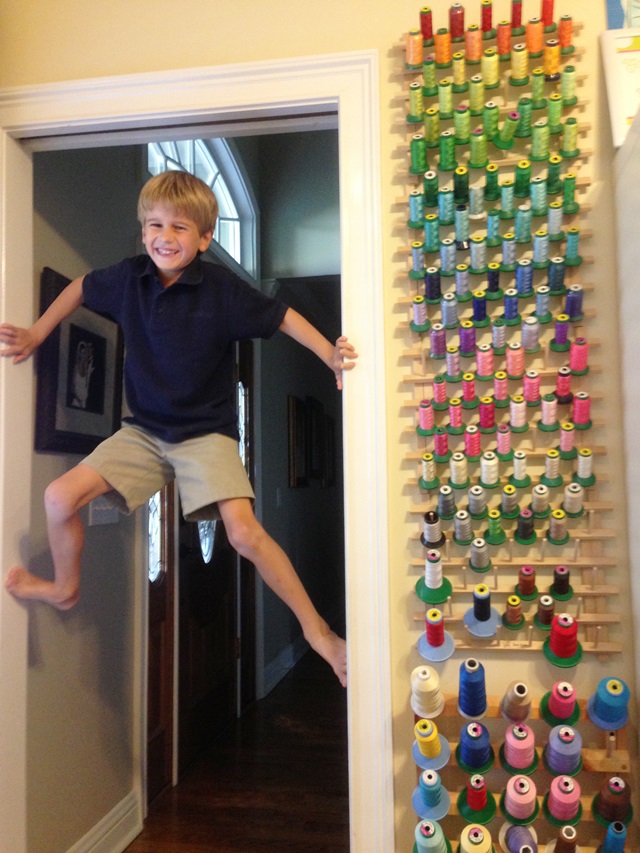
Another picture I posted on Facebook recently of my now-8 year old! He was peering over my shoulder the other day while I was doing a newsletter and asked me, as seriously as he could, “Do you have a website? Wait… do you own your own company?” WHERE HAVE YOU BEEN SON????? 🙂

garrison spider man

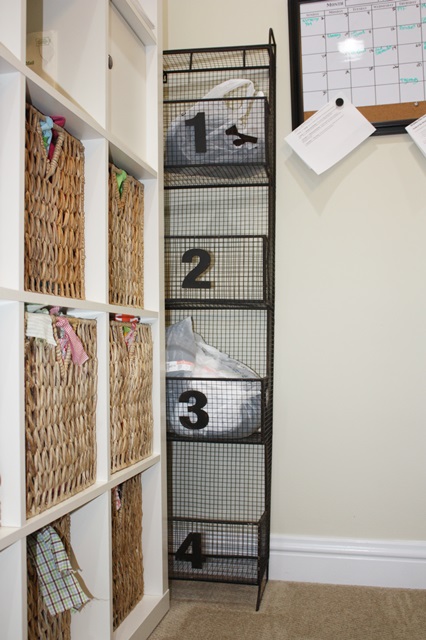
Another old photo! I bought this 1 2 3 4 wall cubby thing at Hobby Lobby a year or two ago. I believe it was on clearance and I thought it would be perfect for my TO DO stuff! Be on the lookout for things like this at Hobby Lobby, World Market, etc. when you are out shopping! They are great for getting organized!

photo (41)

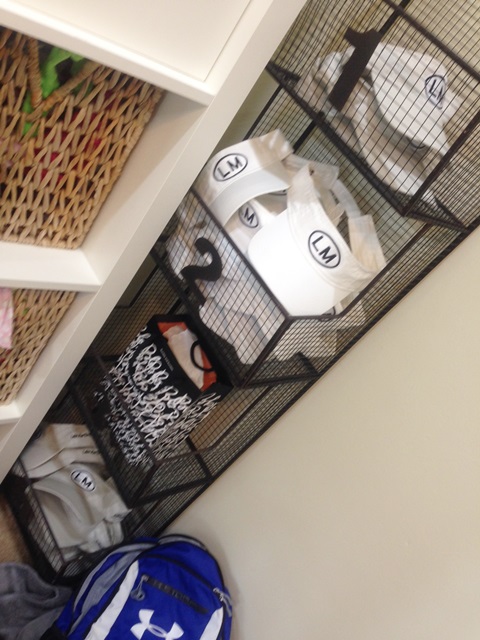
This photo was today, and luckily my TO DO pile is small!

IMG_9102

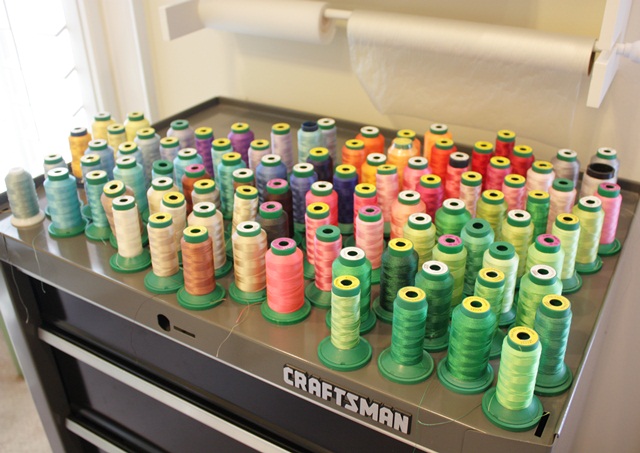
I have posted may times before that I used to use a Craftsman Tool Chest as a machine stand. It worked great! When we bought this house and I got a sewing room, I bought the 1-drawer piece of furniture seen in the first photo, but I kept the tool chest and I love it! I use it as my hooping station, and the drawers are great for all of my STUFF (hoops, extra stabilizer, etc.). As you can see below, when they have a sale at Joann I stock up!

IMG_9105

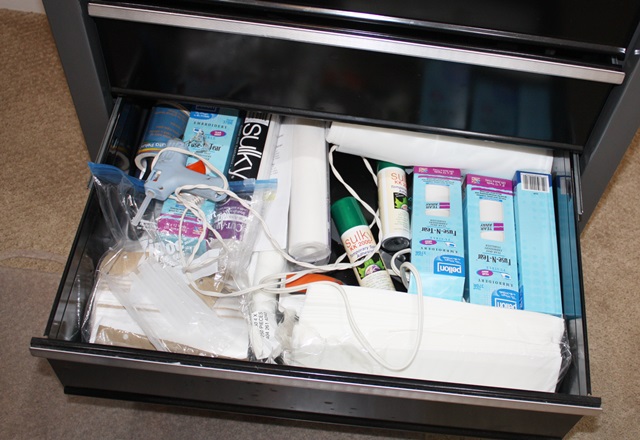
Drawers are great for all those hoop pieces! The top is great for hooping too. I bought this at Sears for less than $100 and it has 4 drawers.

IMG_9104

Above the tool chest I have a couple of peg boards I got at Michaels and a craft rack I also got at Michaels. It holds some of my stabilizer! This hangs above my tool chest so everything is handy when I’m hooping.

IMG_9103

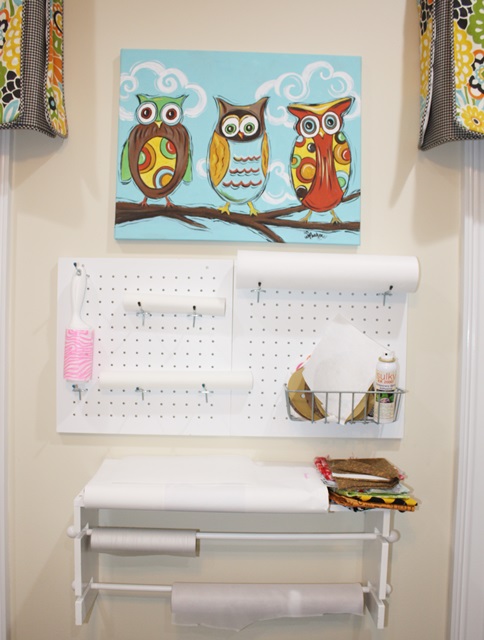
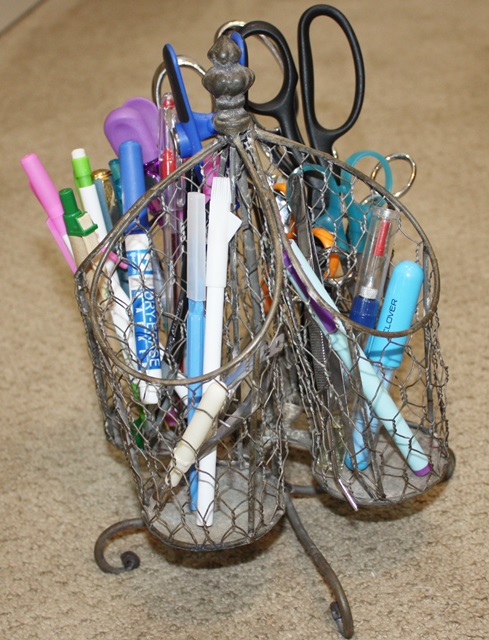
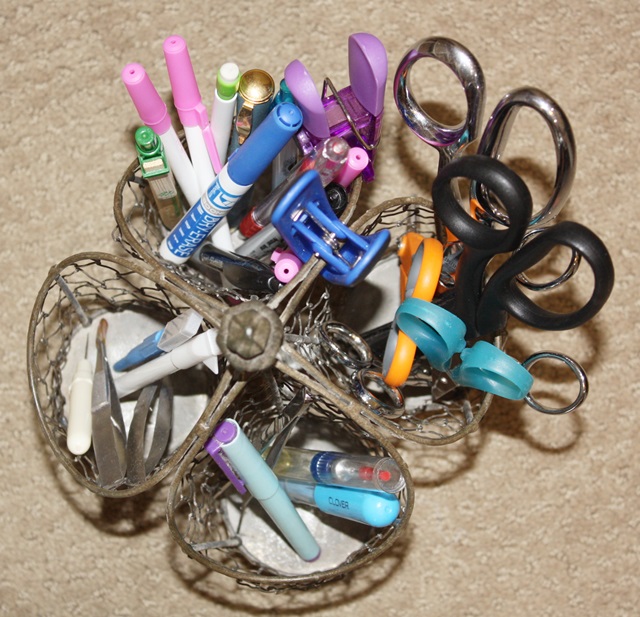
I bought this utensil caddy at Southern Homes & Gardens here in town. It spins around which comes in handy! My only complaint is that my stuff falls through the holes of the chicken wire and often gets stuck, but you get the idea! Any utensil caddy would be great for scissors, pens and all those other “things” you use (seam ripper, marking pens, etc.) in keeping them organized.

IMG_9101 IMG_9100

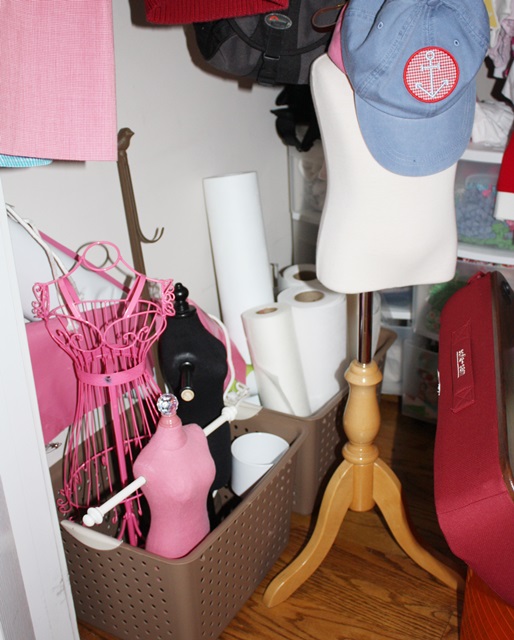
I am also lucky in our house to have a closet for all of my STUFF! My husband had some stuff in this closet and I kicked him out. It’s just a small closet under our stairs. As you can see below I have a dress form and some other smaller “props” which I use when doing classes or events. I bought the dress form from a local store that was closing, and the other smaller props all came from Hobby Lobby. You can find dress forms on Ebay also!

IMG_9107

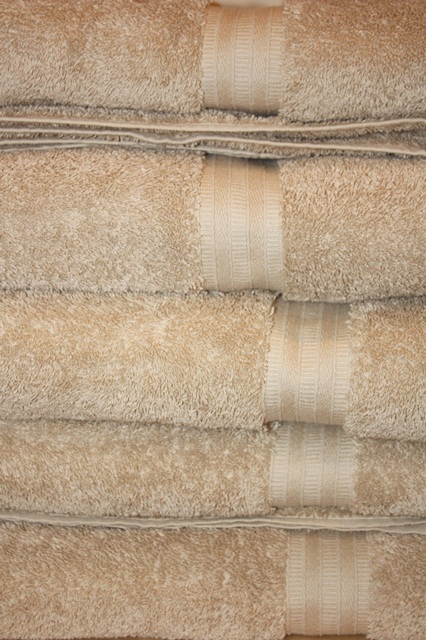
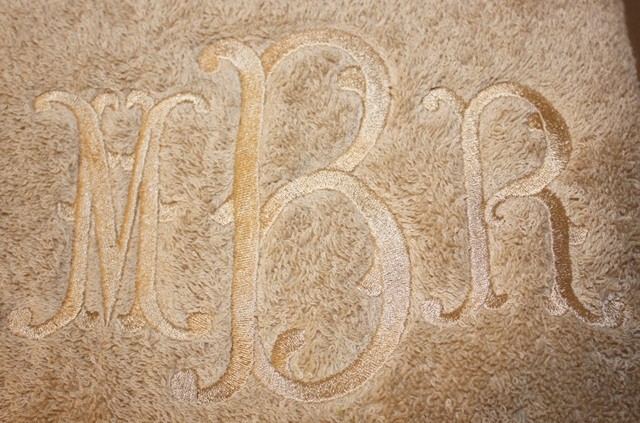
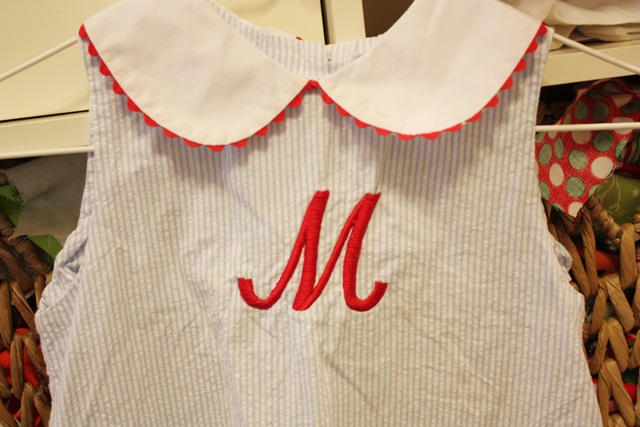
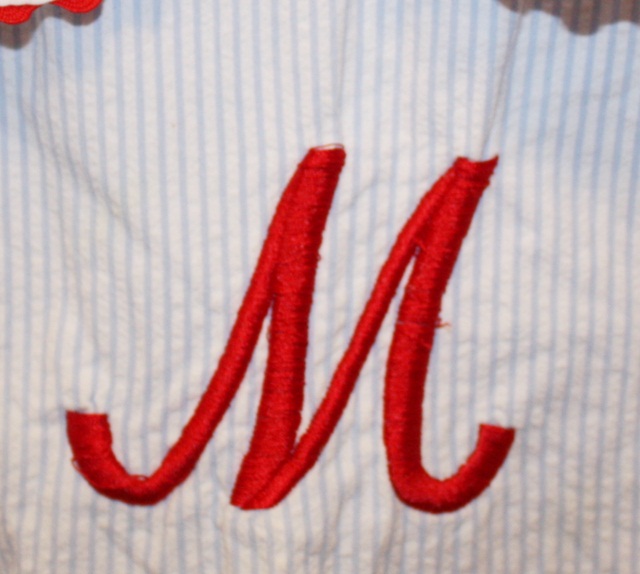
I have tons of blanks and samples and I love that they are hung up and organized! I keep blank bibs and burp cloths in the plastic drawers underneath. It looks a little messy but it’s really organized!

IMG_9106

I hope that helps as you think about organization!!

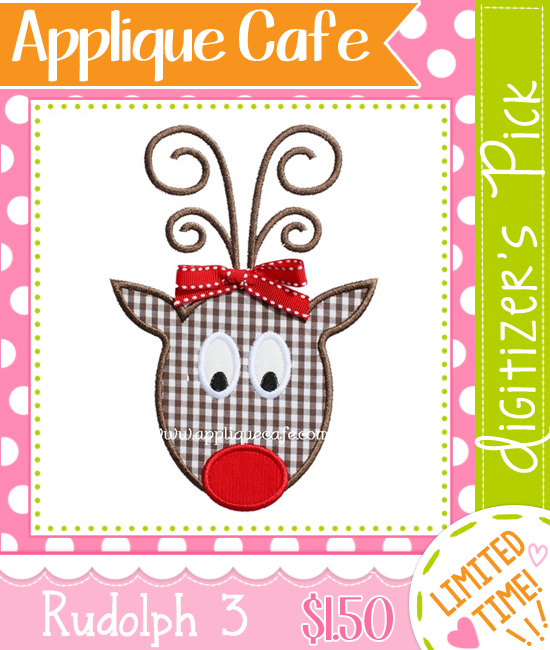
Have you been on the website lately? Hopefully you’ve noticed our Digitizer’s Pick! We change it out randomly so be sure to grab it when you see it! Right now our Rudolph 3 is featured! Also, ALL DESIGNS ARE ON SALE THROUGH 10/14/14!

appcafeframe1loopy cmas tree 2

Lastly, I am teaching a class at Beth’s Heirloom in Wetumpka next Thursday night, October 16th from 6-8 pm. I will be showing you the software I use (Monogram Wizard Plus and Sew What Pro) and we will talk about using software in designing with embroidery and applique! Here is a LINK to the class!

logobg

The Year of Hats

I am declaring the summer of 2014 The Year of Hats, or the Season of Hats, or the SUMMER OF HATS? I’m doing hats every week and this will be my 3rd blog post this summer on doing hats. Check out the first 2 HERE and HERE. I’ve also done 2 posts so far on VISORS, so check them out HERE and HERE.

I have mostly done monogramming on hats, but recently did our new Anchor Patch (which comes in a “small size” great for hats).

photo 5 (4)

This week we listed a new Mini Dog Applique AKA “Stitch” so I sampled it on a hat as well. It was a little trickier because I had to trim around the small legs of the dog. I typically use Gingher 4″ curved scissors to trim my appliques, but busted out the “Snips” for this hat. I used my 5.5″ X 6″ Fast Frame + sticky stabilizer and pinned the front of my hat to the frame. I use the seam on the front of the hat for my center and it’s best to get the front of the hat as flat as possible and pinned down securely. I also use chip clips to clip the bill of the hat (which is flattened) to the frame.

photo 1 (10)

Here it is after I’ve unpinned. I not only use a layer of fabric, but I fuse it to a layer of medium cutaway stabilizer with Heat N Bond Lite so that the seam doesn’t show through my fabric. Fabric alone would probably work, but adding a layer of stabilizer keeps it firm and you can’t see the hat color or seam through the fabric.

photo 2 (10)

Finished product! Please note that the dog polka dot fabric is not wrinkled. For some reason the camera captured the dots weird and it looks that way, but it’s flat and smooth!

photo 3 (7)

More hats. These cute seersucker striped hats came from the J. Crew Outlet and were about 6 bucks each. My sister in law bought all they had and I have 3 more to do today. Again, flatten the bill, chip clip it to the fast frame and smooth and pin the front of the hat.

IMG_8975

I used Monogram Wizard Plus “Master Circle font and this is roughly 2.75” tall. I think I increased it a couple of times once I got it on my machine and saw that I had a little more room.

IMG_8976

This is what it looks like from the bottom. Most hats come with a “lip” or mini liner (the white part) that folds down – I usually pin it back before I pin the hat to the frame. The chip clips keep the bill flat and in place on the frame.

IMG_8977

Finished product!

IMG_8978

Here is another type of Fast Frame that I was told worked great with hats. It’s a 6″ thin radius frame and this one is from Ken’s Sewing Center. I believe you can also get a 4″ thin radius frame which might also work great for hats. Make sure you get THIN. Most 7 in 1 Fast Frame sets come with a regular radius frame, but I believe the thin will allow you to get closer to the bill on the front. They also sell these frames at Sewingmachine.com, but are currently not on the website. I was told they should be available next week online. Again, I don’t have one yet, but was told they work great for hats!

radius frame

We listed a few new designs this week and are having a quick little July 4th SALE at Applique Cafe.

july 4 sale

Here are our new designs for this week, which include a couple for BACK TO SCHOOL!! We also added a new “Patch Applique“. I love the TOOLS and these new patch designs are only 1 fabric and super easy to sew.


IMG_8989-tile

Have a safe 4th of July!!

“Repurpose”, Towels and Thread…

Happy Valentine’s Day! We are drying out down here in South Alabama. It rained for 40 days over 3 days here, Sunday through yesterday. Like SOLID RAIN. It was pretty miserable! We have an empty lot next door to us which has some major drainage issues. Factor in 3 days of rain and we were tickled to have ducks swimming around as if it were a real pond or lake. The sun finally came out today and we’re getting our sanity back!!

IMG_7252

Last week I monogrammed 6 bath towels, 3 hand towels and also 4 wash cloths. The bath towels took 48 minutes each to sew! I used Monogram Wizard Plus “Candlewick” font in FILL STITCH. They turned out great, and I am envious of the new towels (that belong to my customer)!! More info on the monogram ~ the size of the entire monogram was 4.79″ tall X 6.96″ wide. Stitch count was 27,617 stitches and I think I had my machine set on 800 stitches per minute = 48 minutes! The hand towels and wash cloths were a breeze and pretty fast.

IMG_7247

She chose a tone on tone color scheme! It looks great and very elegant!! For towels I use iron on tearaway on the back + solvy water soluble on top. Hoop it all! The tearaway and solvy then peel right off when I’m done.

IMG_7246

Now for my “repurpose” part of the post, which is a very popular term used these days for furniture and such. Not sure if it applies to clothes, but it sounds good for the purpose of this post. We have a few consignment sales here in town before spring/summer and fall/winter. I went last week and found this cute dress for like $12. I have found cheaper dresses w/ monograms but this was super cute for summer and I could tell by looking at it I could whip it in to shape. Yes, my daughter’s name is Mallory, so the M would work. But…. this was a pretty bad monogram job. No offense if the monogrammer person is reading this. I don’t think any stabilizer was used, and it was picked and just didn’t look good!

IMG_7229

The fabric was gathered and some of the thread was coming loose. Not good.

IMG_7230

Looking on the back side of the monogram, it was loose and I knew it would be super easy to remove! Very little bobbin thread showing = again… not good.

IMG_7231

I was able to remove all of the monogram with my regular little scissors that came w/ my machine. That’s how loose the stitching was! I cut through the entire “M” and then removed all the thread.

IMG_7232

As you can see the fabric is gathered underneath the monogram. I found no trace of any stabilizer.

IMG_7233

This was an easy one to remove!

IMG_7234

After I got it all removed, you could see the little holes from the previous “M”. Not a problem!

IMG_7235

I find that a little water and ironing will do wonders! Looks much better below, and I think once the dress is washed you will barely see any remains of the monogram.

IMG_7236

Today I finally got a chance to re-monogram the dress and it looks precious! I used Monogram Wizard Plus “Pendant” font, and added a couple of dots on each side (layered in MWP – SySerif SyS 26, size .75 – layer 2 and 3). I also made the M wider in MWP (Letter Width 125 I believe — default is 100). This will be a cute $12 dress for summer! As you can see below, you can barely see any remnants of the previous M! I really really really like this “M” font.

IMG_7277

As I said, I monogrammed 13 towel items in the past week. Today I knew it was time to CLEAN my bobbin area. It was full of lint. See my last post on PR650 maintenance. I dusted it all out using my brush and also Qtips and alcohol (not the drinking kind). I also cleaned the bobbin case and changed my right 3 needles which are used the most. I normally change all 6, but just changed them recently so I only changed the right 3.

IMG_7259

While I was in a cleaning mood, I decided it was time to “clean” my thread stand and thread and organize all my thread by color. I took all of my spools off and used a towel to wipe my stands, which are hung on the wall. I have 3 June Tailor stands and then 1 big 5000M stand I got from www.sewingmachine.com. They get dusty! I also wiped my thread spools off with just a dry towel to knock any dust off.

IMG_7261

Isn’t it pretty?? Wow I have lots of greens!!

IMG_7262

I organized my big spools last night.

IMG_7263

I mostly use Isacord and Exquisite thread, but have a few other random spools as well!

IMG_7264

In my Expedit cubby I have a whole cubby devoted to random thread organized thrown in there. These are extra colors or colors I rarely used. Some variegated in there too I’ve never used.

IMG_7265

All organized by color! Yes, I was laying on the ground taking this photo!! Isn’t it pretty? Taking bets on how long this will last…

IMG_7267

I have waaaaayyyy….. too much thread. But, I honestly use most of it! Especially all the pinks and greens!

IMG_7268

Hope you all have a great VALENTINE’S night!