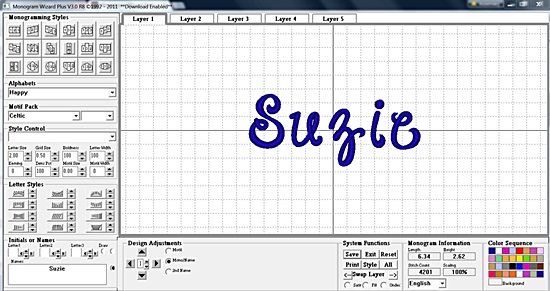
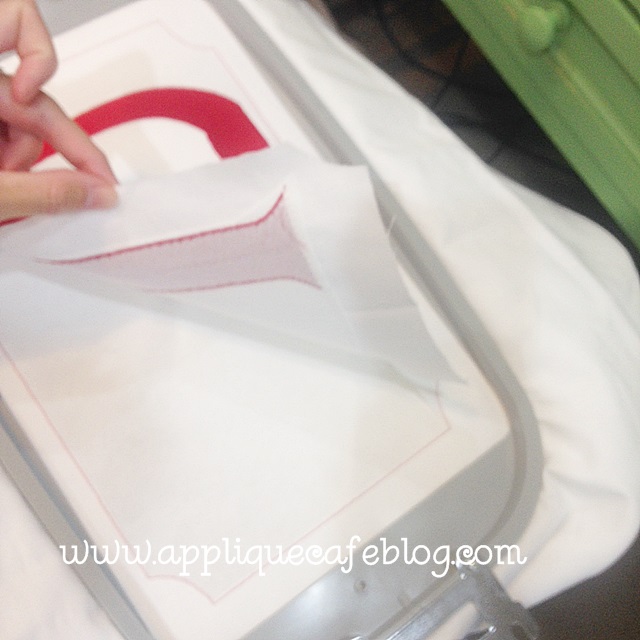
Back in February I did a blog post reviewing a Craftsy class I did on monogramming textured items. You can go back and review it HERE if you missed it! Today I’m monogramming 7 lavender waffle weave short robes which are bridesmaids’ gifts. If you’ve ever monogrammed waffle weave, you know that sometimes your monogram can turn out a little “waffley”. Yes, all those little squares can show up in your monogram. I’ve done it in the past and ended up running the monogram twice just to get a pretty result. One thing I learned in the Craftsy class I mentioned on monogramming textured items (terry cloth, towels, waffle weave, etc.) is that it’s best to 1) use a water soluble topper on top and 2) apply an underlay stitch underneath your monogram. I use Monogram Wizard Plus (Master Circle font shown) and there is an option to add underlay, which is extra stitching beneath your letters which helps the monogram stay on top of the texture and turn out pretty! It takes a little longer (these are averaging 18 minutes each at 4.25″ tall) but the result is worth it. Adding underlay adds a few thousand stitches to my particular monograms. Note: I used a waffle weave tearaway stabilizer on bottom.
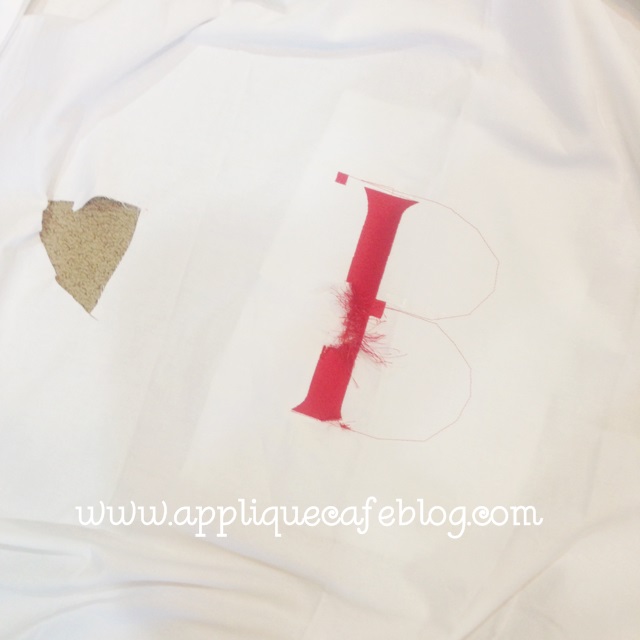
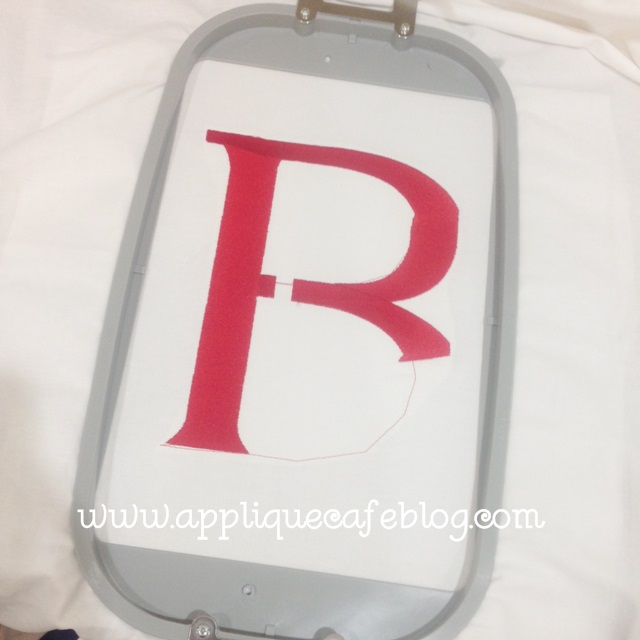
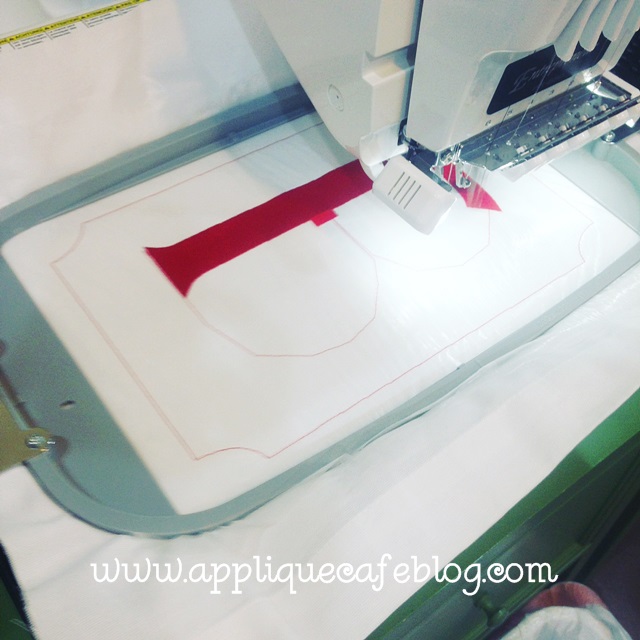
Here is what the underlay stitch looks like:
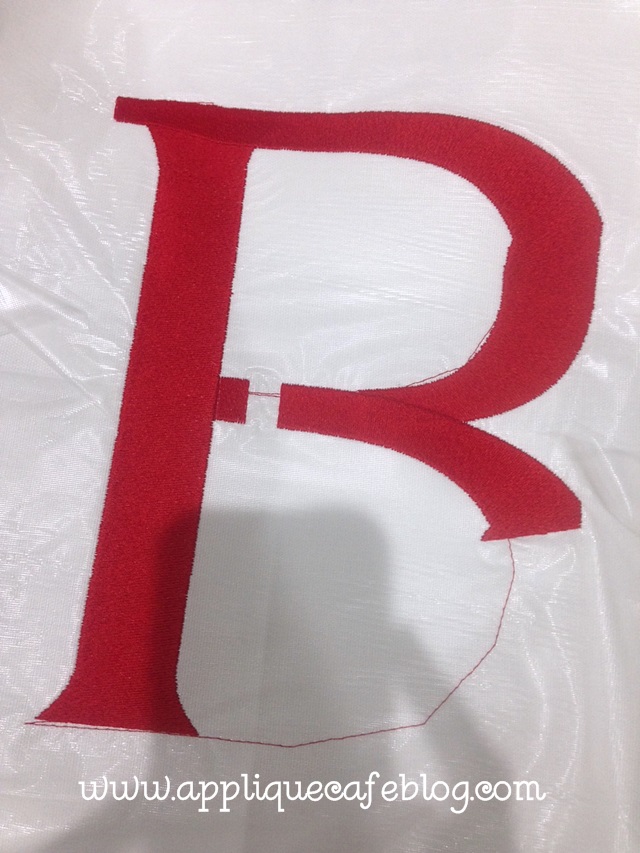
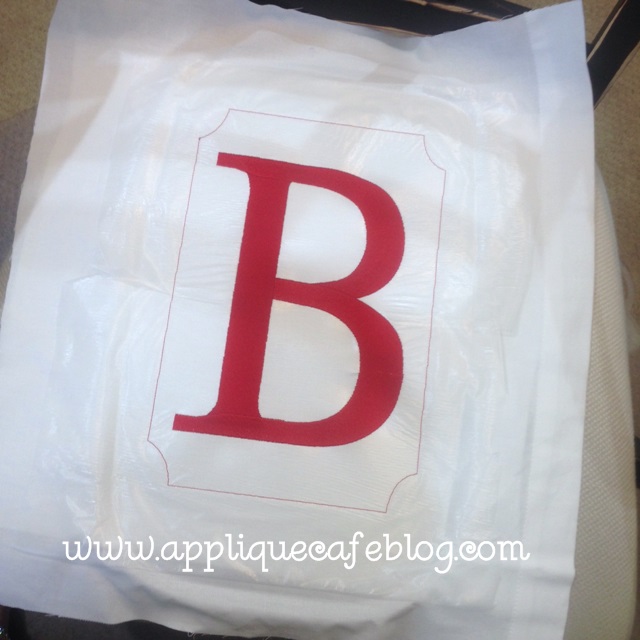
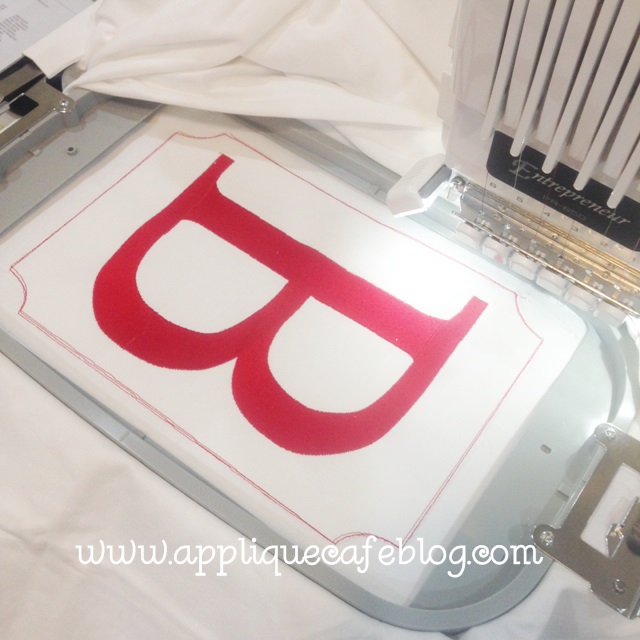
Here is the finished product! Both are the same color robe by the way … lighting! See how nicely the monogram lays on top?
I wanted to share this because this is what I’m working on today, and because CRAFTSY is having a 50% off top classes sale through tomorrow (Saturday, 4/23). Here is my affiliate link if you want to check out any of their classes – click HERE. I’ve reviewed several on my blog and have found them all fun to watch and very helpful! Just search Craftsy or click on the Craftsy tag.
Have a great weekend!



Recent Comments