Here is my first followup to my PR650 post. I did Applique Cafe samples Wednesday and took like 50+ pictures doing a 5 step logo and 2 simple applique designs. I’ll try to work on the applique post over the weekend and will also do one on the logo since it is a non-stopping embroidery design. I planned to do it yesterday but had carpool at 7:30, got my niece at 7:35, carpool again at 9:00, then recess duty (with Mallory and said niece) from 10-10:30, lunch and “killing-time” with those 2 til 12:30, carpool again, drop 2 friends’ kids off, carpool again to get G and his friend, then for the remainder of the afternoon I had 6 or so kids running around. Needless to say I needed almost had a glass of wine before Browder’s program at (church) school last night.
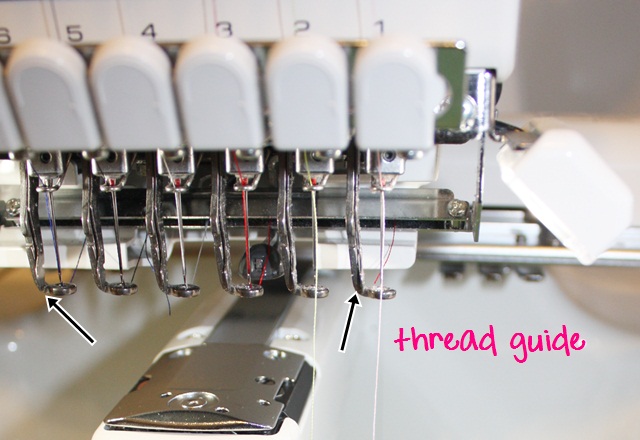
Here is a super fast post on changing thread colors on your PR650. If you have one, certainly you know this! But, if you don’t, you may wonder how long it will take you to change thread colors on this machine with all the guides and knobs all over the place. Here is a pic from my other post showing you the setup of the machine. There are lots of holes and guides to stick the thread through, but don’t fret… there is a shortcut to changing your thread colors.
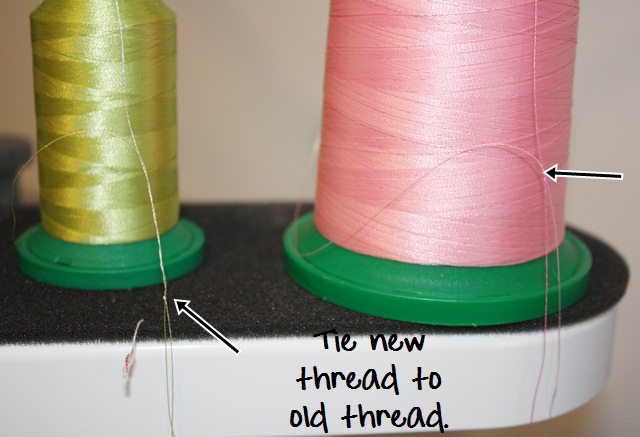
When you take the “old” thread off that you no longer wish to use, tear it (or cut it) right where it hits the spool. Next, put your “new” thread spool on the machine that you wish to use for your next project. Tie the old thread to the new. A simple knot will do!
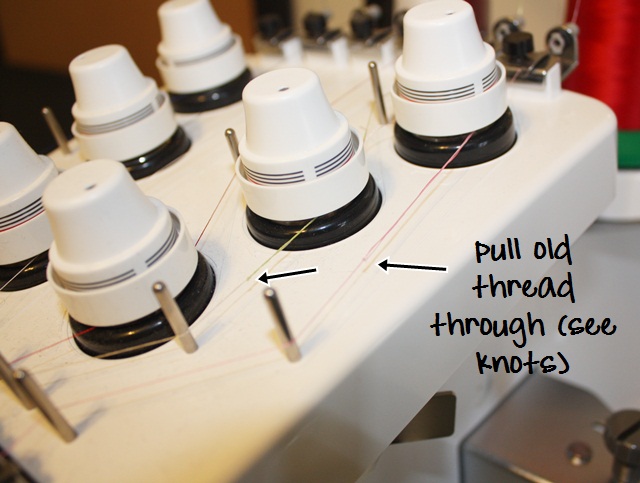
Now you just un-thread those needles (the ones you are changing thread colors on) and pull the old thread (from way down by the needle). Pulling the old thread will also pull and guide the new thread through all of the holes, around the tension knobs and guides, etc. since they are tied together.
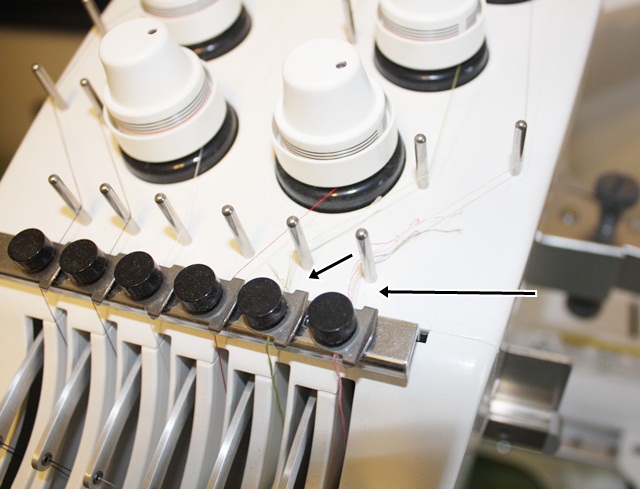
The teeny knot will pull that new thread all the way through down to the needle (but not through the needle hole).
Don’t try to pull it through the needle hole. The knot, however tiny, is too big to go through that hole. Again, I UN-THREAD the needle before I start pulling.
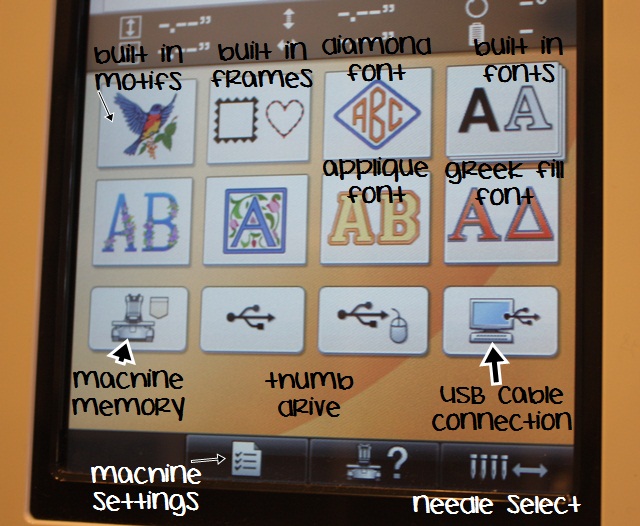
This is when you press that NEEDLE SELECT button in the lower right corner of your screen.
It will pull up this screen, which shows you your needles. The numbers are backwards because needle 1 is actually the far right thread on the top of your machine and the far right needle on your needle bar. If you are changing out the thread colors on needle 2 and 3 only, then just select 2 and your machine will move needle 2 to the center of the machine.
This photo is blurry, but there is a guide (see next photo) that you wrap the thread around, and then you wrap the thread up and to the right around the white button with the curved arrow on it (below). This will also cut the excess thread off (including the previous color thread hanging down). You then press the THREAD NEEDLE BUTTON (see ABOVE photo) and it will thread your needle. Then you would select needle 3 and your machine will move needle 3 over making it the center needle. Same process ~ wrap the thread around the guide, then up and around the white button which will cut the excess thread off. Then press the thread needle button again.
You may see better the metal guide/clip to the left of the needle. You wrap the thread around it to the left, then up and around the white button.
The automatic needle threader sweeps down, threads the needle and pulls the excess thread to the silver bar behind the needles.
Here is another shot of 2 thread colors tied together. Red was the old thread and I’m changing it to yellow.
I think I mentioned before that I typically KEEP black & white thread on my machine at all times. Since I’m right handed, I also use needles 1,2 and 3 the most. I don’t think I’ve ever done a design in which I needed more than 6 thread colors. If you needed to, you could change out the thread during the sewing process.
I don’t want to get too technical. This is just a quick shortcut in case any of you are thinking of getting this machine! I know when I first looked at it I was thinking it was going to take me all day just to change thread colors!
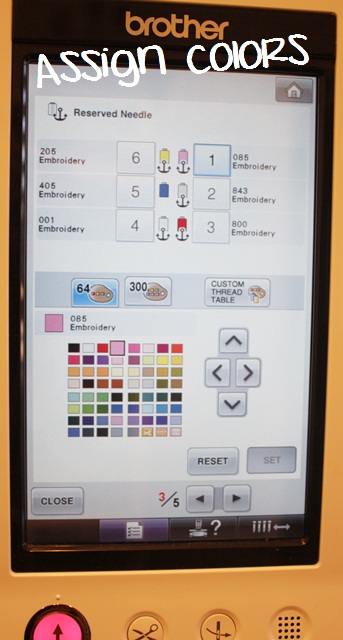
This also goes back to my other post regarding assigning thread colors to my machine. When I change my thread colors, I then “tell” my machine what colors are now on the machine. I had a couple of people comment that they do this differently, but this is how I was taught and seems the most logical to me, so I’m going to stick with it (because it’s also like 2nd nature to me now). There seem to be other shortcuts (magic wand) but this method makes the most sense. There is a video on Sewingmachine.com on assigning colors: http://www.youtube.com/watch?v=zElZLt2l3fU&feature=player_embedded. I believe it’s a PR620 so it’s not exactly like my machine and my screens. But, one blog reader said it helped.
I will work on the PR650 applique post this weekend!





Recent Comments