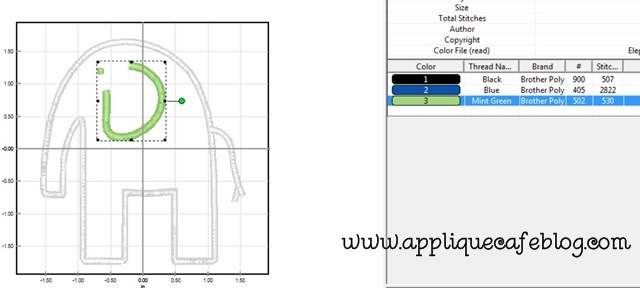
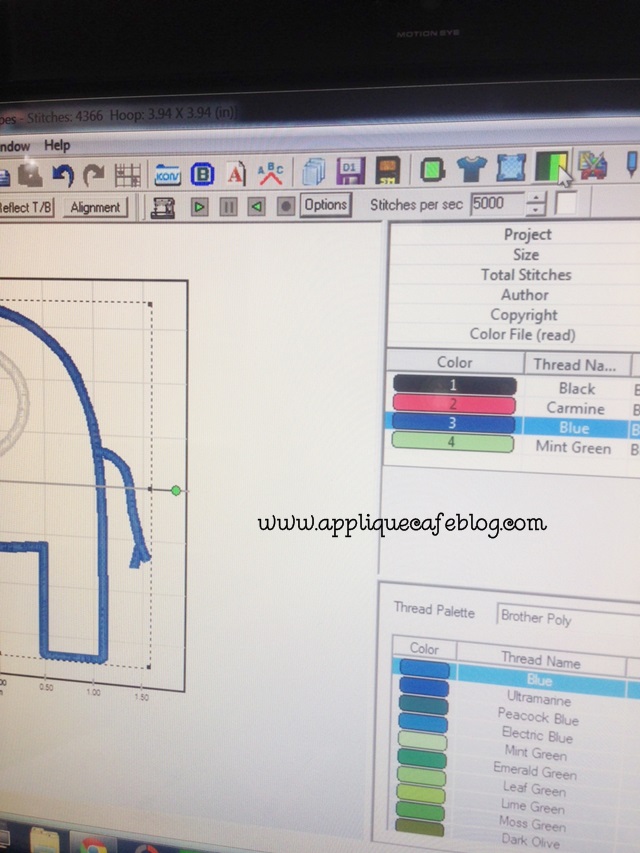
So I had a longtime customer email me the other day, and she wanted a baby gown with an *old* design on it that I had not sewn in years. It was the below elephant design and I bought it YEARS ago on Etsy, like in 2009 or before! I don’t believe the seller sells it [or any designs for that matter] anymore. I had done a gown or onesie for my customer’s son and she wanted the same to give as a baby gift. So…. I searched and found the design on my computer, and quickly remembered the design was digitized a little wonky. The design had 1 marking stitch (#1 black below) and then elephant outline satin stitch (#2 below) and then the eye and ear (#3 below) . What does that mean? NO TACKDOWN STITCH. In the good old days I would just repeat the marking stitch after I placed my fabric down, trimmed around the design and then proceed with the satin stitch around the elephant. However, I decided this week to give this old design a makeover using Sew What-Pro! 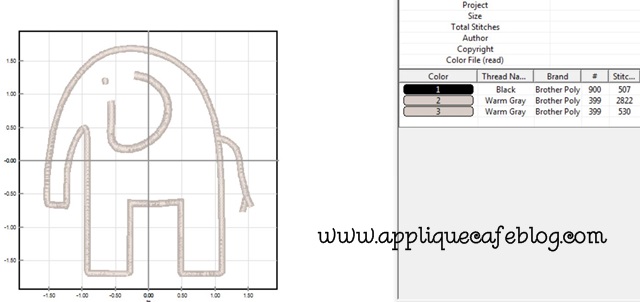
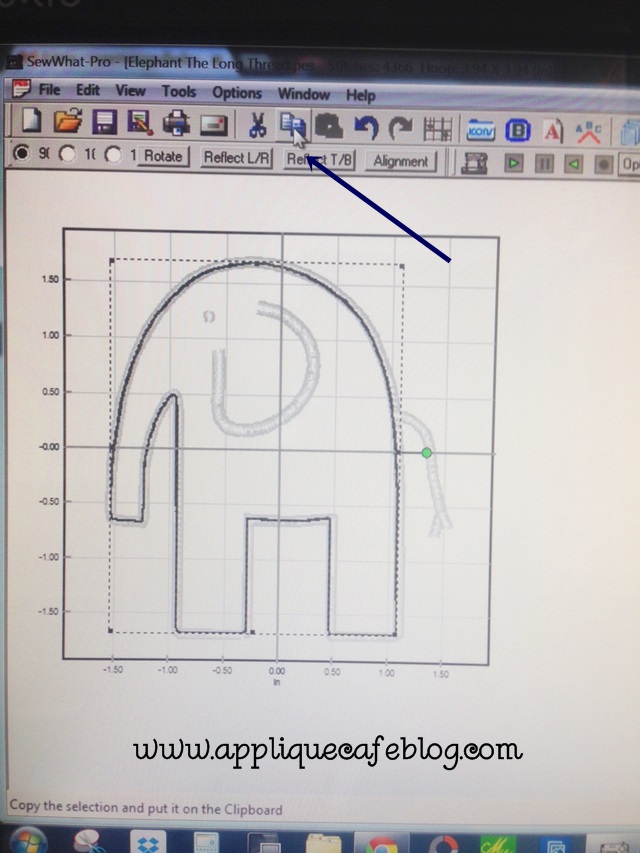
First on the list, create a tackdown stitch! I click on step 1, which is the marking stitch. 
Next I click on the COPY icon in my menu bar. This will copy that step 1 marking stitch.
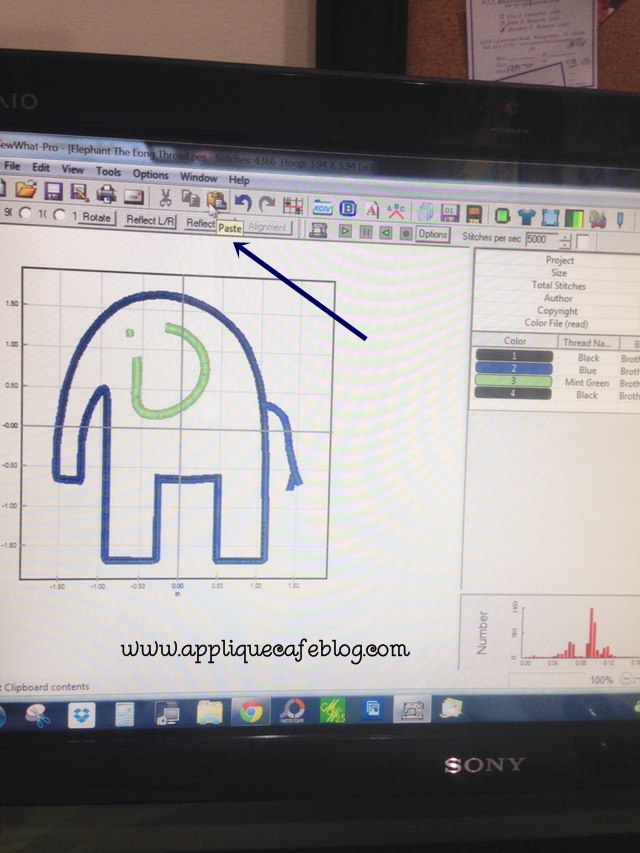
Next I click the PASTE icon in my menu bar, which pastes another marking stitch step 1 (aka tackdown stitch) in my design. How handy! It does place that new step at the end, so it’s step #4 of my design which wouldn’t work. No fear… we can reorder our steps to make this right!
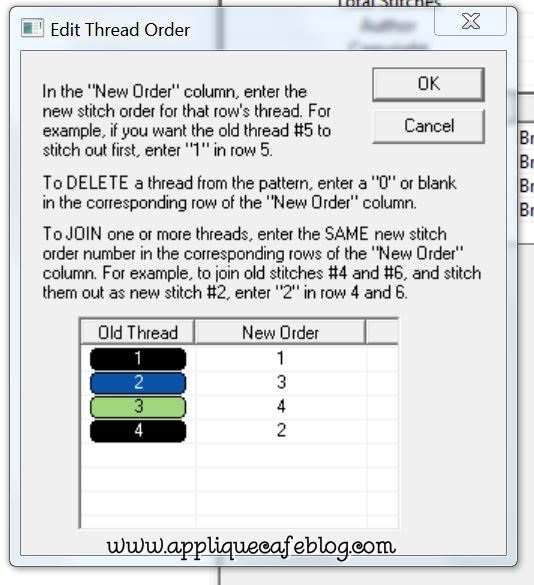
Click Edit, then Order Threads in the toolbar.

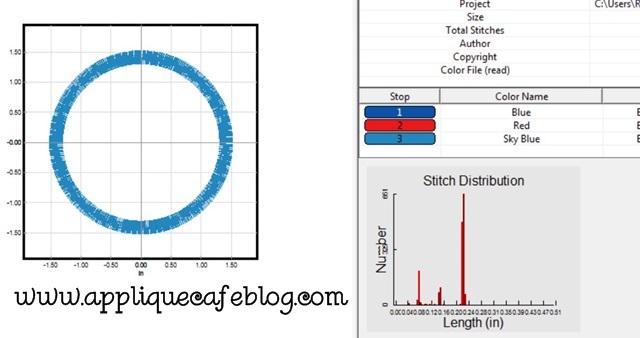
This is the order of the steps after I have copied and pasted that marking stitch. I want to move step 4 up to step 2 so that the design stitches 1) marking, 2) tackdown, 3) satin elephant and 4) eye and ear. The satin stitch and eye/ear are 2 different steps in case you might want to sew those in 2 different colors.
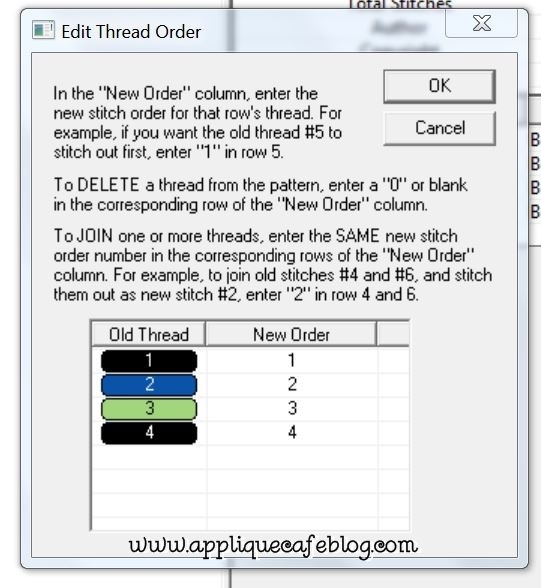
Below I have typed in the New Order, and when I click OK it reorders the steps.
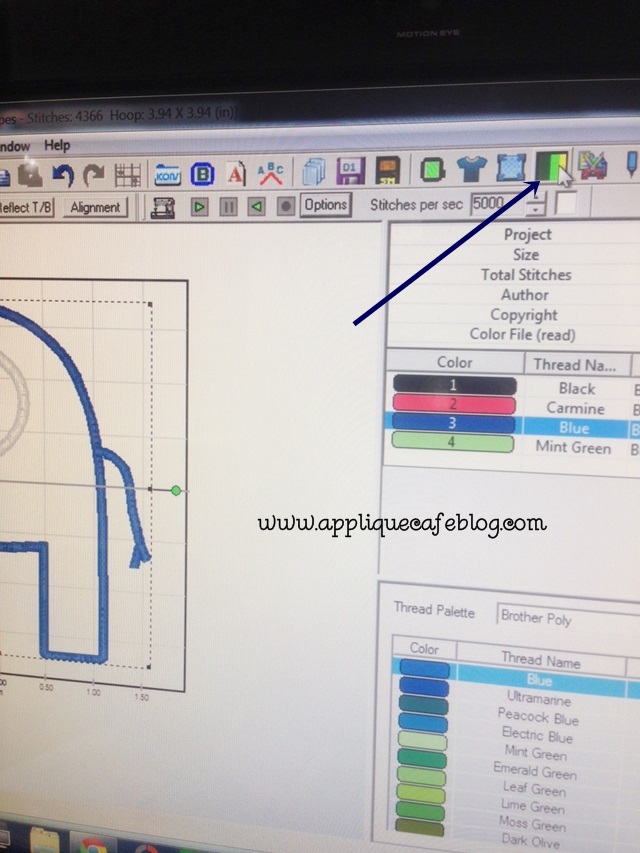
Now, since this is an old design, the satin stitches are really thin. Guess what? I can make them thicker in Sew What-Pro! I first click on the ear/eye step in my thread chart. Just pick one of the satin stitch steps – it doesn’t matter which one.
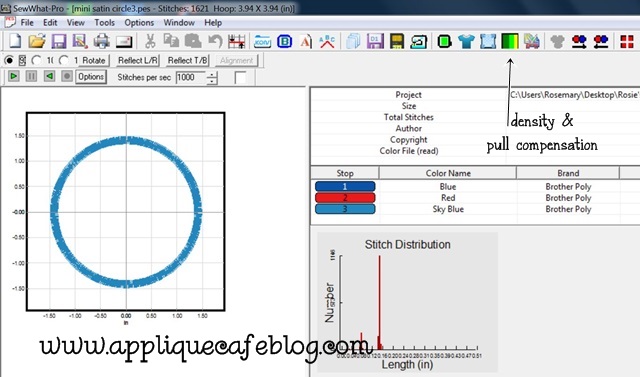
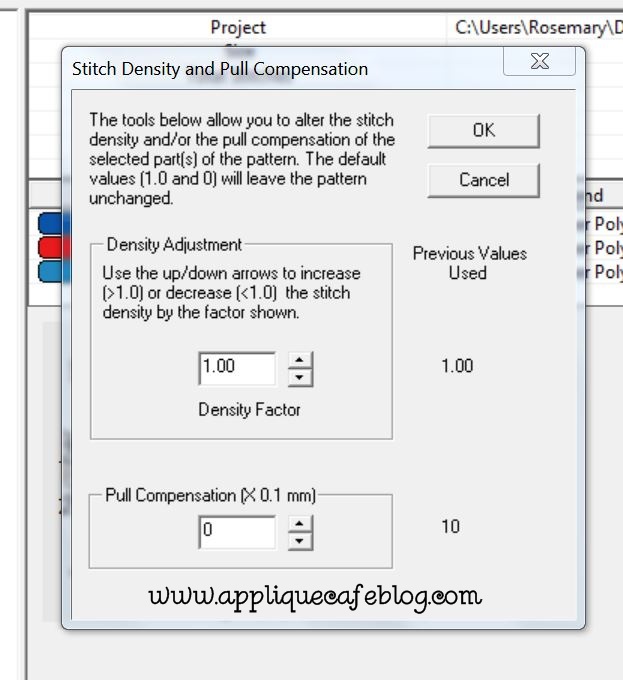
I then click on the Stitch Density and Pull Compensation icon.
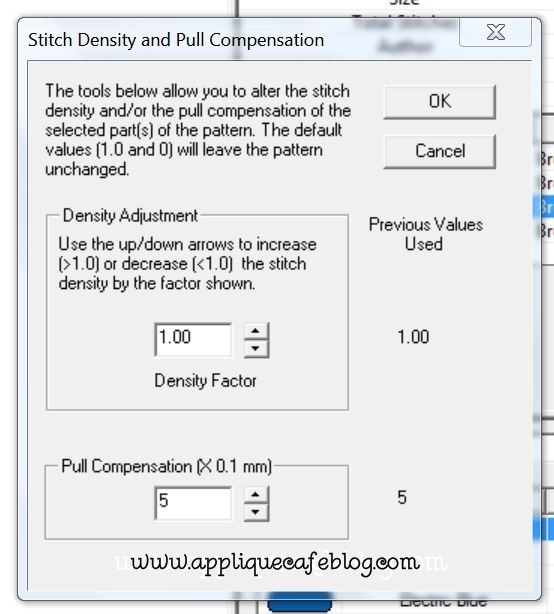
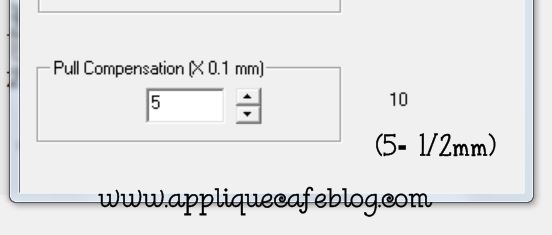
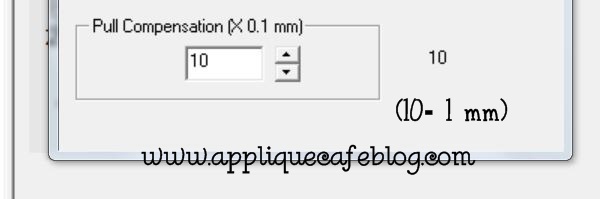
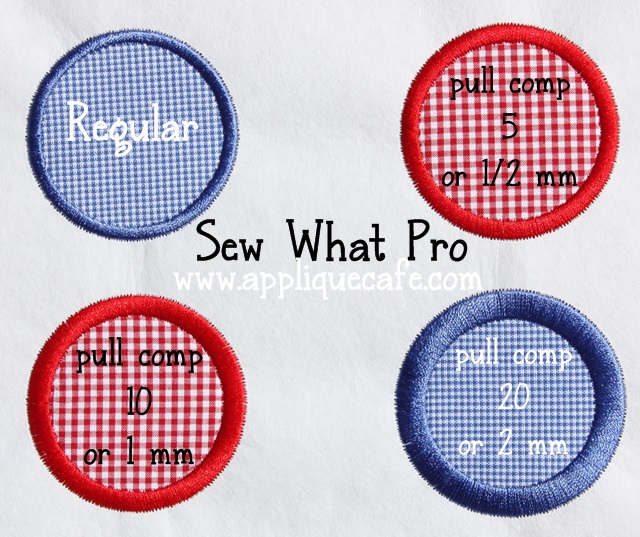
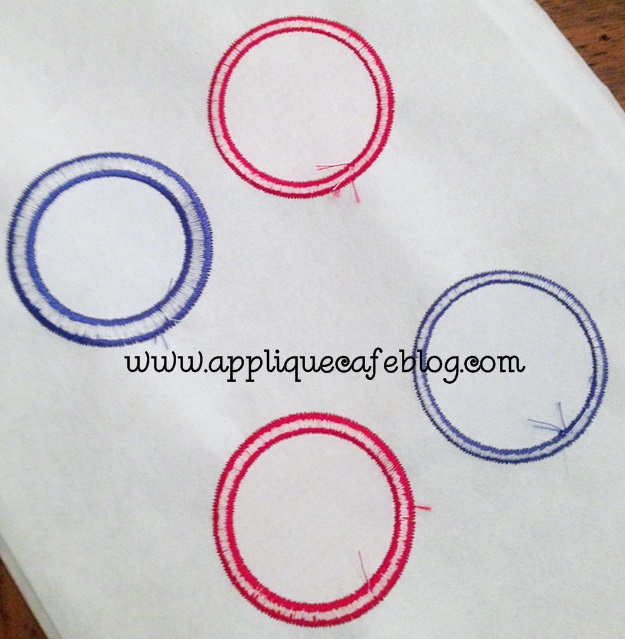
On the bottom you see Pull Compensation, which makes the satin stitch thicker. I bumped it up to 5 and when I click OK, my satin stitch becomes thicker. You can go all the way up to 20, but 5 to 10 is usually enough. Please note that I do not mess with density!
I do the same for the satin stitch of the elephant step. I click on that step in my thread chart.
Again, bump the pull compensation up to 5. Again, you can do more, but 5 is plenty for this project!
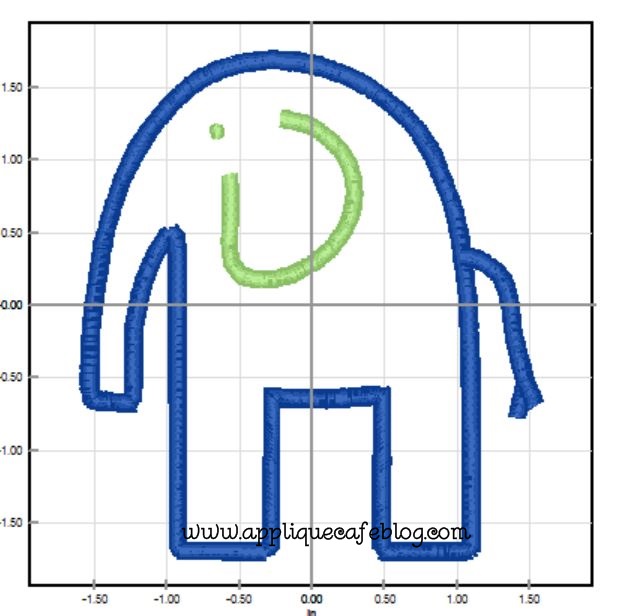
As you can see below, my satin stitch is noticeably thicker.
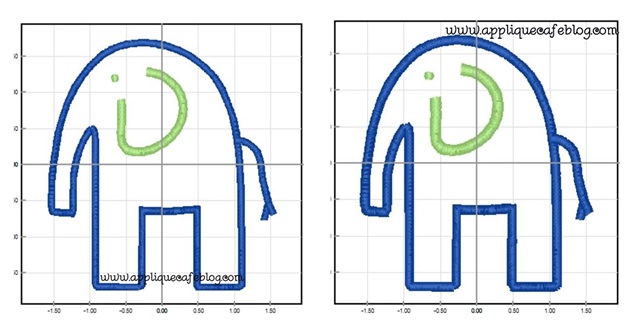
Here is a side by side comparison! Again, this is bumping my pull compensation up to 5. You could do more if you like really thick satin stitches. So… I was able to add in the needed tackdown step to my design AND make my satin stitches thicker!
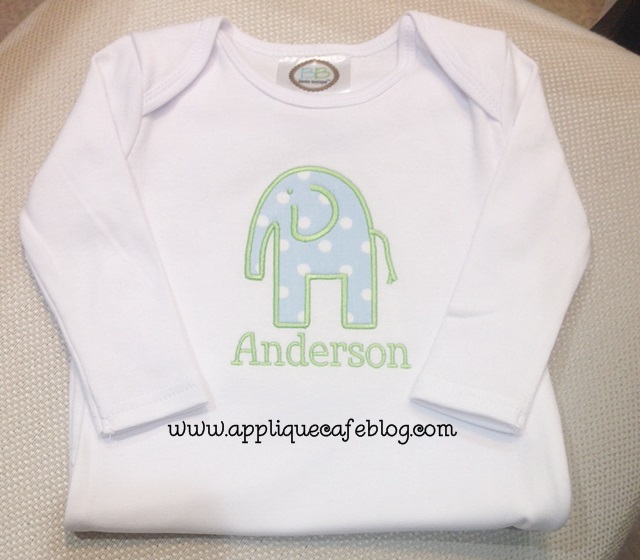
And here is the finished layette gown! I used Monogram Wizard Plus “Kazoo” font. I also did all of my satin stitches and my name in a light green color.
To see and read more about increasing Pull Compensation using Sew What-Pro, check out my previous blog post where I show several different variations of increasing the PC of the satin stitch (5, 10 and 20) – that post is HERE! Pretty cool, eh? Sew What-Pro is a great investment at only $65! Please note that SWP is a Windows embroidery software. I get asked a lot if you can use it with a Mac, and you CAN, but only with a Windows Emulator. PlayOnMac Windows is a free emulator available on the Sands Computing website – click HERE for more info. Applique Cafe is an authorized dealer of Sew What-Pro!
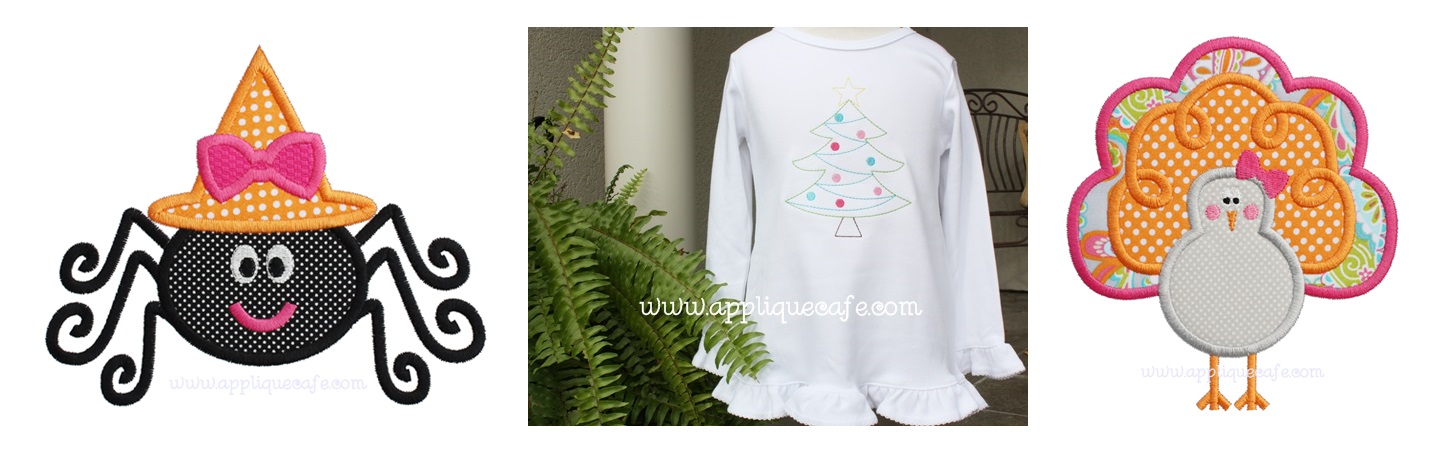
Here are a few new designs we added last week! I LOVE LOVE LOVE the Girly Turkey! She has been a popular design since we added her! The Vintage Christmas Tree is a fast and easy design too! You can see all of these at Applique Cafe!
Lastly, our new Digitizer’s Pick which is $1.50 for a limited time….


Recent Comments