Applique Cafe Christmas List!

Just a quick post to share with you all the things we offer at Applique Cafe that should be on your Christmas list! 🙂

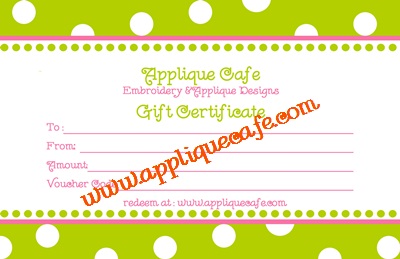
  1. GIFT CERTIFICATES!! We sell them in $10 increments and they can be printed and mailed to you or to your mom/friend/cousin/neighbor. If time is of the essence, I can also fill in the info and email it to you to print!

Applique Cafe gift cert 400

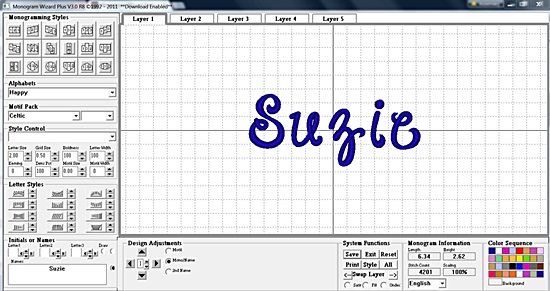
2) Monogram Wizard Plus!! I’ve sold 2 this week, so a couple of people are getting new font software for Christmas! There is an actual installation CD for MWP which is shipped to you. I usually mail same day, so it will arrive in your mailbox within 2-3 days (we ship USPS Priority Mail). If you are new to embroidery and are frustrated with the fonts that came on your machine, or with merging letters together, then check out MWP! It’s a GREAT investment for your embroidery business. Below is an example of your screen and it’s super easy to use!

mwp3

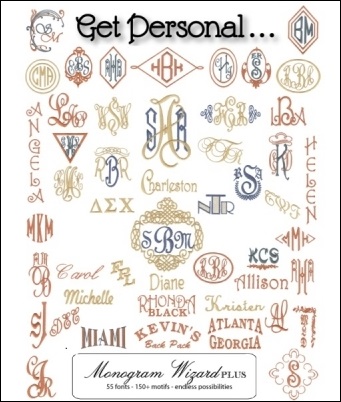
Look at all the possibilities! It comes with all of the font options you see below, plus you can add to your font collection with a few clicks at the Needleheads store.

mwp4

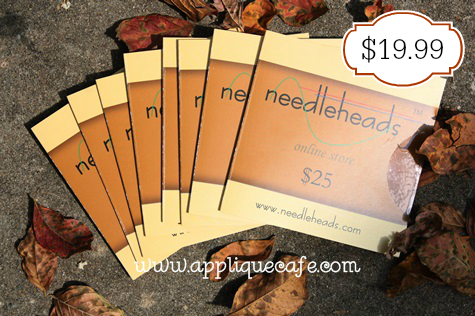
3) Needleheads Store Gift Cards!! You bought or already have Monogram Wizard Plus, and you want to add to your font collection? We sell $25 Needleheads gift cards for $19.99, so you’re saving $5.01 off the bat! Needleheads often runs sales and specials too, so you can save more by using our gift card on top of their sale! We have physical gift cards we can mail you, OR, most people just want the code to get the discount (which we can email to you). Needleheads gift cards are redeemed at the Needleheads Online Store.

Needleheads gift card sale

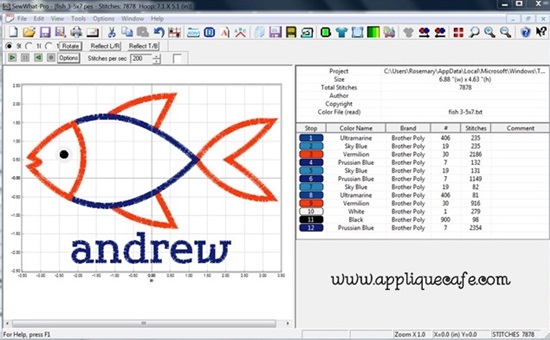
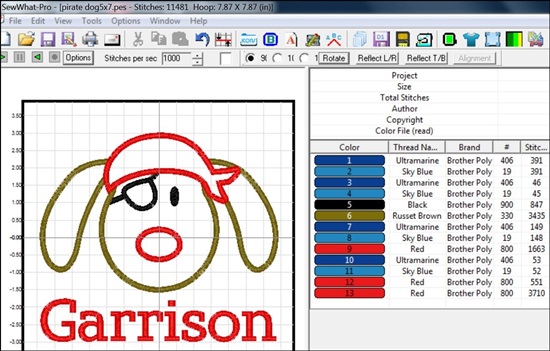
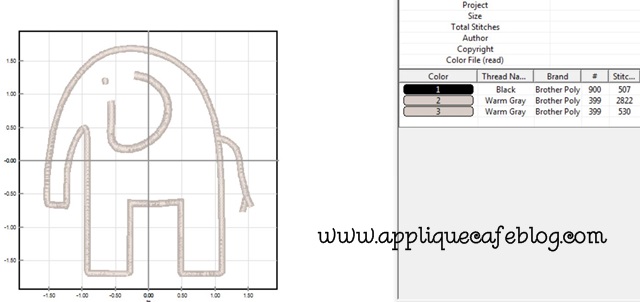
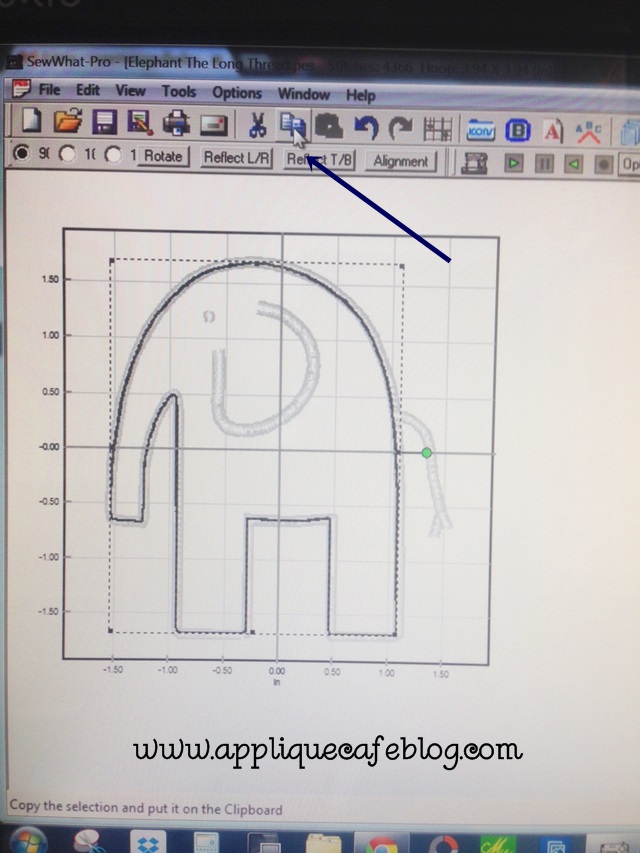
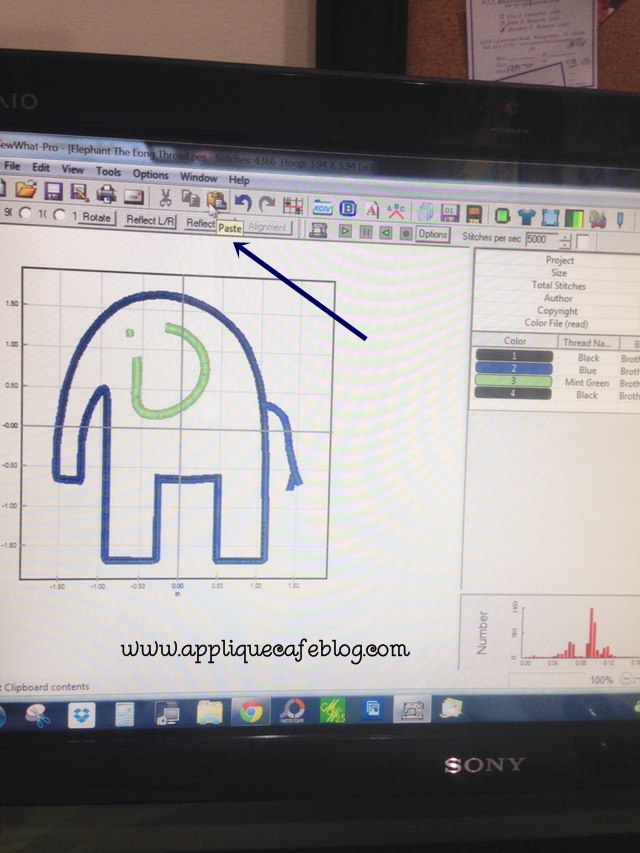
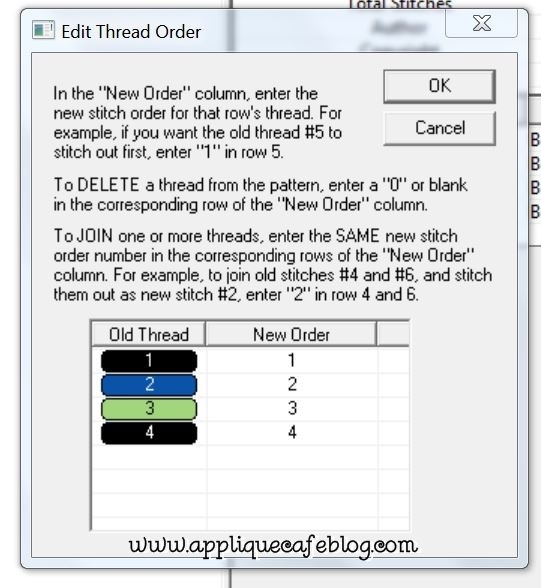
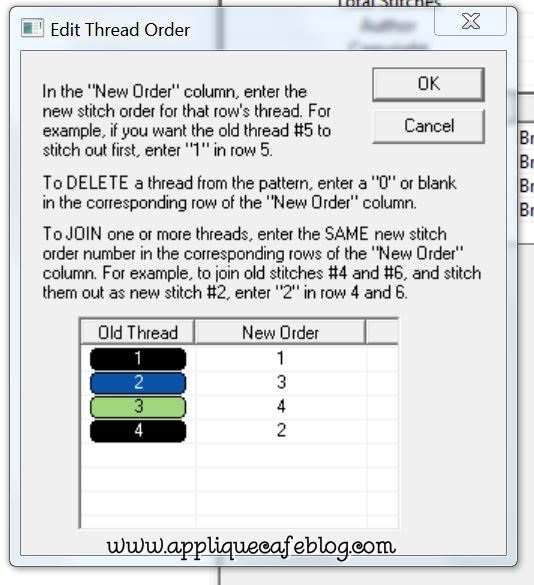
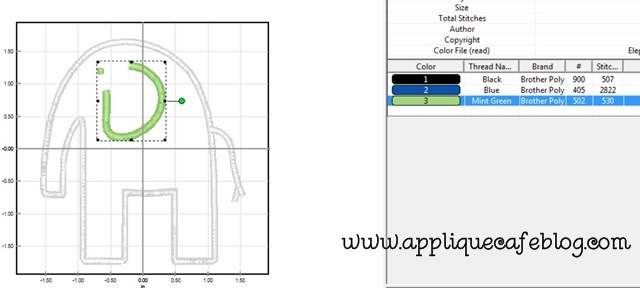
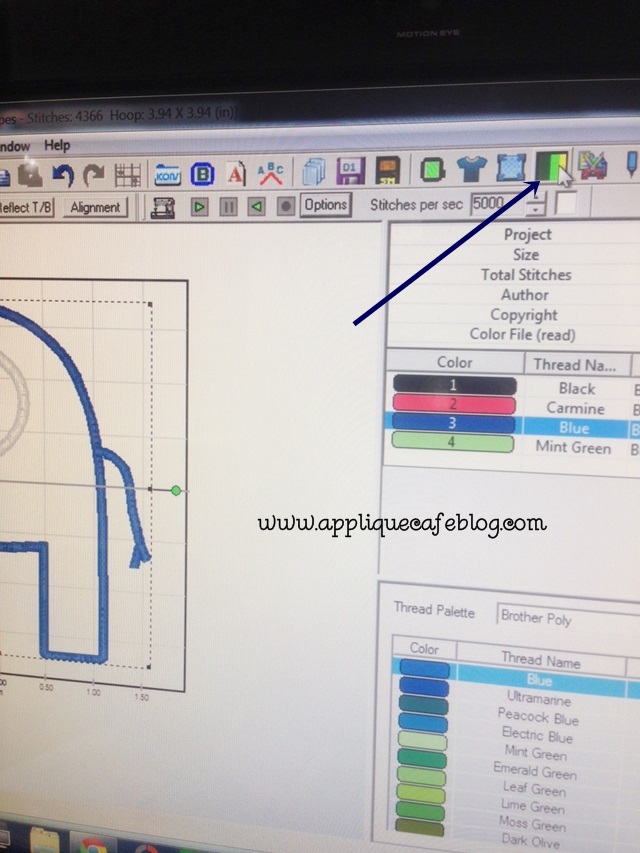
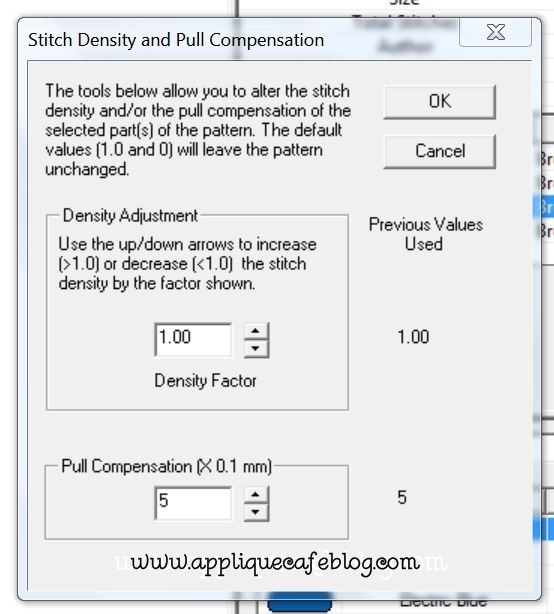
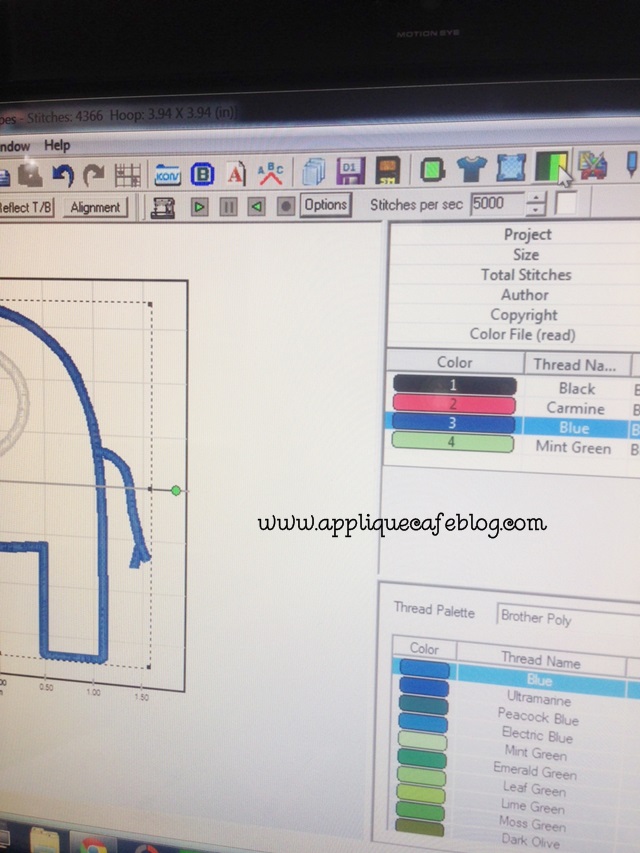
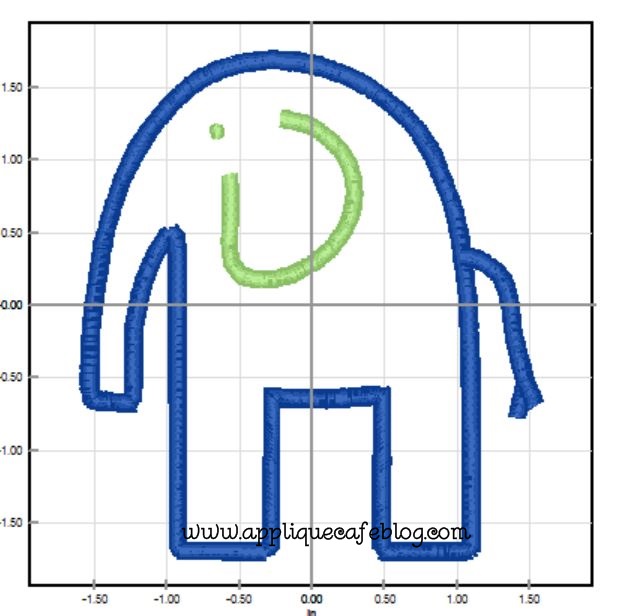
4) Sew What-Pro Embroidery Software!! SWP is a top seller at Applique Cafe month after month. Not only is it super affordable ($65), it’s easy to use and honestly I couldn’t survive without it! I use it for merging (adding a name to an applique design), minor editing (deleting a part of a design) and for the most part, just to SEE the applique design I’m working on. It shows me the size I’m working on, each step in the process and I can play around with colors (thread) to help me choose my fabrics!

Here are a couple of workspace examples, and I just updated my SWP last night so the screen now looks a smidge different! By the way… the names you see are done in Monogram Wizard Plus, then merged in to Sew What-Pro!

swp4

SWP ad1

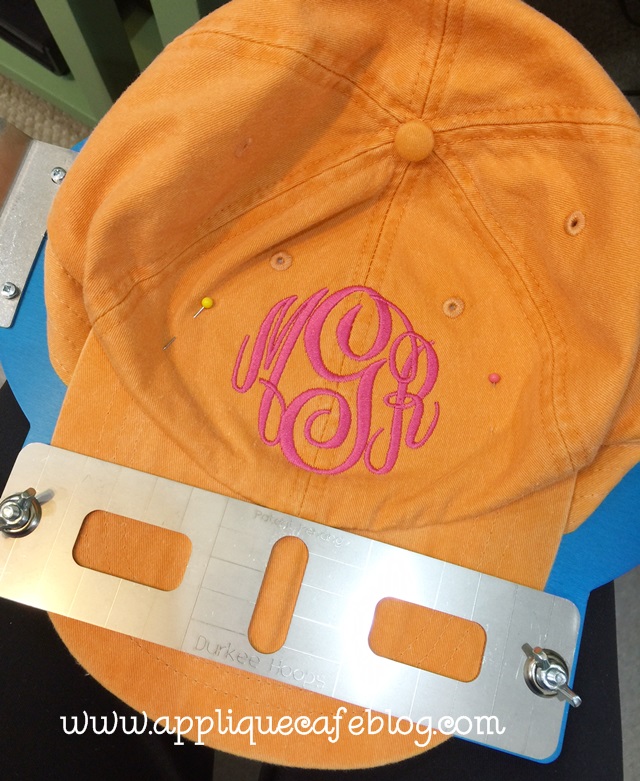
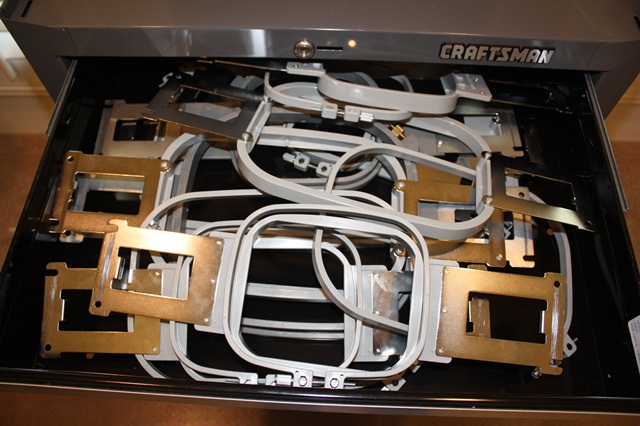
5) Durkee Cap Frame!! OK so we don’t sell cap frames, but if you saw my recent post on the “new” Durkee Cap Frame, then you might want to add it to your list too! Check out my blog post from earlier this week to learn all about it – HERE. If hats are on your product list, then consider investing in a DCF to make life easier! 🙂 They have frames that are compatible with multi AND single needle machines!

Durkee Cap Frame

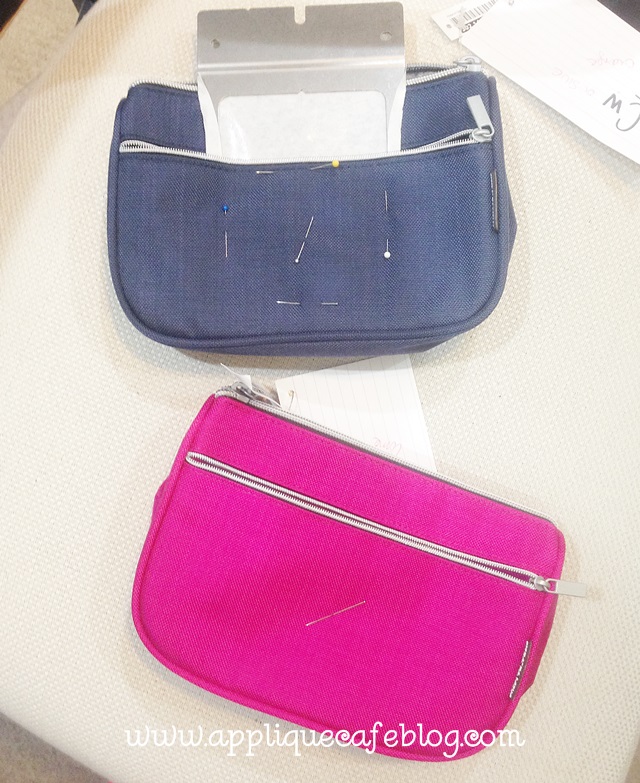
6) Mighty Hoops!! Again, not something we sell here at Applique Cafe, but again, check out my recent blog post on the super easy magnetic Mighty Hoops! The hoops can be used alone, or with a fixture to help with centering and easy hooping. Check out that blog post HERE. Below is the 6.5″ square Mighty Hoop and Fixture, and I’m giving it a workout this week monogramming towels!

IMG_6487

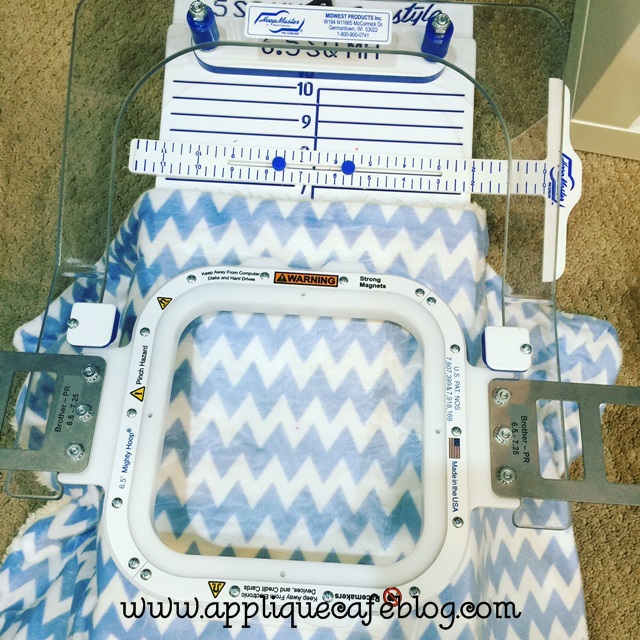
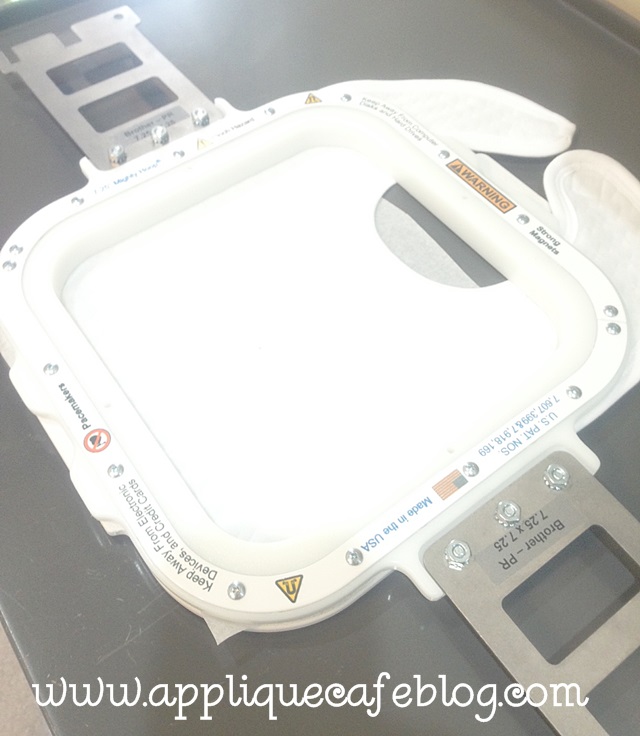
And here is my 7.25″ square Mighty Hoop that I use without a fixture! It’s great for items like bibs and bags that are a little harder to hoop.

photo 3 (11)

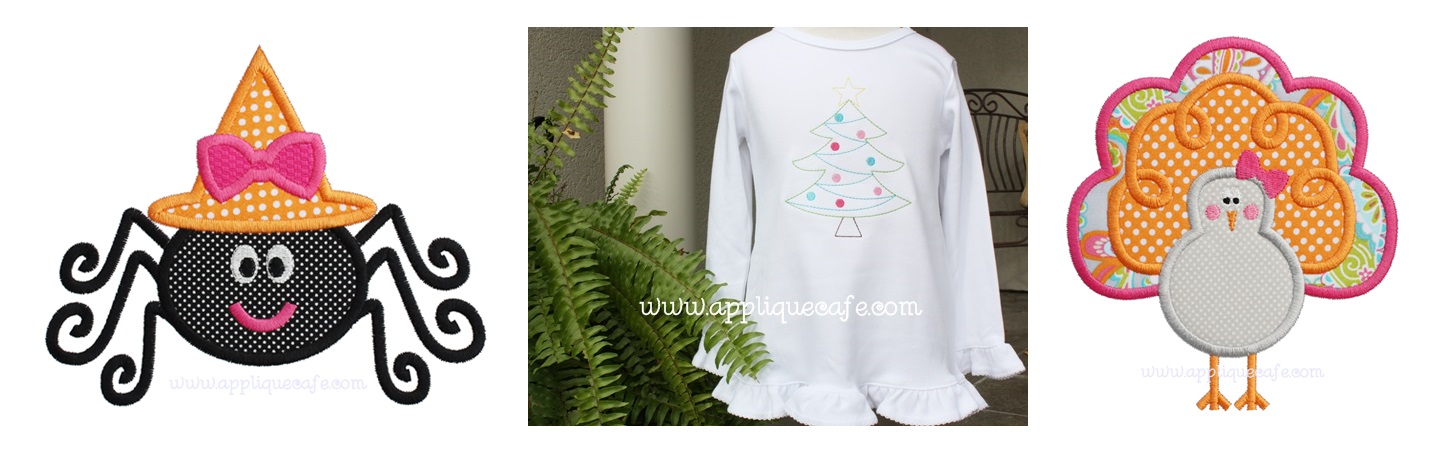
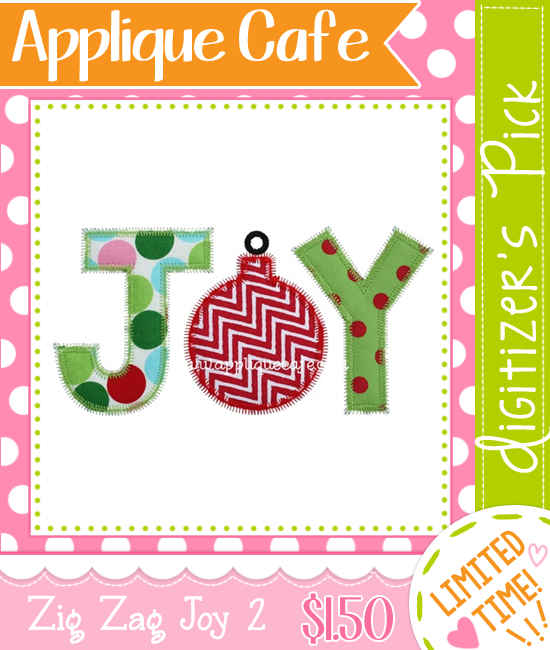
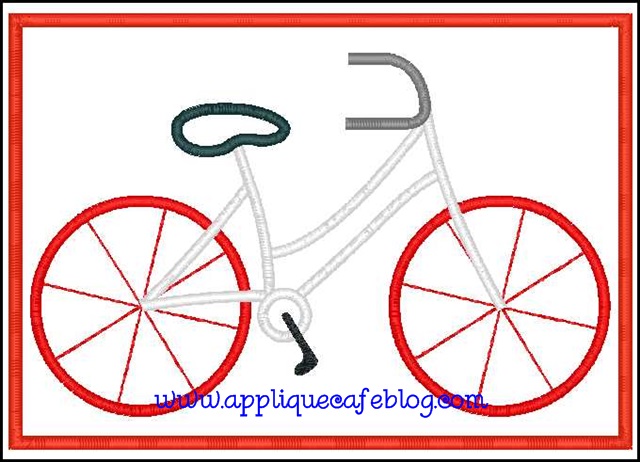
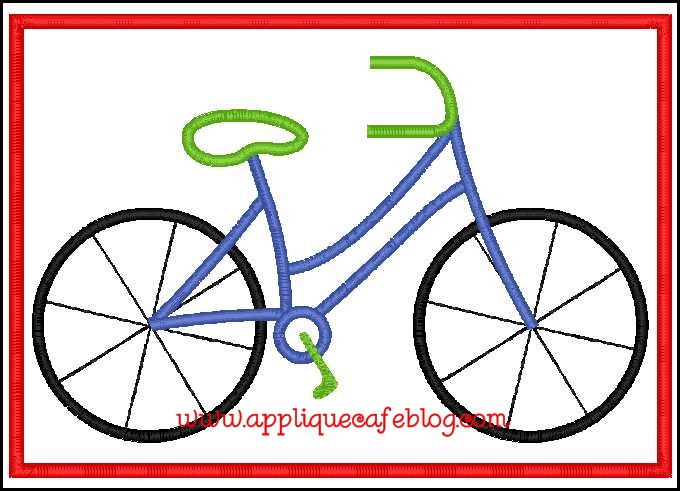
7) Applique Cafe Christmas & Holiday Designs!! Lastly….. all of our Christmas & Holiday designs are 40% off, so if you are still working on Christmas shirts, towels or even winter (this category includes snowmen, ice skates, mittens and other winter designs), then they are on SALE!

cmas sale

Give Life to an Old Design!

So I had a longtime customer email me the other day, and she wanted a baby gown with an *old* design on it that I had not sewn in years. It was the below elephant design and I bought it YEARS ago on Etsy, like in 2009 or before! I don’t believe the seller sells it [or any designs for that matter] anymore. I had done a gown or onesie for my customer’s son and she wanted the same to give as a baby gift. So…. I searched and found the design on my computer, and quickly remembered the design was digitized a little wonky. The design had 1 marking stitch (#1 black below) and then elephant outline satin stitch (#2 below) and then the eye and ear (#3 below) . What does that mean? NO TACKDOWN STITCH. In the good old days I would just repeat the marking stitch after I placed my fabric down, trimmed around the design and then proceed with the satin stitch around the elephant. However, I decided this week to give this old design a makeover using Sew What-Pro! long thread

First on the list, create a tackdown stitch! I click on step 1, which is the marking stitch. long thread marking

Next I click on the COPY icon in my menu bar. This will copy that step 1 marking stitch.

IMG_6323

Next I click the PASTE icon in my menu bar, which pastes another marking stitch step 1 (aka tackdown stitch) in my design. How handy! It does place that new step at the end, so it’s step #4 of my design which wouldn’t work. No fear… we can reorder our steps to make this right!

IMG_6324

Click Edit, then Order Threads in the toolbar.

IMG_6325

This is the order of the steps after I have copied and pasted that marking stitch. I want to move step 4 up to step 2 so that the design stitches 1) marking, 2) tackdown, 3) satin elephant and 4) eye and ear. The satin stitch and eye/ear are 2 different steps in case you might want to sew those in 2 different colors.

long thread order

Below I have typed in the New Order, and when I click OK it reorders the steps.

long thread order 2

Now, since this is an old design, the satin stitches are really thin. Guess what? I can make them thicker in Sew What-Pro! I first click on the ear/eye step in my thread chart. Just pick one of the satin stitch steps – it doesn’t matter which one.

long thread ear and eye

I then click on the Stitch Density and Pull Compensation icon.

IMG_6326

On the bottom you see Pull Compensation, which makes the satin stitch thicker. I bumped it up to 5 and when I click OK, my satin stitch becomes thicker. You can go all the way up to 20, but 5 to 10 is usually enough. Please note that I do not mess with density!

long thread density

I do the same for the satin stitch of the elephant step. I click on that step in my thread chart.

IMG_6326

Again, bump the pull compensation up to 5. Again, you can do more, but 5 is plenty for this project!

long thread density

As you can see below, my satin stitch is noticeably thicker.

long thread outline satin thicker

Here is a side by side comparison! Again, this is bumping my pull compensation up to 5. You could do more if you like really thick satin stitches. So… I was able to add in the needed tackdown step to my design AND make my satin stitches thicker!

long thread thinner satin-horz

And here is the finished layette gown! I used Monogram Wizard Plus “Kazoo” font. I also did all of my satin stitches and my name in a light green color.

IMG_6327

To see and read more about increasing Pull Compensation using Sew What-Pro, check out my previous blog post where I show several different variations of increasing the PC of the satin stitch (5, 10 and 20) – that post is HERE! Pretty cool, eh? Sew What-Pro is a great investment at only $65! Please note that SWP is a Windows embroidery software. I get asked a lot if you can use it with a Mac, and you CAN, but only with a Windows Emulator. PlayOnMac Windows is a free emulator available on the Sands Computing website – click HERE for more info. Applique Cafe is an authorized dealer of Sew What-Pro!

Here are a few new designs we added last week! I LOVE LOVE LOVE the Girly Turkey! She has been a popular design since we added her! The Vintage Christmas Tree is a fast and easy design too! You can see all of these at Applique Cafe!

girly spider 500-horz

Lastly, our new Digitizer’s Pick which is $1.50 for a limited time….

adigitizerspick 500

Organization, Part 3

Did you think I forgot about ORGANIZATION?? Here is my next (and last) installment of organization posts! Hopefully you caught my previous 2 blog posts on some cool videos I found – Stabilizer Savvy and How to Start an Embroidery Machine Business. Now back to Organization and Part 1 & Part 2 are on the blog…

Tips & Timesavers for doing monograms and appliques

Beth’s answer to this – if she has 10-15 minutes before school, carpool or a sports event, she will sit down and design monograms (in her software) so they are ready when she is ready to sew them. She also may cut fabric and iron on the backing (Heat N Bond Lite) so she’s ready!

This is also where having extra hoops comes in handy! When I first started, my PE700 came with 1 5×7 hoop. Of course I ordered the 4×4 and 2×3, but also eventually ordered extra 4×4 and 5×7 hoops. That way I could work on hooping the next item while stitching another. I now have 3 4×4 hoops, 2 5×7 and a variety of other hoops – Durkee 9×9 and 6×6. I also have a variety of Fast Frames so I have plenty of hoops/frames to get the next item ready!

hoops blog post

INSTEAD of cruising Facebook (or Instagram, or Pinterest…) while that 46 minute monogram stitches, see what else you have to work on and start preparing. Iron, mark your center, go ahead and hoop it or attach it to the fast frame, cut your fabric for appliques, iron them and apply Heat N Bond Lite. Go ahead and set aside thread colors for the next project! There are lots of ways to maximize your time while sewing. Try not to get distracted! 

I think I posted this photo before, but while the burp cloth was stitching, I went ahead and ironed the bib, marked the center and ironed tearaway stabilizer on the back. I knew I was doing a small patch applique, so I went ahead and cut that fabric, ironed it and applied my Heat N Bond Lite. It’s ready to hoop and stitch!

photo (22)

I was doing a few of these cute bags the other day from Ikea. While 1 was stitching, I went ahead and got the next one ready – center marked and attached to the fast frame! I didn’t have another frame to get the 3rd one ready, but I went ahead and marked my center. IMG_5574

Easiest Way to Pick out Fabric & Thread Colors

This can be hard sometimes and easy sometimes! For me, Sew What-Pro saves me A LOT of time in this department. When I am getting ready to sample or sew a NEW design, I always open it up in SWP first and change the colors around to get an idea of what colors I want to use. This gives me a head start in choosing fabrics. Here’s an example:

This is what the design looked like fresh out of being digitized, ready for me to sample. As most of you know, my husband Jeff does the digitizing and he makes each step a different color, but there’s no rhyme or reason to which colors he chooses.

Bicycle Patch5x7

The first thing I do is change the colors to help me visualize what color fabric and threads I plan to use. For boy designs I usually start with primary colors, or my favorites like turquoise, lime, orange, etc. For girls, I usually start with hot pink and then go from there – turquoise, lime green, orange. This is just a starting place!

Bicycle Patch5x7colors

This is one of our single fabric patch designs, so I typically use simple fabrics like ginghams, stripes & polka dots. As you can see, setting the colors I want to use before I sew it really helps!

bicycle patch

Sometimes you might be matching a pair of shorts, or matching a monogram to some trim on a bag. Those projects are easy! Sometimes I am sampling new designs and I will sort through every piece of floral fabric I own trying to find the perfect fabric. This is where organized fabric comes in handy! I have mine organized by design – polka dots, ginghams, florals, boy fabrics, textured fabrics (minky & chenille), etc.  Keeping your fabric & thread organized is a good start!

If your applique is several fabrics, start by nailing down the main fabric. If it’s a floral, see what goes with it – polka dots, ginghams, stripes, solids, etc. Most of our designs at Applique Cafe are very SIMPLE. Other than Turkey designs and a hand full of others, most of our designs aren’t more than a few fabrics which makes your job easier!

When do you not work or when is it OK to take the day off?

Beth tries really hard not to work when her kids are around! See my last post! 🙂 If her kids are playing outside, she might throw something easy and “safe” on the machine. If she is not in the mood to embroider, she tries to stay away from the machine. I agree! That’s when you make the most mistakes, or your machine will act up FOR SURE. Personally, I try not to work on the weekends. There are some Saturdays when we have nothing going on and the kids are down the street playing, so I might sit down and get some work done. I often have people call and want to come over at all times of the day, including when we are eating dinner. I try to avoid that! You need to keep family time sacred, and as much as you think you need to work for 12 hours a day, you need to pace yourself, be more organized and set a reasonable work schedule!

Another tip or suggestions that I got:

At the end of the day, put everything back in it’s place! Put your hoops away. Make sure your fabric is all back in the right basket. Throw away the scraps and things that need to be thrown away. Finish up the day by leaving your work space organized and clean, then you are ready for the next day!

If you have any other suggestions or tips, do share! Leave us a comment and I will be sure to share!