Stabilizer 101

Disclaimer: The following are stabilizers that I (Rosemary) use. There are GOBS of stabilizers out there and lots of different brands, types, shapes, sizes, colors, weights, etc…. These are the ones I like to buy so I’m posting about them!

For those of you who have been doing embroidery forever, you might find this post boring! But, for those of you who are looking to get in to embroidery or are just starting out and learning, then this post is for you. As I’ve said before, I taught myself machine embroidery and “figured” stabilizers out mostly with trial and error (and messing up a time or two). I get lots of questions about stabilizer and see it a lot on Facebook, so here goes!!

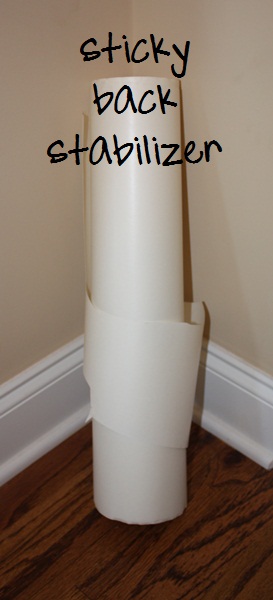
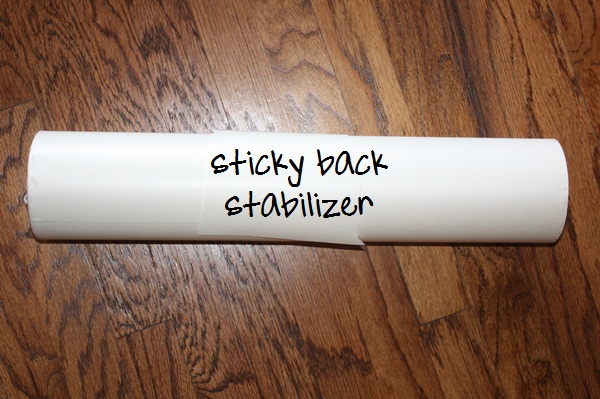
#1. Sticky Back Stabilizer. I’m not going to elaborate too much on this one since I just did a post on this stabilizer and it’s use with Fast Frames ~ https://www.appliquecafeblog.com/fast-frames/. Basically it is used for any item you can’t hoop. Examples would be: backpacks, lunch boxes, ribbon, market totes, etc. Some people use it for everything but I only use it for the mentioned items – basically things that you a) can’t hoop and b) you do not want stabilizer left on when you’re done (it peels away). You typically hoop the sticky with the paper still on (or stick it to your fast frames) and then stick your item to the sticky (score the paper and peel it away) and pin it in place. Again, see the fast frames post for more details. I buy mine from Sewingmachine.com. This is a commercial roll and very affordable.

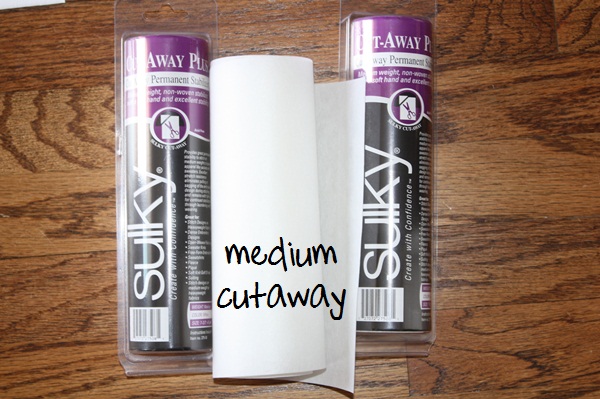
#2. Medium Cutaway ~ This is Sulky Brand (Medium Cutaway) Cutaway Plus. I usually buy it with 50% off coupons from Joann. I like the commercial cutaway from Sewingmachine.com, but I sometimes use Sulky for Applique Cafe samples (with a layer of commercial underneath) because it’s a brighter white and makes a good white background for my sample pictures. I’ve used Sulky since I first started doing embroidery so that’s also why I like to keep it around! I also like Sulky because I can buy it locally from Hancocks or Joann and I can usually buy it with a coupon or on sale!

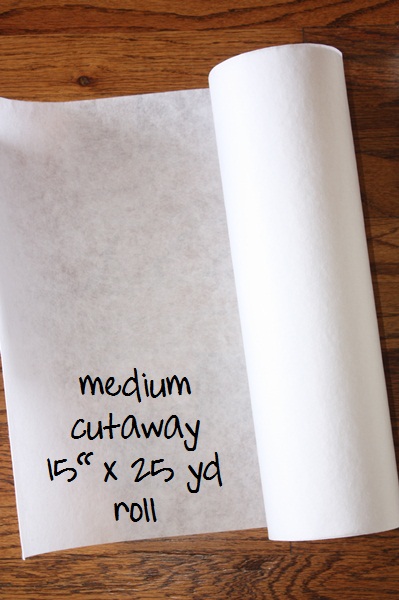
#3. Medium Cutaway ~ this is the commercial roll from Sewingmachine.com. It’s very affordable and this size is great for your 5×7 or 9×9 hoop (see this post on the 9×9 hoop). I buy the 2.2 oz and it is medium cutaway. You won’t believe the great prices on the commercial stabilizer!!

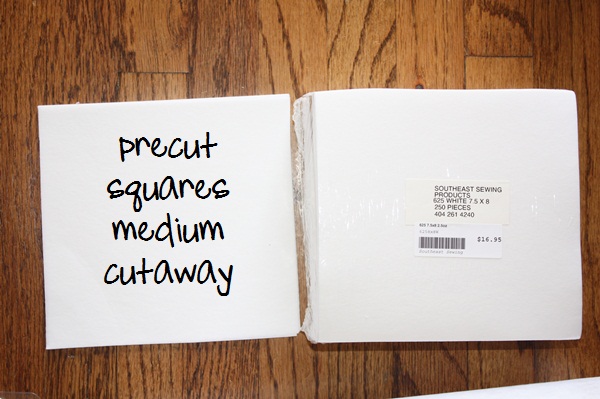
#4. Medium Cutaway ~ Precut Squares from Sewingmachine.com. I believe these are 2.5 oz and I also have the 2.2 oz which is a little lighter. These are great for your 4×4 hoop! They also sell other sizes and weights in precut. Just search “precut” for all of the precut stabilizer options (no show mesh, light tearaway, etc.) As you can see below, 250 pieces for $16.95 – great price! That’s like 7 cents a shirt ~ 250 shirts!!

MORE ON CUTAWAY ~ I use cutaway on all of my tshirts. I am a “hooper” so I hoop all shirts and use medium cutaway. (See this post on hooping). Basically you would use cutaway on anything you don’t mind leaving stabilizer on, because you do “cut it away” from around the applique or monogram! You would not use cutaway on a bib or towel, because you would not want it left on there when you’re done! I find that cutaway gives you great support too.

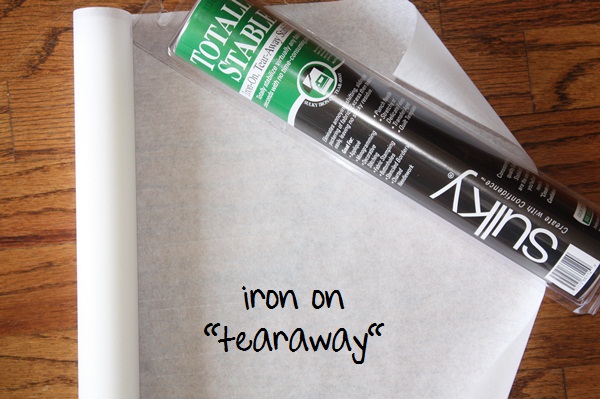
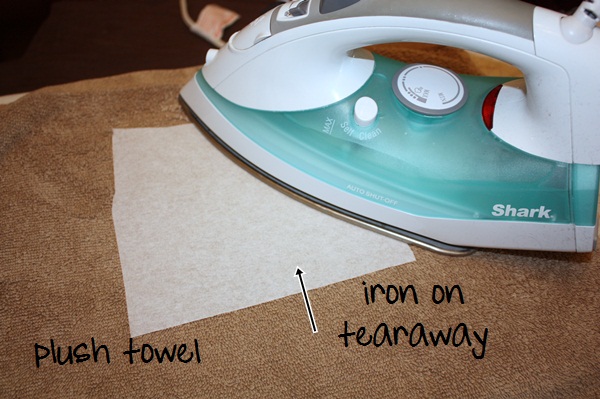
#5. Iron on Tearaway Stabilizer ~ It is what it says.. You iron it on, then tear it away once you’re done! I use iron on tearaway on towels, blankets, plush items, lovies, bibs, burp cloths, etc. It’s basically like paper and once side is shiny. You iron on the paper side and it sticks to your item. When you’re done, you just pull it off. I don’t use it a whole lot, so I usually buy this Sulky brand from Joann with my 50% off coupon.

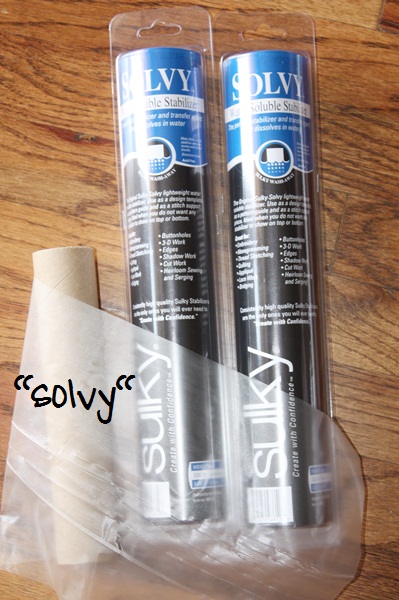
#6. Solvy ~ Solvy is the stuff that is a “topper” stabilizer for plush items such as towels, blankets, terry bibs, minky dot anything, etc. When I use iron on tearaway, it’s typically something I’d need Solvy for too. It acts as a topper so that your monogram (thread) will not sink in to the item. I learned this by monogramming a plush baby blanket and did not use anything on top. The monogram got lost down in the fluff! It feels sort of like a textured saran wrap. Solvy is water soluble too and the instructions state that it can be removed by submerging in water. However, like the tearaway I just peel/pull it off when I’m done. Like the tearaway, I don’t use a ton of it so I typically buy a roll or two of Sulky brand with my 50% off Joann coupon. You can use solvy several different ways – you can hoop it with your item or you can lay it on top of your embroidery area and pin it in place.

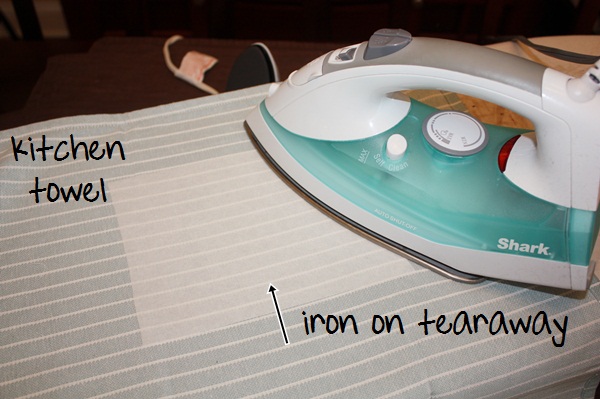
I monogrammed several towels today so here are a few pictures using the iron on tearaway and Solvy. First I’m doing a kitchen towel. I don’t want stabilizer left on the back of the towel when I’m done so I’m using an iron on tearaway stabilizer. I cut a piece the size of my hoop and iron it on the back where the monogram will go.

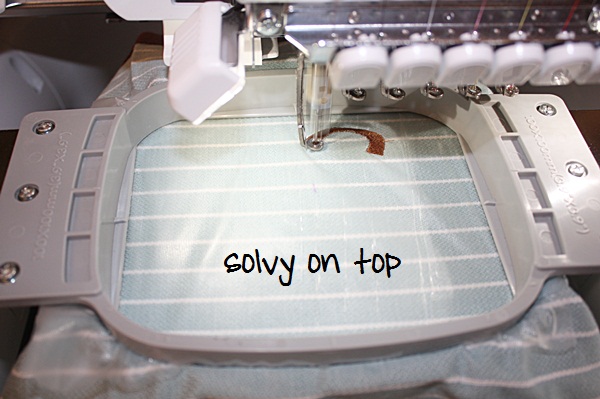
This kitchen towel is pretty flat (not fluffy), but it was a tad bumpy and “waffle weave” so I decided a layer of solvy would not hurt! As you can see the monogram is sewing on top of the solvy. I hooped the solvy too.

Now I’m doing a bath hand towel, so again I’m using the iron on tearaway because I do not want stabilizer left on the back of my towel. I iron it on the back the size of my hoop over the area that will be monogrammed.
If I were to monogram this without solvy, the thread would get lost and buried down in the loops.
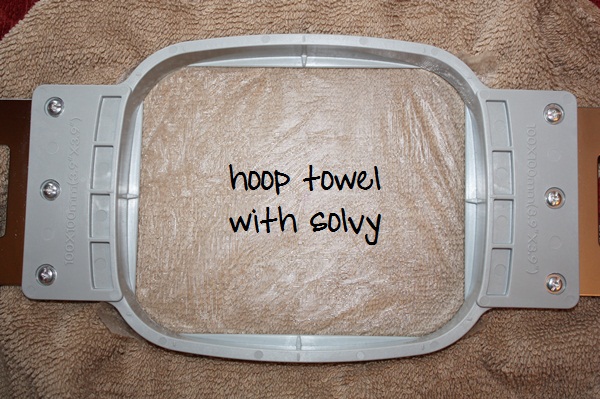
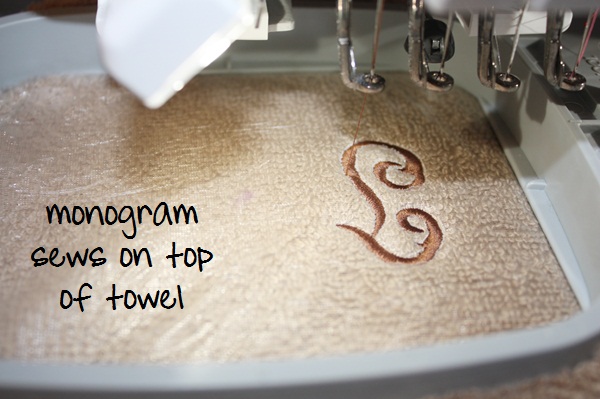
As you can see below the monogram is sewing on top of the solvy, therefore on top of the loops of the towel. Note: I like to use a fill stitch monogram when doing towels versus a satin stitch. That’s just my personal preference!

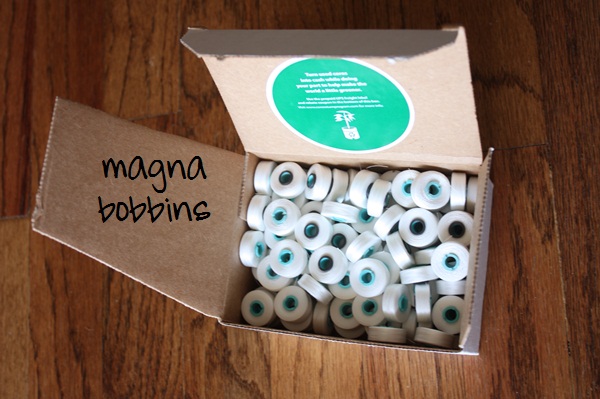
Other than Heat N Bond Lite (see this post) and Sulky KK5000 Spray Adhesive (see Hooping 101 post ~ I use it to stick my cutaway to my shirt before hooping) and a lint brush, these are the only “products” I typically use. I post last week about needles and other than scissors, measuring tape and my iron, that’s about it! I can do another post soon on embroidery thread and bobbins! FYI – I use Fil-Tec’s Magnetic Core Bobbins from Sewingmachine.com. You can buy a box of 100 for like $28.00. 100 bobbins lasts me a long time!

I hope this helps those of you who are thinking about embroidery or just starting out. Like I said, there are TONS of stabilizers out there and there are several that I simply don’t use. You kind of have to figure out what you need and like and stick with them. The commercial stabilizers are priced so great so I buy them on the stabilizers I use the most. I also did a post last week on Comfort Cover  (see the post here). It’s not really a stabilizer, but more an “extra” thing you can add to your finished product!

If you have any other post ideas for “beginners”, please let me know!
Needles and Irons. What?

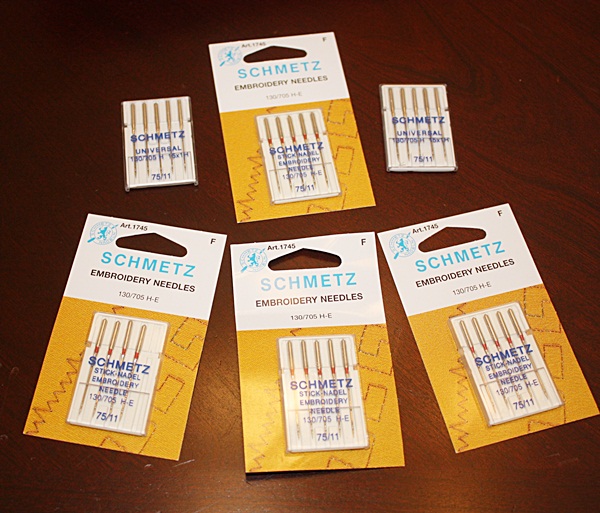
I see a lot of questions on Facebook and had the question posed to me after a previous post. It sounds like people switch out their needles depending on what they are embroidering. I have to say I use SCHMETZ EMBROIDERY NEEDLES. PERIOD. 75/11‘s as you can see below. Steve at Sewingmachine.com recommended them and last time Joann had a sale on them I stocked up. Since my machine has 6 needles I go through 6 at a time and I try to change them every 2-3 weeks depending on how much I’m sewing. I THINK he recommended every 5 hours of SEWING time, so not prep time and trimming fabric time, but machine-is-running time. I may be wrong, but I think that’s about right? I try to oil my needle shafts once a week and I oil the hook every time I turn the machine on.

When I got my 2 single needle Brother machines (PE700 and PE750D), they came with a pack of Organ needles, so that’s what I always used. I think when I got this Machine Steve gave me a pack of the Schmetz, so that’s what I use. I’m sure there are all kinds of embroidery machine needles out there, but to lessen my confusion I just stick with what I started out with! I don’t embroider on canvas much or leather or heavy items, so I see no need in changing out my needle to a different kind for different projects. I mostly do cotton/t-shirts and the like, so this is what I use. I hear a lot of people say they use ball point, and I have no knowledge of them or what they are best suited for.

So there you go ~ whoever asked what needles I used!

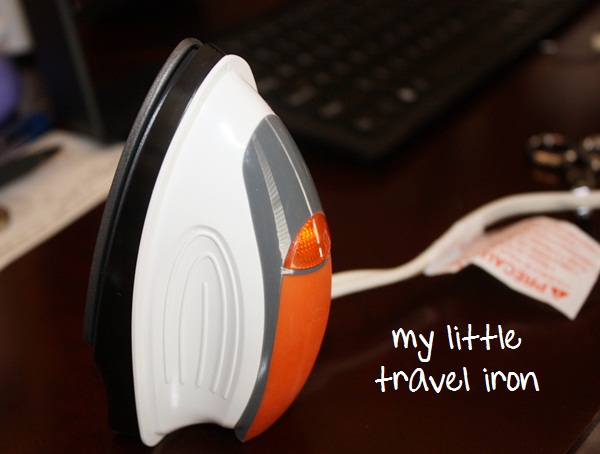
I got this TRAVEL IRON in the luggage (travel stuff) section at Target. I had heard of people having craft irons so I picked this up several months ago. I have to say I don’t use it very often, but today I was appliqueing a burp cloth and I felt the need to plug her in.

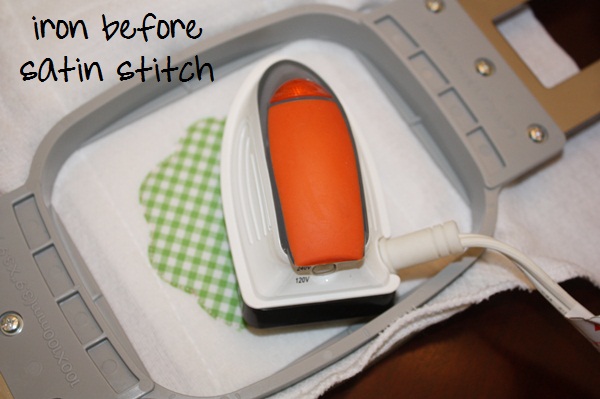
Here I am putting a petal patch on a Gerber type burp cloth. The middle is several layers of (gauze? = thick) so I felt like the fabric of the applique was a little puffy. So… I plugged in my travel iron and let it get hot and ironed the petal patch fabric really well before the satin stitch. This was not an absolute necessity, but anytime I feel the applique fabric is puffier than I’d like, I feel like the ironing ‘in the hoop’ might help out a little. I think it helps the fabric not to get any puffier, if that makes sense?

This is a 4×4 hoop, so you can see how tiny this iron is!

Another instance where I might use the travel iron is an applique or applique font with lots of tackdown stitches. I did an applique font on something this week and it had several tackdown stitches. It kept tacking and tacking and tacking and tacking before the satin stitch. By the time the satin stitch came around I felt like the fabric was a little puffy! It was too late for the iron, but next time I use that font I’ll know to plug in the travel iron and go over it before the satin stitch. Like I said, I don’t use it for every single applique (and some people do), but there are times where I want to go ahead and fuse the fabric to the garment before the satin stitch.

I mention Sewingmachine.com a lot! They are GREAT! I got my PR600 and my PR650 from them and I get a lot of my supplies from them. They have awesome prices on commercial embroidery supplies (stabilizers, etc). They are also my go-to people for machine service or if I simply have a question. Check out the video section of their website ~ http://www.sewingmachine.com/info/Videos. Steve has done some great videos regarding Brother machines (oiling the hook properly, figuring out your tension or how to do a tension test, etc.). If you have questions regarding your 6 needle machine it’s likely he has a video for you!

What would you like to see a post on next? I’m trying to address a lot of the questions I’ve gotten recently in comments following posts. I’m loving my new blog in that I’m able to reply to the comments! I have some ideas, but if you’d like to see a particular post then let me know!
Do I need Fast Frames?

If you have a multi needle machine, chances are you have heard about FAST FRAMES! You may have them and use them for everything, or you may not have them and are not quite sure what they are used for. If this is you, this is your post! I have them, but I have to admit I don’t use them very often. But, they are nice to have for those things you “can’t hoop” or are hard to hoop (i.e., big bags, tiny bibs, etc.) Some people use them for EVERYTHING, including shirts. I am a “hooper“, so I hoop everything that I can and pull out the fast frames when I need them for those things that I can’t hoop, or that are hard to hoop. If you have fast frames, then you must have Sticky Back Stabilizer. I got mine from Sewingmachine.com and it’s great! There are sticky stabilizers that are just that ~ sticky (too sticky). I find this sticky stabilizer easy to use and not too sticky, meaning it will easily pull off the back of whatever it is you’re working with, and it will pull off of the fast frames with ease. I’ve had this roll forever!

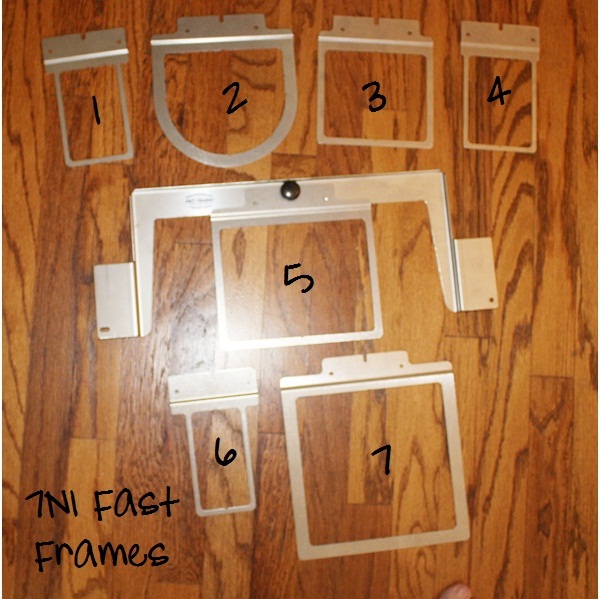
Here are my fast frames, called the 7N1 Fast Frames Hooping System. Again, I got mine at Sewingmachine.com. As you can see the set comes in a variety of sizes and there are larger sizes available to purchase separate from this 7N1 system.

I also have this deep bag frame for those large items you might need to monogram or applique. As you can see the frames come with written instructions!

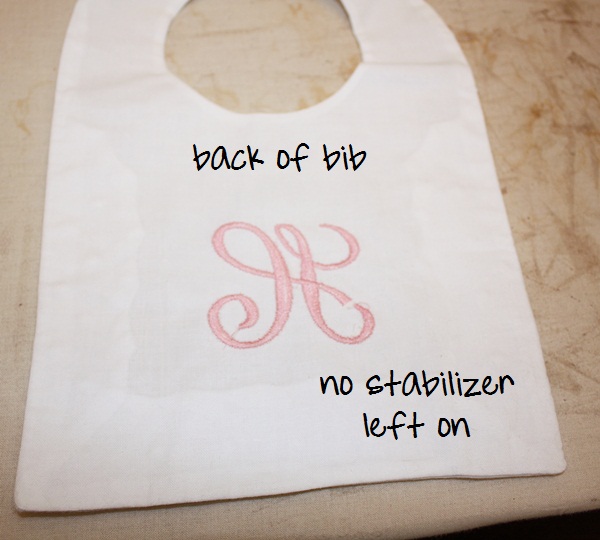
So today I am monogramming a simple “H” on this dainty little white linen bib. I COULD hoop this bib with my 4×4 hoop (and I would use an iron on tearaway stabilizer had I hooped it), but I’d hate to mess it up and this was the perfect illustration for my fast frames! I picked out the frame that would best fit the bib and the size of the “H”.

I cut a piece of my sticky back stabilizer a little larger than my frame.

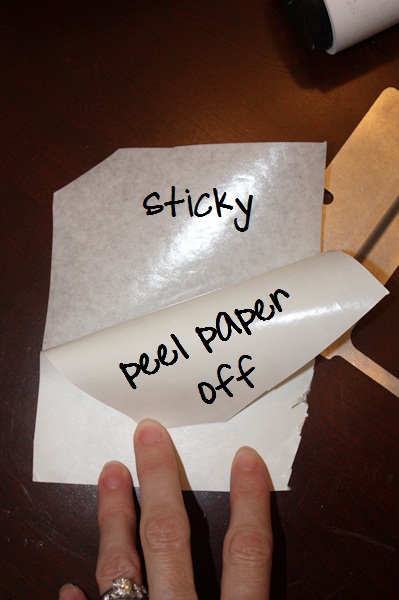
I peel away the paper leaving the sticky back to stick to my frame.

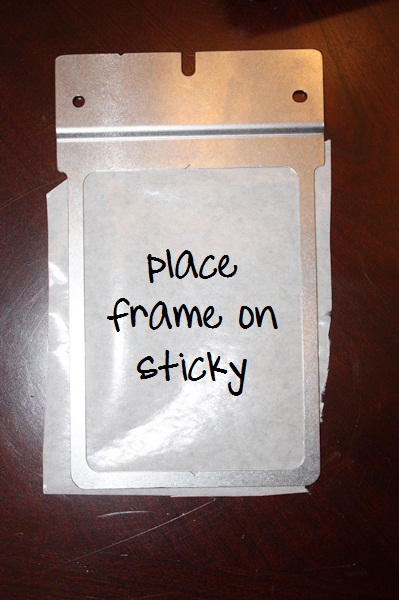
The frames come with instructions and you may be able to see that there is a bend in the frame which will be sloped down. I place the sticky back under the frame sticky side up and stick the frame to it.

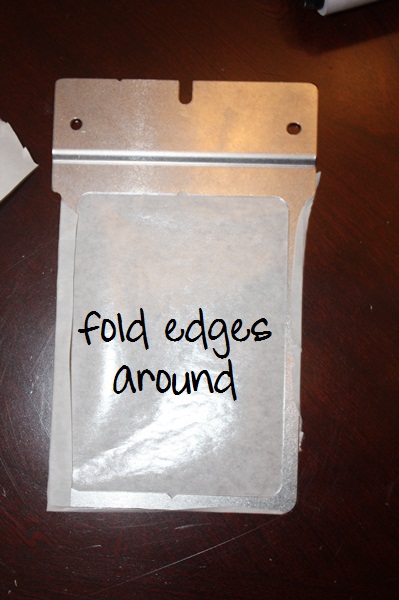
I wrap the edges of the sticky around the frame for added security. As you can see it’s not perfect and doesn’t wrap around on all sides. This is fine! The bib is not going anywhere.

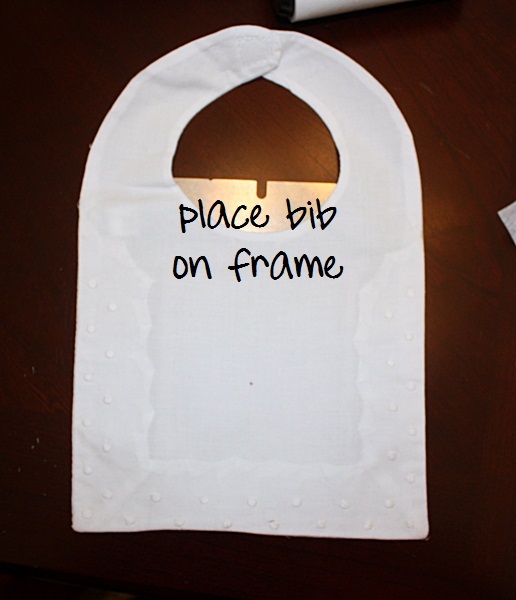
I place the bib on the sticky back on the frame and it’s “stuck” in place. I eyeball it for centered-ness (I think I made up a new word?).

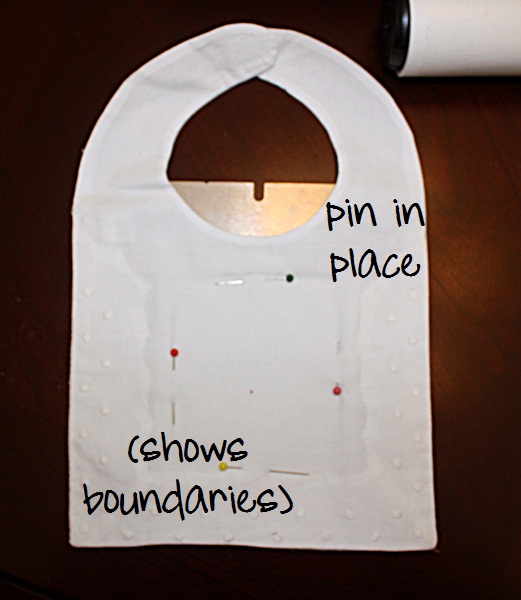
I also pin the bib to the sticky stabilizer. This serves 2 purposes. 1) the bib is definitely not moving or going anywhere and 2) I now know where my borders are. Your machine does not recognize fast frames, so it is up to you to make sure you know where your borders are and that the needle is not going to knick or hit one of the sides of the frame (VERY IMPORTANT!!). I pinned just inside the frame so I know my needle can’t go further than my pins!

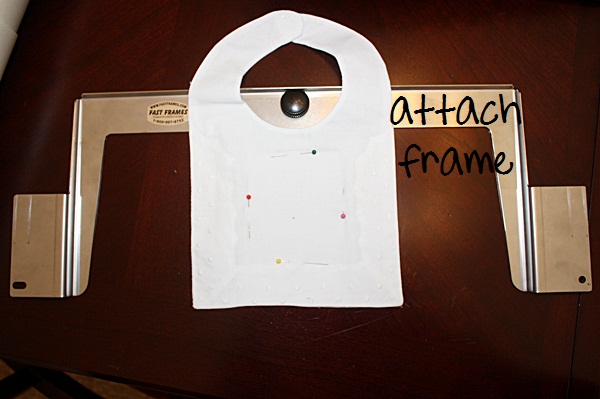
I now attach my frame to my big frame. It’s ready to go on my machine.

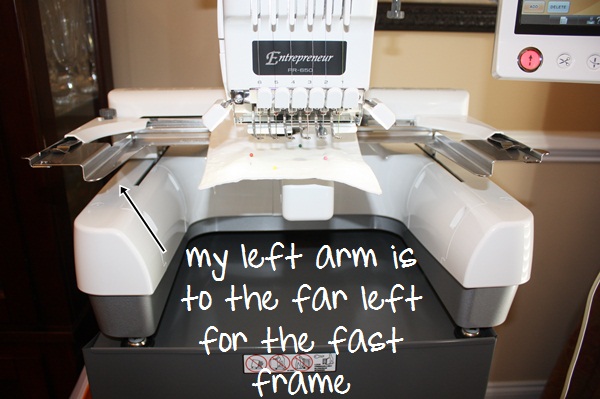
On my machine (Brother PR650), the left arm is adjustable and it will go almost all the way to the left for my fast frames and I tighten the screws so that the frame is secure and not going to move. My machine now thinks I have my largest hoop on, so it’s up to me to make sure the needle is not going to hit any part of the fast frame. I know that sounds confusing but you will get used to it!

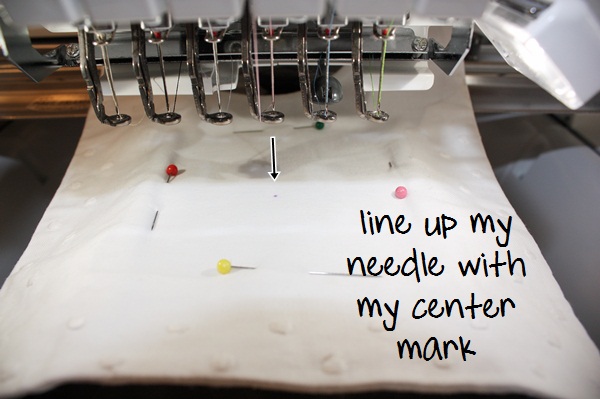
I now line up my lead needle with my center mark on the bib. You can pull the needle shaft down to make sure it’s lined up if you don’t trust your eyeballs!

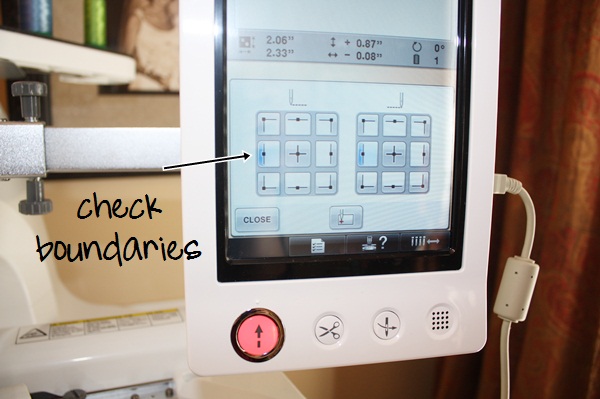
Here is where I check my borders. On my machine you can check your parameters and it will move the needle to any position you tell it to. So I go left, right, top, bottom and make sure my needle is within my pin borders and is not going to hit any part of the frame! If you are working on a big fast frame, then this is not as crucial if you have plenty of room. I’m working on a pretty small frame so I need to be sure my H is going to fit!

Ready, set, go!

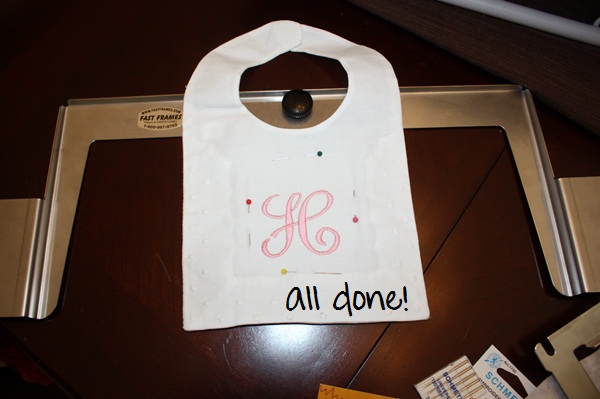
I’m now all done and as you can see, the H fit nicely within my pins.

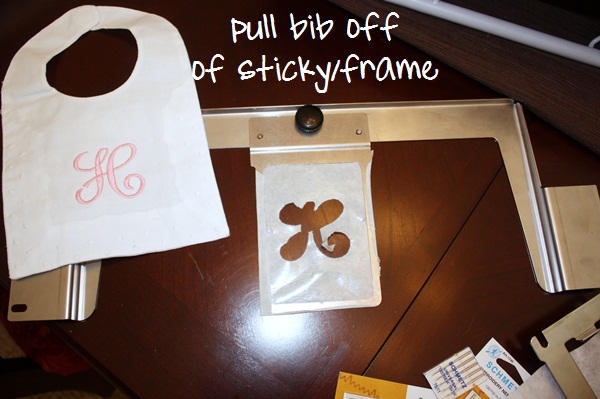
I pull the bib off the sticky, then peel the sticky off my fast frame and pull any little pieces off the back of my bib.

As you can see there is no stabilizer left on the bib. This is the case with all STICKY and TEARAWAY stabilizers. A cutaway stabilizer would be left on and you’d trim around it, but that’s another post!

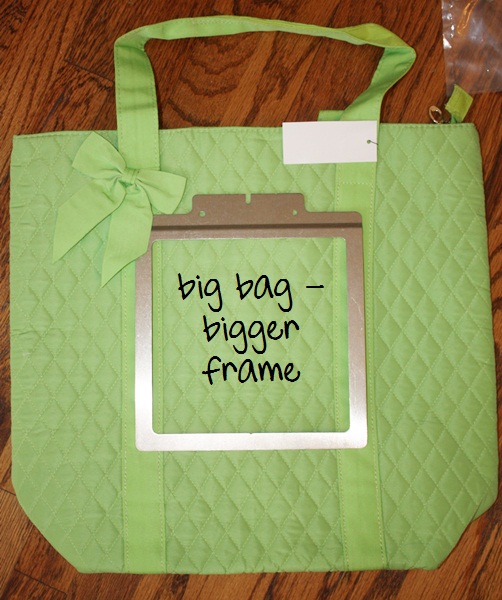
Here is an example of when I would use a larger fast frame ~ this lime green duffle bag (also from Sewingmachine.com). It would be very hard to hoop this bag because, a) it’s big and bulky and b) the thick ribbon would make it almost impossible to hoop and stay hooped! I would put sticky back stabilizer on this frame, stick the bag to it and pin it in place and monogram away!

For those of you who use fast frames for everything, then this is elementary to you! But, there are those of you who are contemplating a multi needle machine and wondering “do I need fast frames?”. I hope this helps!