Fix the Loop!

Don’t you hate when this happens? You are doing an embroidery design, or a monogram, or even an applique and your thread “loops” up on you. I’ve struggled forever with this and what causes it. There have been times where I’ve totally blamed the spool of thread. It was a bad spool or the thread was not twisting off the spool correctly. Recently I did some knit toboggan hats and my monogram looped on every.single.one.of.them. I emailed my sewing machine guy and he said it was a density issue. For example, knit hats + dense monogram = the thread/needle does not penetrate the knit properly and therefore loops. Sometimes I think my machine is dusty or dirty, so I change all my needles and clean the bobbin area to get rid of any dust or pieces of thread.

Below is a “Footprint” embroidery design I’ve recently sewn on 3 dozen burp cloths for a local ministry, Footprints Ministry. As you can see by my arrows on the photo below, the thread looped up on me in one spot. If this happens, don’t cut it! That may cause your design to unravel. What I USED to do was stick a regular needle or straight pin through and then try to pull the thread to the back by pulling on my bobbin thread in that area with a needle. It worked most of the time. Now if your monogram loops terribly and you’re looking at 15 places where the thread is loopy, then you might need to remove the monogram and back up and sew it again. But, if it’s just a loop here & there, I have a great tool for you.

photo

It even has a cute name ~ Dritz brand Snag Nab-It!! I got mine at Joann and it looks like this. It’s basically a needle (just shy of 2.5″ long) with 1 sharp end and the other end resembles an emery board. It’s jagged like sandpaper. They are $2.99 and are considered Notions, so catch them on sale or use a coupon. I also found some on Amazon.

photo (6)

So here’s how it works! You stick the Snag Nab-It in to your garment where the loop starts or finishes. You may notice the needle is pretty thick, so it can be a little tough to pull the needle all the way through (especially pulling the jagged end through). If it leaves a hole, then spritz a little water on your garment and it should be fine.

photo (1)

As you pull the needle through, the rough end grabs the loose thread and pulls it through to the back of your item (back there with the bobbin thread). You could then apply a little Fray Check on the back of the item or leave it as is. The thread would have to be pulled to come back through to the top which is unlikely.

photo (2)

Here’s a closeup of the end.

photo (21)

As you can see below, the loop is gone! I successfully pulled it through the burp cloth to the back of the design. Yay!

photo (5)

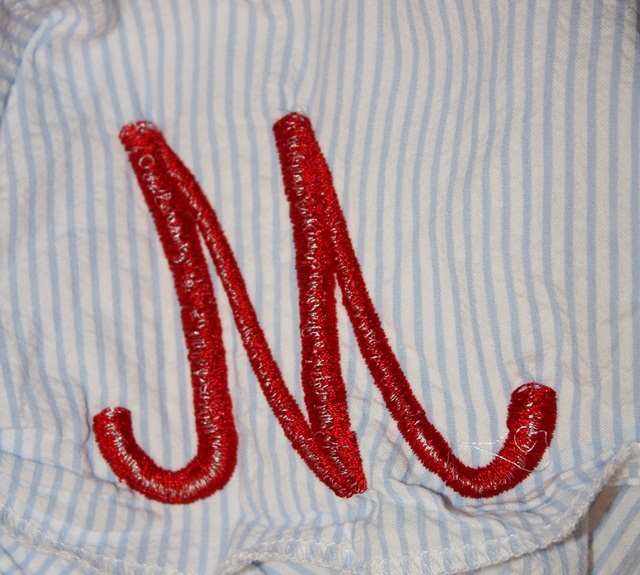
Here is another example! I monogrammed this bib today and the thread I was using is an off-brand thread that I never use. As you can see, it didn’t “loop” too terribly bad, but the monogram is not as tight as I would like.

photo (8)

Again, I stuck the Snag Nab-It through the bib where the loose thread was (on the very edge of the satin stitch) and pulled it through.

photo (9)

As you can see, it tightened that loose thread by pulling it through to the back side of the bib. Ironing also helps “set” the monogram. I keep my iron on medium heat, no steam. I have heard that rayon thread can melt, but I use 100% polyester embroidery thread so ironing it quickly only “sets” the monogram. I typically use Isacord (www.sewingmachine.com) or Exquisite thread (www.kenssewingcenter.com) which are almost identical.

photo (7)

Hopefully this helps with that frustrating looping problem! Do you have any other cool tools you use? If so comment and share!

Applique Cafe on YouTube!
Good afternoon! I’m sampling new designs today {which you can always catch on Instagram} and finally getting around to a blog post from September 2013! Jeff & I have some friends who have been telling us for years that we need to do more with video, so one sunny day back in September, I decided to do just that. I had a new design to sample and on a whim, I videoed it with my Iphone. For the record, I hate my voice on video just as we all do. Also, I am an A-M-A-T-E-U-R videographer person-with-a-phone. Lastly, I have yet to master splicing 6 videos together, so there are 6 videos in this segment to watch. Lastly again, I was taking the video solo, so that’s why I had to stop and start so many times so I could actually sew the design. My phone doesn’t seem to have a “pause” button. Lighting is so-so and there is a part where I’m talking over my machine and you can’t hear me. Overlook all that and MAYBE you will learn something?
This series of videos might be helpful if A) you have a multi needle machine and aren’t quite sure how to use it or B) you are new to applique and want to understand how it works. I supplemented the video with a few photos too so I will try to explain the process and get you through this post!

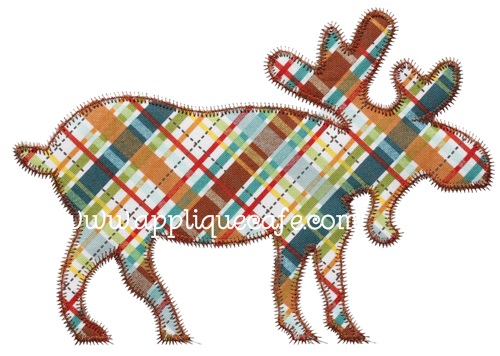
Background: I am sewing a simple 1 fabric zig zag design (Zig Zag Moose) on my Brother PR650 6 needle machine. I like to assign thread colors to my machine and here I explain how and why I do that. This is a sample for Applique Cafe, so I sewed it on 2 layers of medium cutaway stabilizer in my 5×7 hoop (PES format).

zig zag moose 500

Here is video 1!

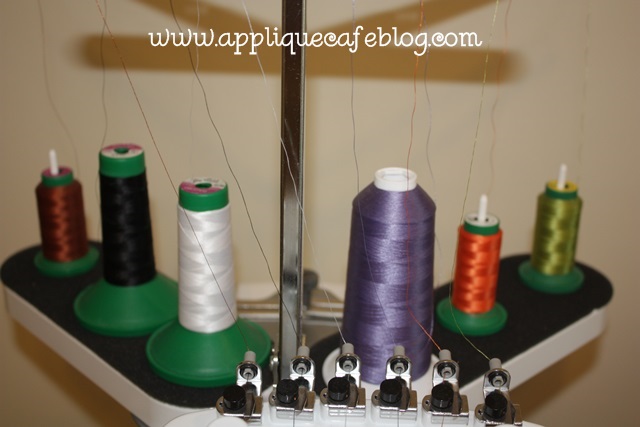
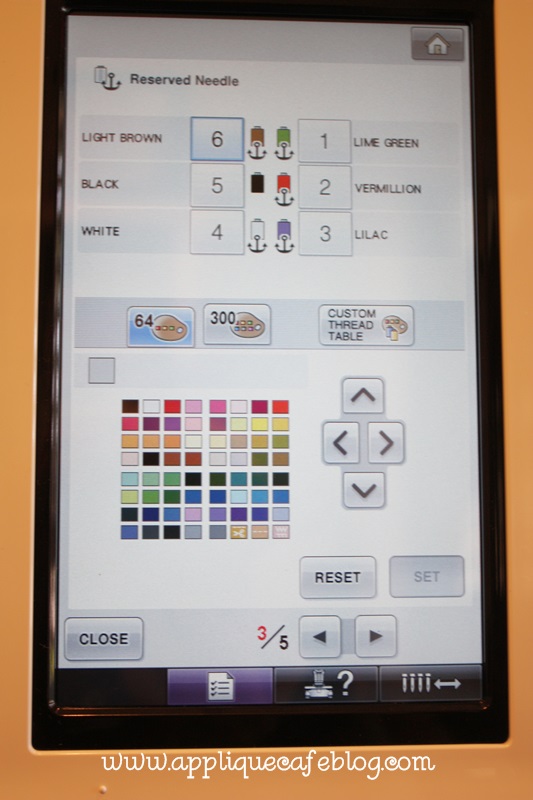
Just a closeup of the colors of thread on my machine, which I “assign” to each needle so my machine knows what colors it has to work with. I mention in the video that 1 needle out of my 6 is always free and you can’t “lock in” that color. It can be any needle, and I usually allow my free needle to be white or black. So if black is on needle 1, then that’s my free needle and there is no anchor by it on the screen.

IMG_8336

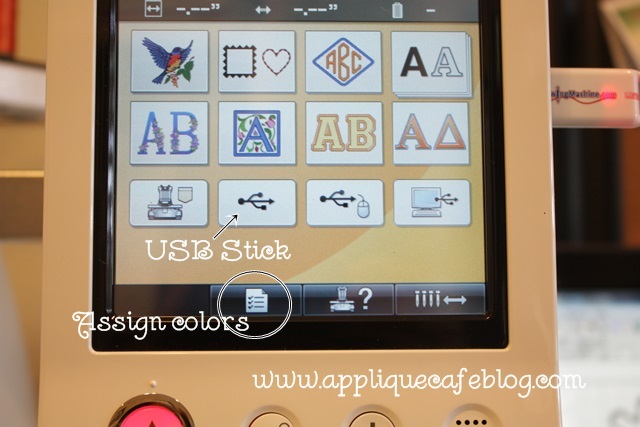
Closeup of my HOME screen. The top 2 rows are built in designs and fonts. I use a USB stick which is the button I pointed to. Side note: I have a USB cord that connects from my computer to my machine, but for some reason it takes forever to send something to my machine, so I just use the thumb drive (see Sewingmachine.com stick). I think there is something wrong with that USB port on my machine, but I have not wanted to part with my machine long enough to get it checked out! The checklist looking button is where you go to assign colors.

IMG_8337

IMG_8338

IMG_8339

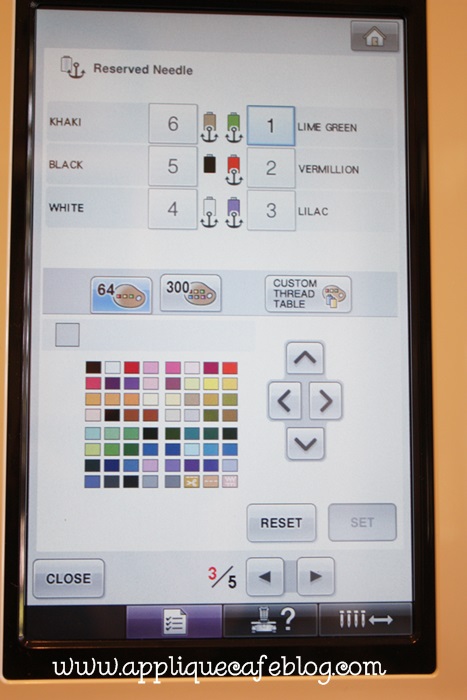
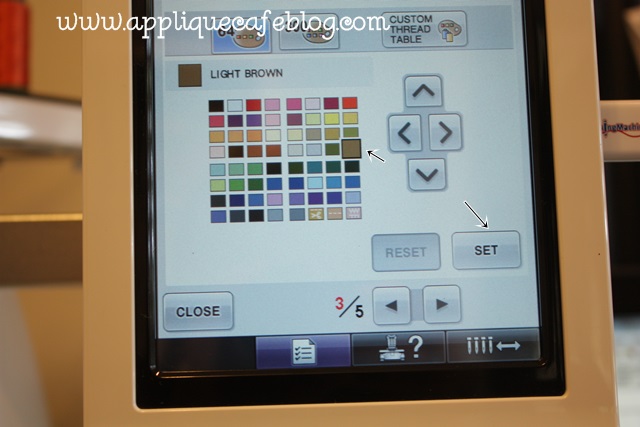
I changed needle 6 from Khaki to Light Brown using Reset and Set buttons! “Set” assigns light brown to needle 6.

IMG_8342

These are the colors of thread currently on my machine.

IMG_8343

Here is video 2 and video 3.

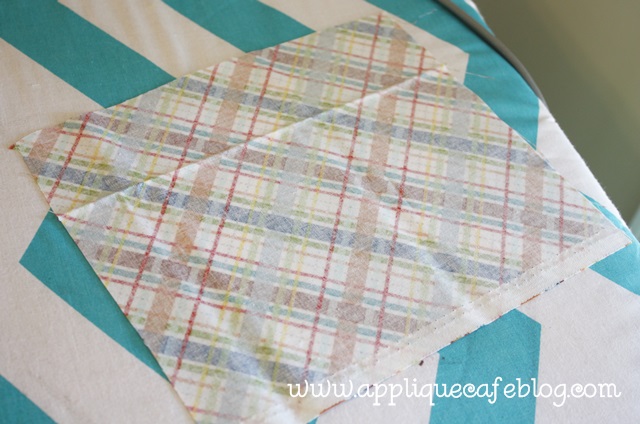
There is a pause between them because my thread broke! I left off after video 3 with fabric prep, which is below. I cut my piece of plaid fabric for my Moose.

IMG_8344

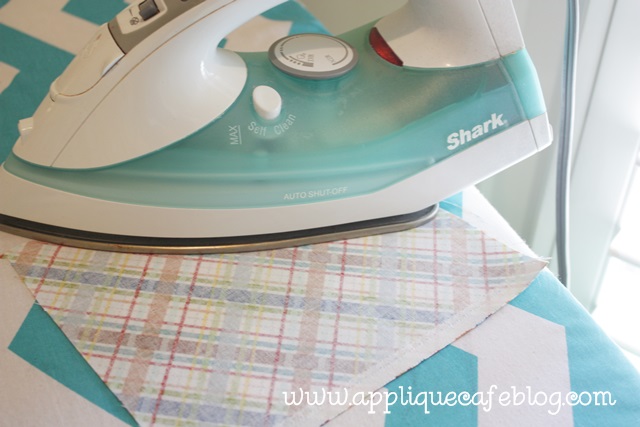
I iron my fabric to get any wrinkles out. Generic Target Shark iron and I keep it on mediumish (not high) with NO STEAM.

IMG_8345

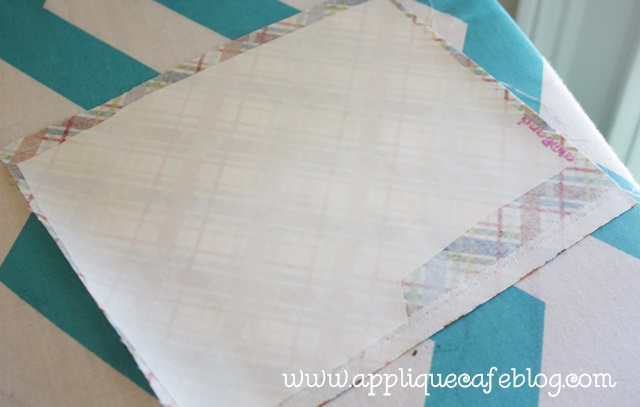
I’ve cut a piece of Heat N Bond Lite and I’ve ironed it on the back side of my fabric. If you don’t know what HNBL is, check out this post. It’s a fusible product which will fuse the applique fabric (the plaid) to my garment. Or in this case, my stabilizer!

IMG_8346

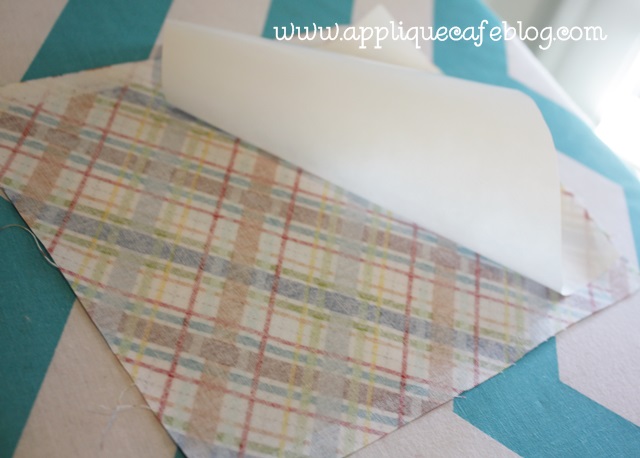
Don’t forget to peel away the paper! It will leave a shiny layer on the back side of your fabric.

IMG_8347

I’ve placed my HNBL-ed fabric down after the marking stitch, so now it’s time for the tackdown stitch and

video 4.

After video 4 I trimmed around my design (around the tackdown stitch) using my Gingher 4″ curved scissors. These are great for trimming and makes it easy to get up close to the tackdown stitch. Havels has a tiny curved scissor as well.

photo

Here is video 5

…after I’ve trimmed my fabric and I’m ready for the zig zag FINAL stitch. I tried to say something at the end of the video but you can’t hear me over the buzz of the machine. Sorry ’bout that!! Sew sew sew and lastly there’s

video 6 which wraps up this design!

I hope this is helpful! If you have any questions, feel free to comment! I hope to do some more videos in the future, and you can find them on my YouTube channel!  New designs coming soon to Applique Cafe!

“Repurpose”, Towels and Thread…

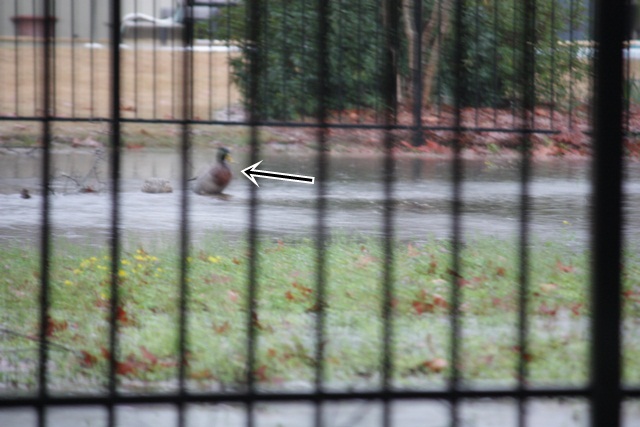
Happy Valentine’s Day! We are drying out down here in South Alabama. It rained for 40 days over 3 days here, Sunday through yesterday. Like SOLID RAIN. It was pretty miserable! We have an empty lot next door to us which has some major drainage issues. Factor in 3 days of rain and we were tickled to have ducks swimming around as if it were a real pond or lake. The sun finally came out today and we’re getting our sanity back!!

IMG_7252

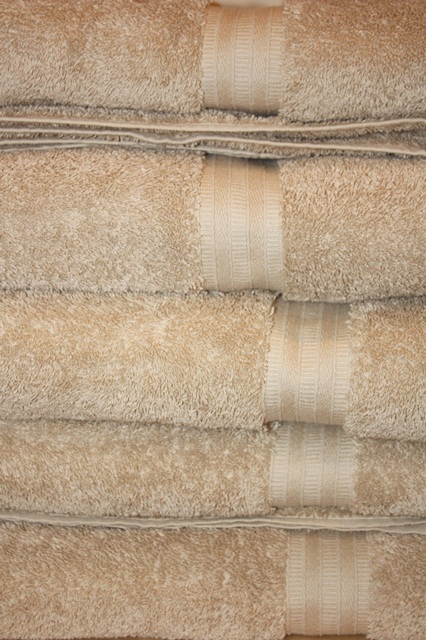
Last week I monogrammed 6 bath towels, 3 hand towels and also 4 wash cloths. The bath towels took 48 minutes each to sew! I used Monogram Wizard Plus “Candlewick” font in FILL STITCH. They turned out great, and I am envious of the new towels (that belong to my customer)!! More info on the monogram ~ the size of the entire monogram was 4.79″ tall X 6.96″ wide. Stitch count was 27,617 stitches and I think I had my machine set on 800 stitches per minute = 48 minutes! The hand towels and wash cloths were a breeze and pretty fast.

IMG_7247

She chose a tone on tone color scheme! It looks great and very elegant!! For towels I use iron on tearaway on the back + solvy water soluble on top. Hoop it all! The tearaway and solvy then peel right off when I’m done.

IMG_7246

Now for my “repurpose” part of the post, which is a very popular term used these days for furniture and such. Not sure if it applies to clothes, but it sounds good for the purpose of this post. We have a few consignment sales here in town before spring/summer and fall/winter. I went last week and found this cute dress for like $12. I have found cheaper dresses w/ monograms but this was super cute for summer and I could tell by looking at it I could whip it in to shape. Yes, my daughter’s name is Mallory, so the M would work. But…. this was a pretty bad monogram job. No offense if the monogrammer person is reading this. I don’t think any stabilizer was used, and it was picked and just didn’t look good!

IMG_7229

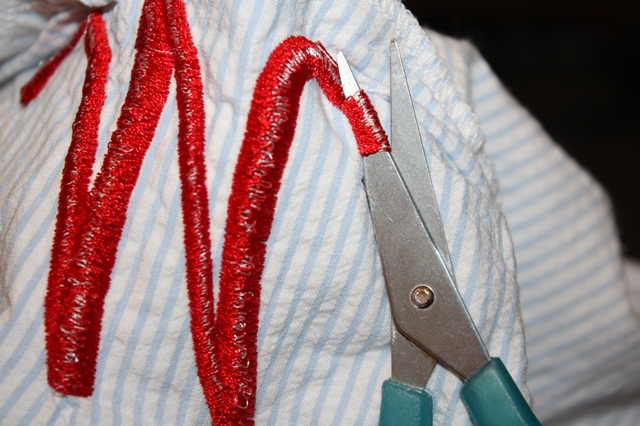
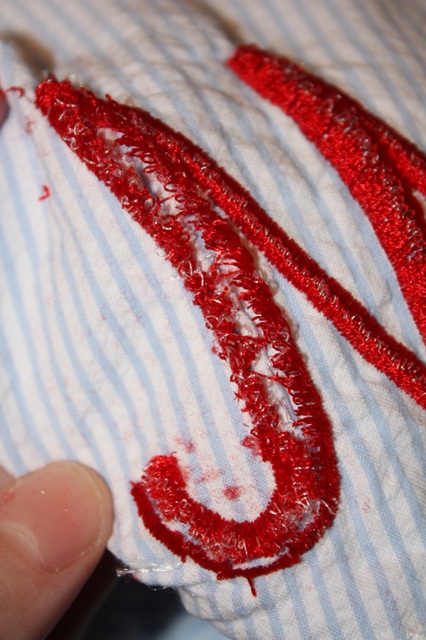
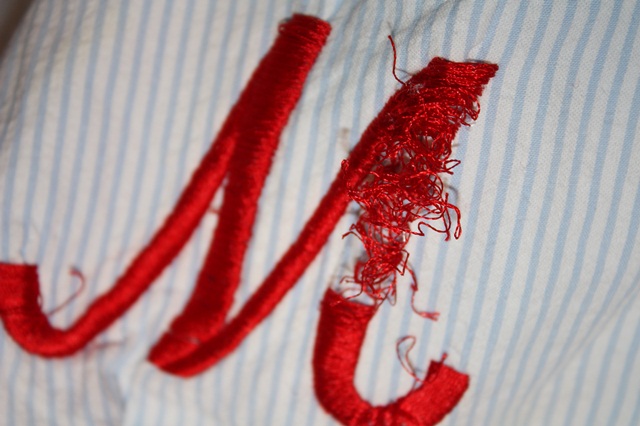
The fabric was gathered and some of the thread was coming loose. Not good.

IMG_7230

Looking on the back side of the monogram, it was loose and I knew it would be super easy to remove! Very little bobbin thread showing = again… not good.

IMG_7231

I was able to remove all of the monogram with my regular little scissors that came w/ my machine. That’s how loose the stitching was! I cut through the entire “M” and then removed all the thread.

IMG_7232

As you can see the fabric is gathered underneath the monogram. I found no trace of any stabilizer.

IMG_7233

This was an easy one to remove!

IMG_7234

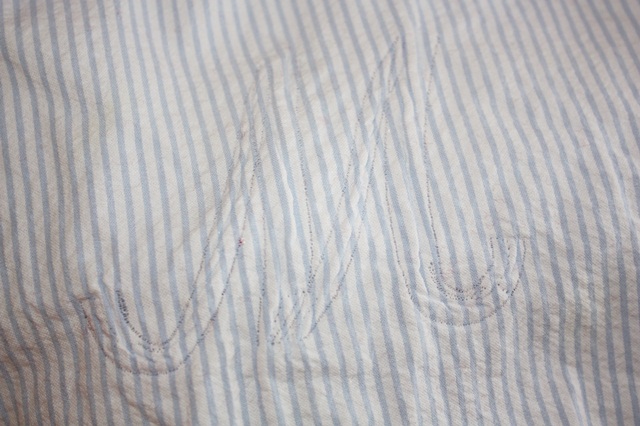
After I got it all removed, you could see the little holes from the previous “M”. Not a problem!

IMG_7235

I find that a little water and ironing will do wonders! Looks much better below, and I think once the dress is washed you will barely see any remains of the monogram.

IMG_7236

Today I finally got a chance to re-monogram the dress and it looks precious! I used Monogram Wizard Plus “Pendant” font, and added a couple of dots on each side (layered in MWP – SySerif SyS 26, size .75 – layer 2 and 3). I also made the M wider in MWP (Letter Width 125 I believe — default is 100). This will be a cute $12 dress for summer! As you can see below, you can barely see any remnants of the previous M! I really really really like this “M” font.

IMG_7277

As I said, I monogrammed 13 towel items in the past week. Today I knew it was time to CLEAN my bobbin area. It was full of lint. See my last post on PR650 maintenance. I dusted it all out using my brush and also Qtips and alcohol (not the drinking kind). I also cleaned the bobbin case and changed my right 3 needles which are used the most. I normally change all 6, but just changed them recently so I only changed the right 3.

IMG_7259

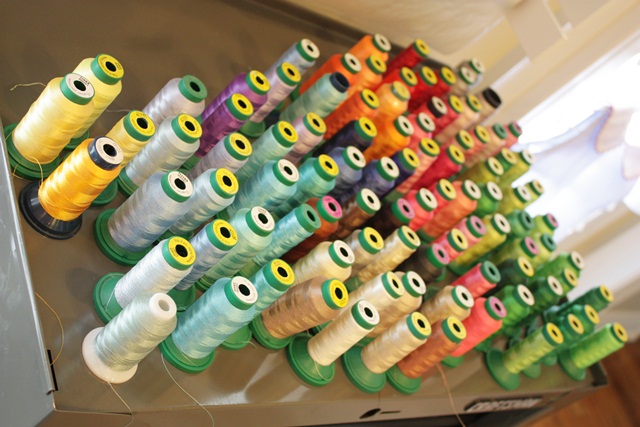
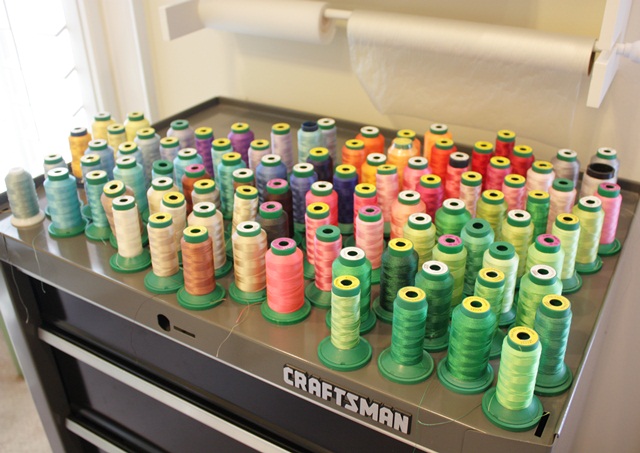
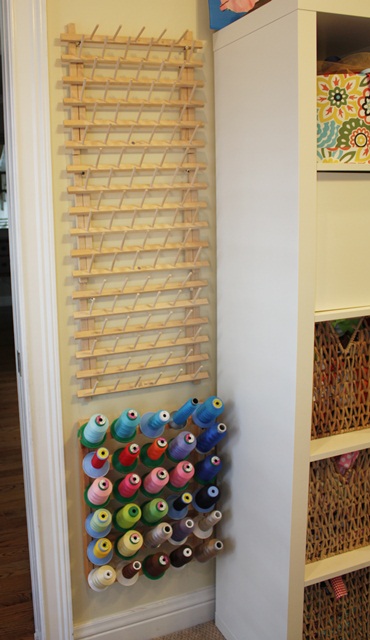
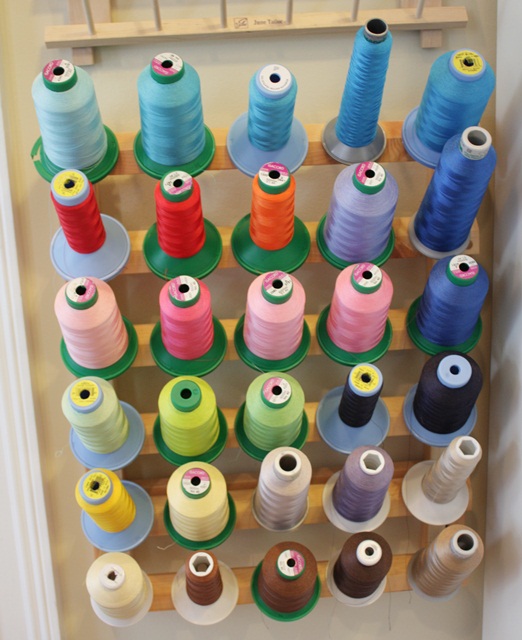
While I was in a cleaning mood, I decided it was time to “clean” my thread stand and thread and organize all my thread by color. I took all of my spools off and used a towel to wipe my stands, which are hung on the wall. I have 3 June Tailor stands and then 1 big 5000M stand I got from www.sewingmachine.com. They get dusty! I also wiped my thread spools off with just a dry towel to knock any dust off.

IMG_7261

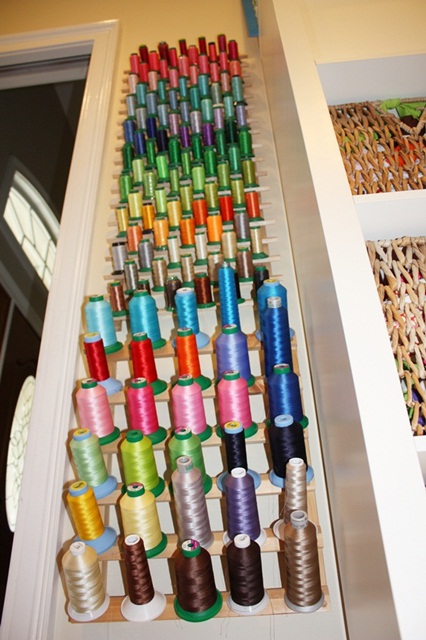
Isn’t it pretty?? Wow I have lots of greens!!

IMG_7262

I organized my big spools last night.

IMG_7263

I mostly use Isacord and Exquisite thread, but have a few other random spools as well!

IMG_7264

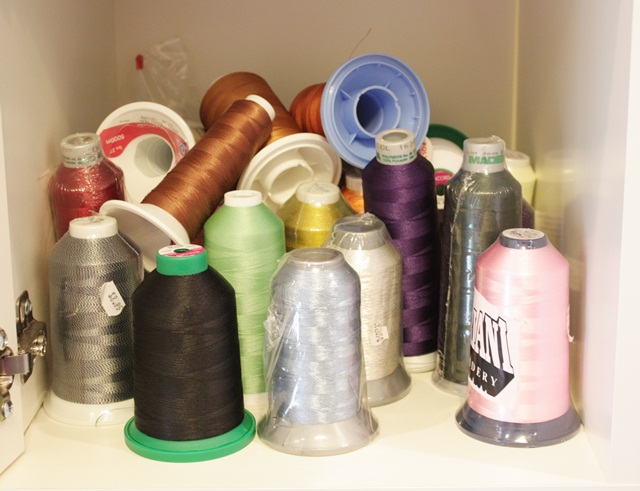
In my Expedit cubby I have a whole cubby devoted to random thread organized thrown in there. These are extra colors or colors I rarely used. Some variegated in there too I’ve never used.

IMG_7265

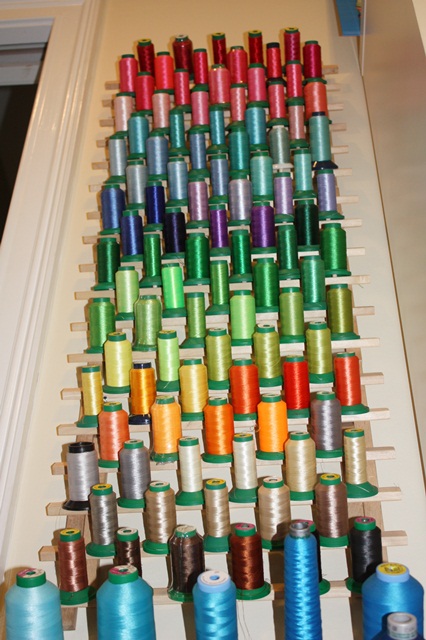
All organized by color! Yes, I was laying on the ground taking this photo!! Isn’t it pretty? Taking bets on how long this will last…

IMG_7267

I have waaaaayyyy….. too much thread. But, I honestly use most of it! Especially all the pinks and greens!

IMG_7268

Hope you all have a great VALENTINE’S night!